Bamboo と Tomcat を使用する継続的デプロイ
Bamboo では、Tomcat 6 または 7 を使用して Java Web アプリをデプロイして管理できます。Maven や Ant を直接操作したり、特別なスクリプトを記述したりする必要はありません。
Bamboo provides tasks that use the HTTP-based scripting interface to the Tomcat Manager application that ships with Tomcat. You can use the Bamboo tasks to perform the following Tomcat operations:
- Deploy an application to a Tomcat instance
- Start an application in a Tomcat instance
- Stop an application in a Tomcat instance
- Reload an application to a Tomcat instance
- Undeploy an application from a Tomcat instance
Each of these tasks run as part of a Bamboo job.
Setting up Tomcat
You will need to prepare the Tomcat server before Bamboo can manage and deploy applications to it.
Download the Tomcat 7 distribution and unzip it on your file system.
Add a new Tomcat user for Bamboo to use the Tomcat Application Manager by adding the following line in
conf/tomcat-users.xmlbetween the<tomcat-users>tags:<user username="bamboo" password="bamboo" roles="manager-script,manager-gui"/>- Start Tomcat by running
bin/startup.shon Linux or Mac, orbin/startup.baton Windows. - Test this setup by browsing to http://localhost:8080/manager and using the username and password you configured in the step above. You should see the Tomcat Web Application Manager page, and a list of the running applications on your instance.
Deploying an application from Bamboo
You use Tomcat deployment tasks in the context of a job in a build plan in Bamboo. This plan should generate a deployable artifact, such as a WAR file. To deploy the artifact, you add a Tomcat deploy task to the plan, as follows:
- Navigate to the task configuration for the job (this will be the default job if you are creating a new plan).
- Select Add task > Deploy Tomcat Application.
Configure the Tomcat task settings, as described below.
保存 を選択します。
To deploy the application, simply run the plan.
You can check that the deployment has been successful by:
Navigating to the logs for the job. Towards the end you should see something like:
> Deploying application with war file ‘target/tomcat-test-0.1.war’ to context ‘/myapp’ to server [http://localhost:8080/manager/](http://localhost:8080/manager/)
> Application was successfully deployed.
This indicates that Bamboo completed the task successfully.
Now, browse to the expected address for your application. You should see the welcome page.
Configuring the Tomcat tasks
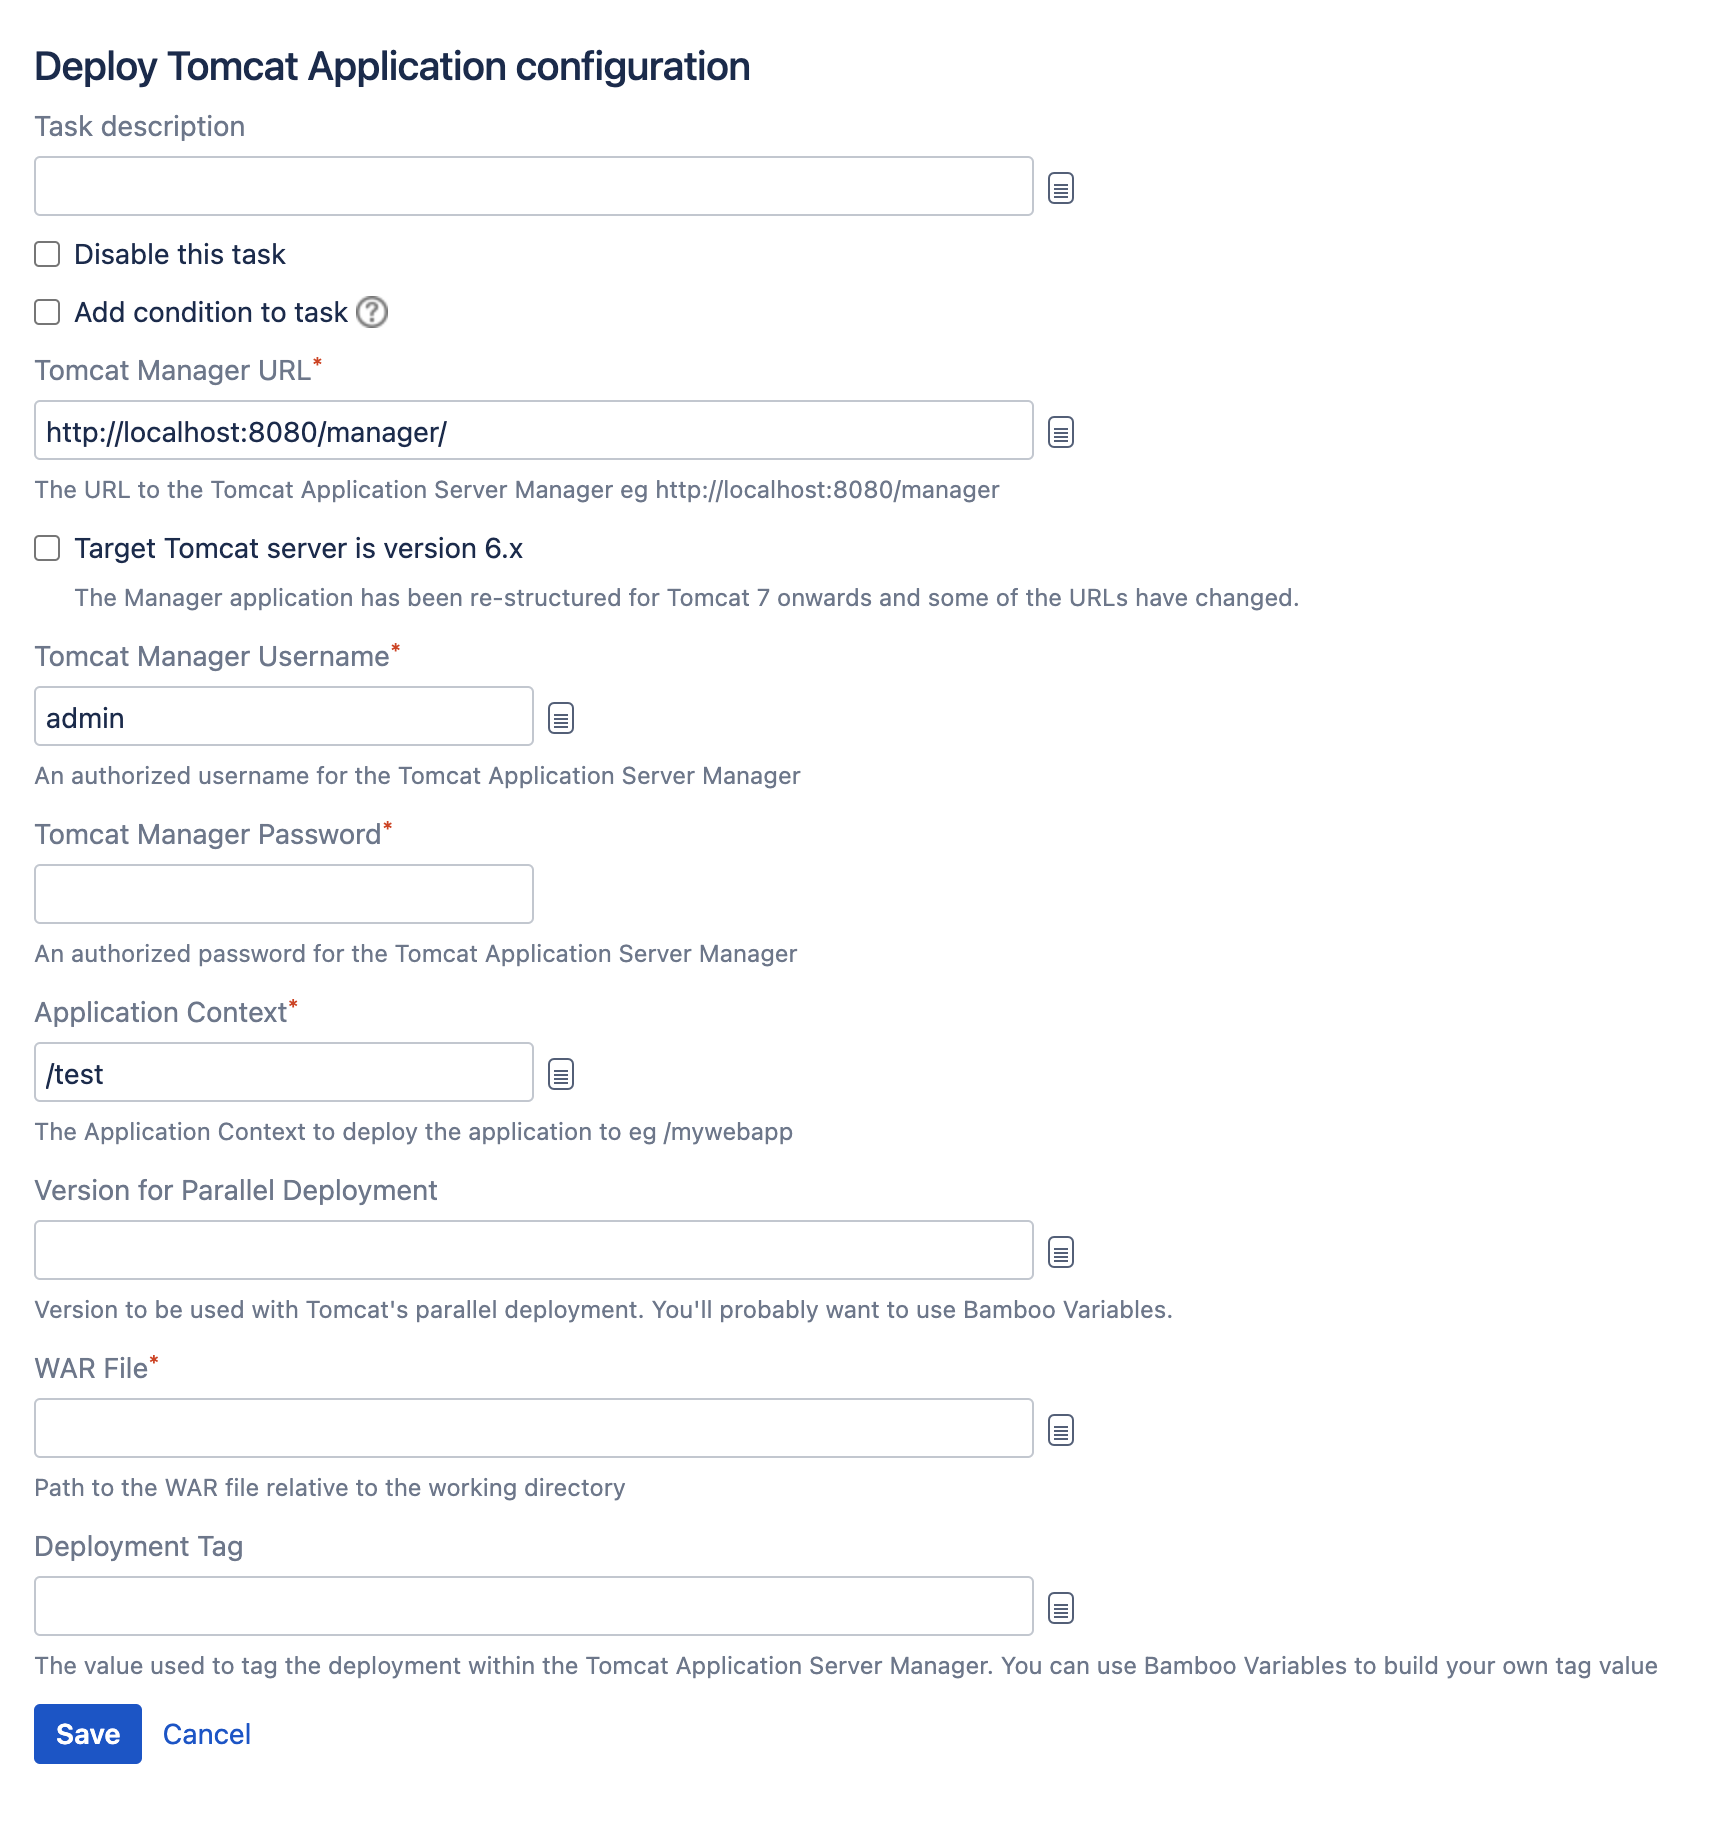
The Tomcat Deploy, Start, Stop, Undeploy and Reload tasks each make use of some or all of the following configuration settings:
Task description
To help you to identify the task.
Disable this task
Check, or clear, to selectively run this task.
Add condition to task
Make task run only when a certain condition is met.
You can find conditions on Atlassian Marketplace or implement your own.
Tomcat Manager URL
The URL for the Tomcat Manager e.g. http://localhost:8080/manager/
Target Tomcat server is version 6.x
Select this if deploying to a Tomcat 6.x server.
Tomcat Manager Username and Password
These should match the credentials set in conf/tomcat-users.xml when you configured Tomcat, as described above.
Application Context
Specifies where the application should sit on the Tomcat server once deployed.
WAR File
The path to the WAR file, relative to the Bamboo working directory, for example “target/tomcat-test-0.1.war”
Deployment Tag
The value used to tag the deployment within the Tomcat Manager. You can use Bamboo variables to build the tag value.
For example, using the value ${bamboo.buildResultKey} will tag the deployment with the build number of the build that was used to deploy the application.