Git リポジトリをコピーしてファイルを追加する
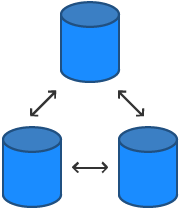
宇宙ステーションのファイルを追加して共有する場所ができたので、これをローカル システムから取得する方法が必要です。これをセットアップするまず、Bitbucket リポジトリをシステムにコピーします。Git では、リポジトリをコピーすることを「クローンする」と言います。リポジトリをクローンする際には、Bitbucket サーバー (Git が origin として把握しているもの) とローカル システムの間の接続を作成します。
ここでは、ターミナルからさまざまな Git および Git 以外のコマンドを使用します。コマンド ラインを使用したことがない場合、使用方法についてご確認ください。
ステップ 1. リポジトリをローカル システムにクローンする
デスクトップでブラウザとターミナル ウィンドウを開きます。ターミナル ウィンドウを開いた後、以下を実行します。
ホーム ディレクトリに移動します。
macOS / Linux / Git Bash
$ cd ~Windows コマンド プロンプト
$ cd <path_to_home>Bitbucket の使用頻度が増えると、複数のリポジトリで作業するようになる可能性があります。そのため、すべてのリポジトリを含むディレクトリを作成することをおすすめします。
リポジトリを含めるディレクトリを作成します。
$ mkdir reposターミナルで、作業ディレクトリを新しい
reposディレクトリに更新します。macOS / Linux / Git Bash
$ cd ~/reposWindows コマンド プロンプト
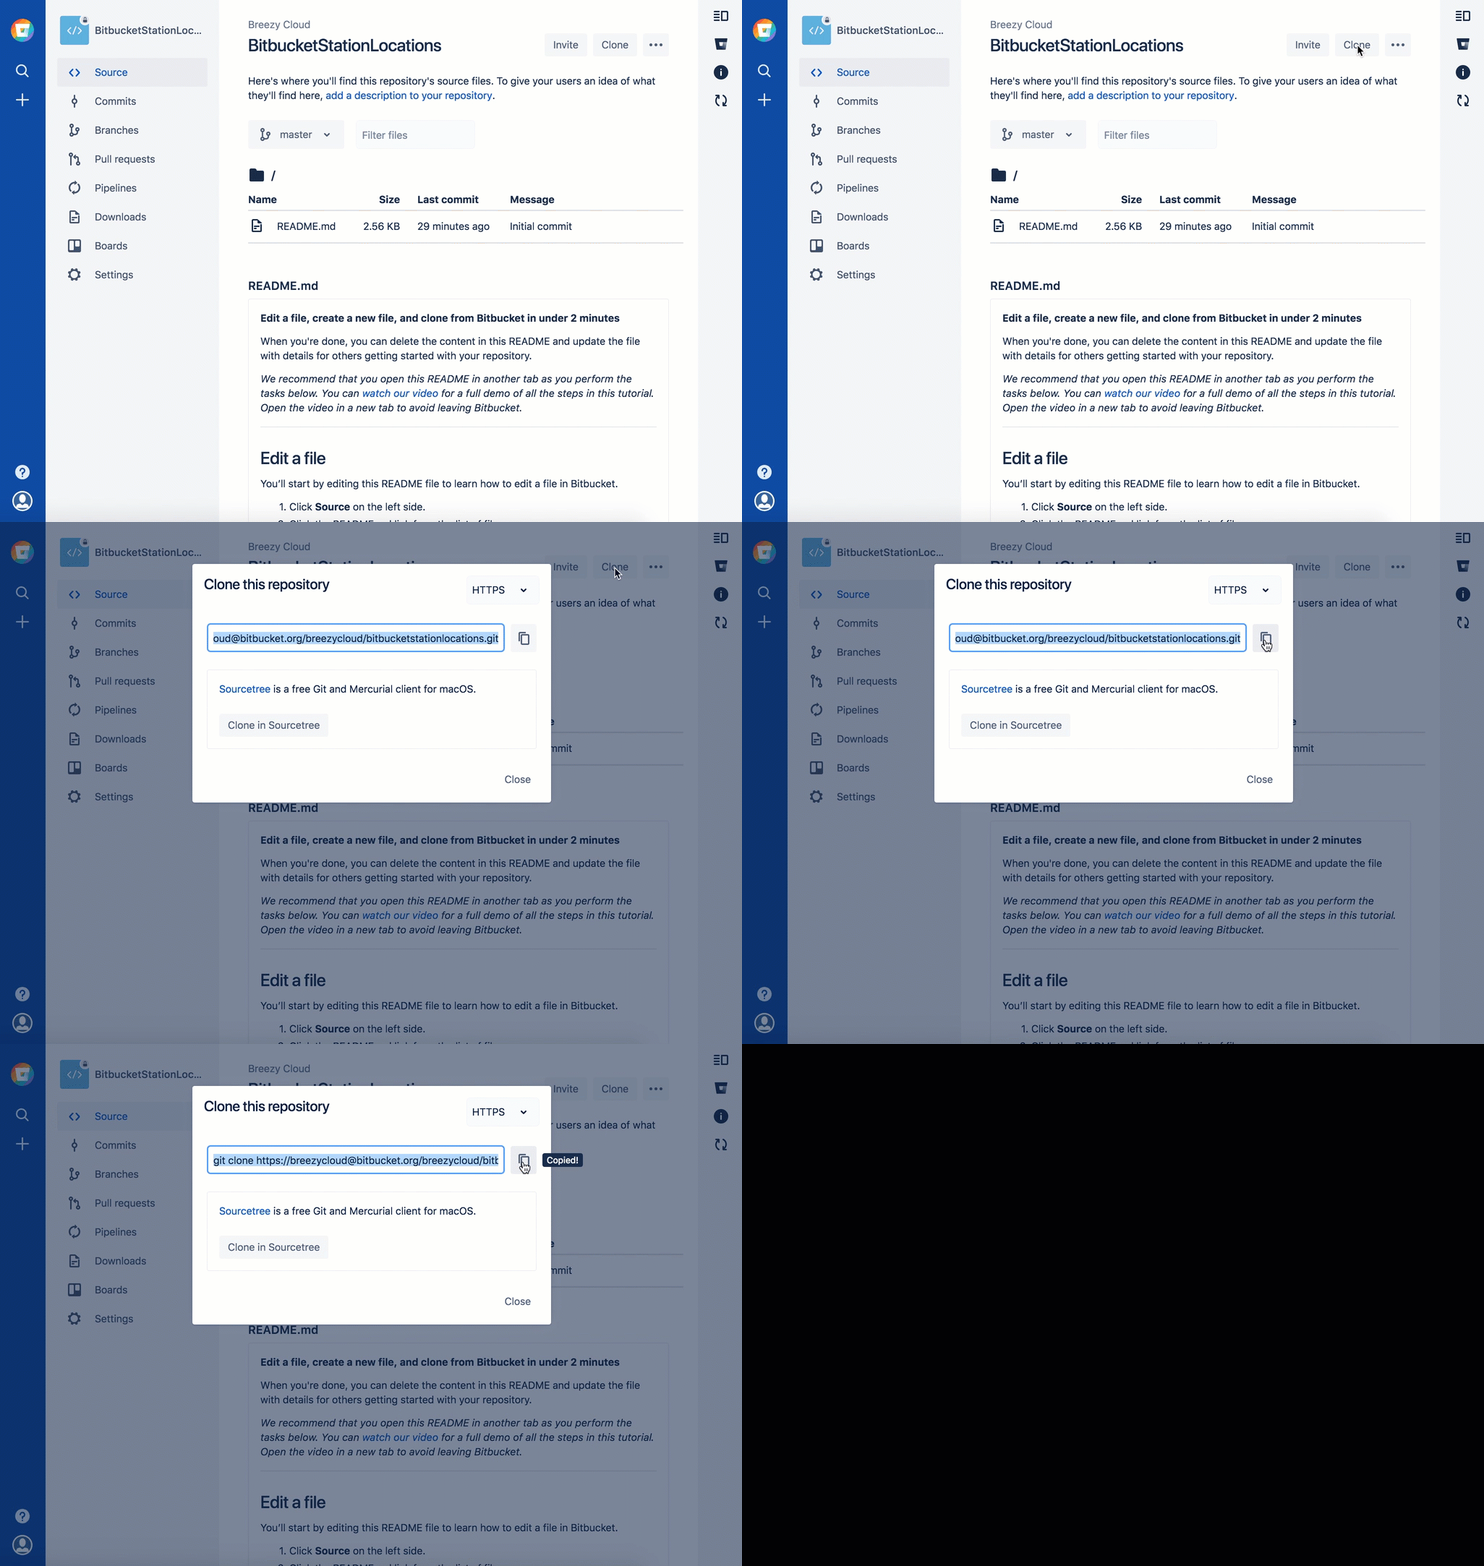
$ cd repos- From Bitbucket, go to your BitbucketStationLocations repository.
- Click the Clone button in the top right corner.
Bitbucket displays the Clone this repository dialog. By default, the clone dialog sets the protocol to HTTPS or SSH, depending on your settings. For the purposes of this tutorial, don't change your default protocol. - クローン コマンドをコピーします。
- ターミナル ウィンドウで、Bitbucket からコピーしたコマンドを貼り付け、Return キーを押します。
Enter your app password when the terminal asks for it.
この時点で、ターミナル ウィンドウは次のようになります。
$ cd ~/repos

$ git clone  https://emmap1@bitbucket.org/emmap1/bitbucketstationlocations.git
 Cloning into 'bitbucketstationlocations'...
Password
remote: Counting objects: 3, done.
remote: Compressing objects: 100% (2/2), done.
remote: Total 3 (delta 0), reused 0 (delta 0)
Unpacking objects: 100% (3/3), done.
reposディレクトリのコンテンツを一覧表示すると、bitbucketstationlocationsディレクトリが表示されます。macOS / Linux
$ lsWindows
$ dir
おめでとうございます。ローカル システムにリポジトリをクローンしました。
ステップ 2. ファイルをローカル リポジトリに追加して、Bitbucket に配置する
ローカル システムにリポジトリが揃ったところで、作業を開始します。すべての宇宙ステーションの場所を追跡したいとします。これを行うため、すべての場所の情報をまとめたファイルを作成します。
ターミナル ウィンドウを開き、ローカル リポジトリの最上位に進みます。
macOS / Linux / Git Bash
$ cd ~/repos/bitbucketstationlocations/Windows コマンド プロンプト
$ cd repos/bitbucketstationlocations/次の行をターミナル ウィンドウに入力し、コンテンツ入りの新しいファイルを作成します。
$ echo "Earth's Moon" >> locations.txtコマンドで何も返されない場合、ファイルが正しく作成されています。
ローカル リポジトリのステータスを取得します。
git statusコマンドを使用すると、Bitbucket リポジトリと比較した、プロジェクトの状況を確認できます。この時点で、Git は新しいファイルが作成されたことを把握しており、次のような情報が表示されます。
$ git status

On branch master
Initial commit
Untracked files:
  (use "git add <file>..." to include in what will be committed)
    locations.txt
nothing added to commit but untracked files present (use "git add" to track)
ファイルは追跡対象ではないため、Git には以前のコミットに含まれないファイルが表示されます。また、ステータス出力を見ると、次のステップとして「adding the file (ファイルの追加)」と示されています。
Git で
git addコマンドを使用し、新しいlocations.txtファイルを追跡します。ファイルを作成したときと同じように、git addコマンドを正しく入力しても、何も返されません。$ git add locations.txtgit addコマンドは作業ディレクトリから Git のステージング エリアに変更を移動させます。ステージング エリアで一連の変更のスナップショットを準備した後、正式な履歴にコミットすることができます。ファイルのステータスを確認します。
$ git status

On branch master
Initial commit
Changes to be committed:
  (use "git rm --cached <file>..." to unstage)
    new file:   locations.txt
これで、新しいファイルが追加 (ステージに追加) され、準備が整ったらコミットできるようになりました。
git statusコマンドを使用すると、作業ディレクトリとステージに追加されたスナップショットの状態を表示できます。次の行のように、コミット メッセージを設定した
git commitコマンドを実行します。-mは、コミット メッセージが後に続くことを示します。$ git commit -m "Initial commit"
[master (root-commit) fedc3d3] Initial commit
1 file changed, 1 insertion(+)
create mode 100644 locations.txtgit commitはステージに追加されたスナップショットを取得し、プロジェクト履歴にコミットします。このプロセスとgit addとが、すべての Git ユーザーの基本的なワークフローとなります。
この時点での操作はすべてローカル システム上で行われており、変更をプッシュするまで Bitbucket リポジトリから認識することはできません。ローカルのターミナル ウィンドウに戻り、
git push origin masterを使用して、コミット済みの変更を Bitbucket に送信します。このコマンドは次のようにプッシュ先を指定します。master— リポジトリのメイン ブランチ(および現在の唯一のブランチ)。ブランチを使用すると、メインのコードベース (この場合はmaster) とは別のリポジトリで一連のコードの作業を行うことができます。origin— リモート サーバーの名前。この場合、originは Bitbucket にプッシュしようとしていることを示します。
次のように表示されるはずです。
$ git push origin master

Counting objects: 3, done.
Writing objects: 100% (3/3), 253 bytes | 0 bytes/s, done.
Total 3 (delta 0), reused 0 (delta 0) To https://emmap1@bitbucket.org/emmap1/bitbucketstationlocations.git

 * [new branch] master -> master
Branch master set up to track remote branch master from origin.
Your commits are now on the remote repository (
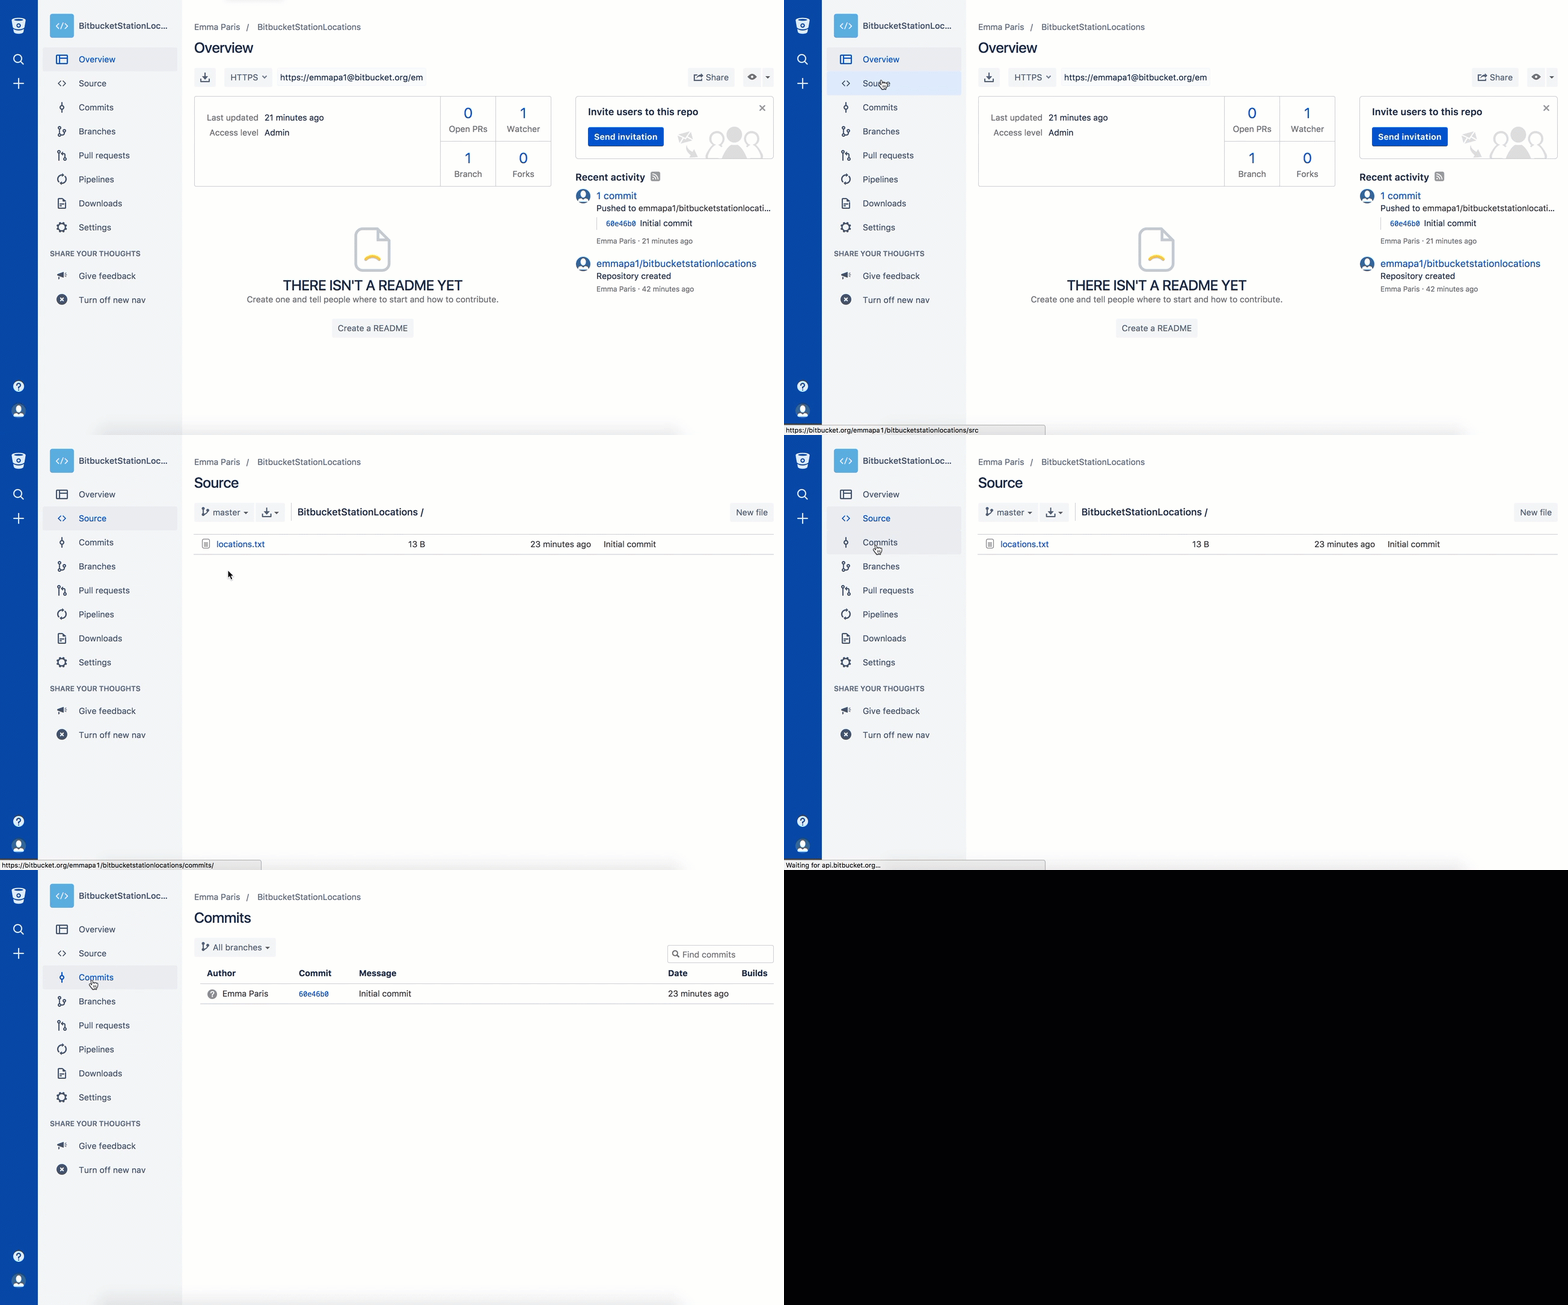
origin).Bitbucket の BitbucketStationLocations リポジトリに移動します。
If you click Commits in the sidebar, you'll see your commit in the repository. Bitbucket combines all the things you just did into that commit and shows it to you. You can see that the Author column shows the value you used when you configured the Git global file (
~/.gitconfig).
If you click Source in the sidebar, you'll see your file in the repository, thelocations.txtfile you just added.


