プロジェクトの課題をカスタマイズする
課題とは、プロジェクトで完了する必要がある作業のパッケージです。これらは課題フィールドで構成されており、これらのフィールドには、要約、説明、期日、作業が必要な時期と場所など、課題に関する重要なデータが含まれています。この情報は画面に表示されます。
画面では、使用可能なすべてのフィールド (またはフィールドのサブセット) がグループ化され、ユーザー向けに整理されます。Jira 画面の詳細をご確認ください。
課題をカスタマイズするためのオプション
Jira Service Management では、カスタマーやエージェントのニーズに合わせて課題の設定や挙動をカスタマイズできます。
次の選択が可能です。
- フィールドの挙動を変更する (フィールドの説明変更、フィールドの表示 / 非表示設定、フィールドの必須 / オプション設定など)
- 既定値が割り当てられたフィールドに任意の値を追加する (例: 解決状況やステータス)
- カスタム フィールドを作成する(Jira に新しいフィールドを追加する方法)
- 一部のフィールドに異なるレンダラーを設定する(フィールド レンダラーの詳細)
- 画面の位置フィールドを変更する
- それぞれの課題操作 (課題の作成や編集など) またはワークフロー トランジション (課題の解決やクローズなど) で表示する画面を選択する
課題のカスタマイズがチームに与える利点の簡単な例の 1 つに、課題を作成した際にフィールドを「必須」と設定できる点があります。フィールドの挙動を設定する方法をご確認ください。
必須フィールドを使用すると、作業を完了して課題を解決するために必要な情報を常に把握できるようになります。この機能と組み合わせる形で画面上部に必須フィールドを配置すれば、課題作成者が使用しないフィールドを非表示にしていても、ユーザーが必須フィールドをすぐに見つけて早急に入力できるようになります。
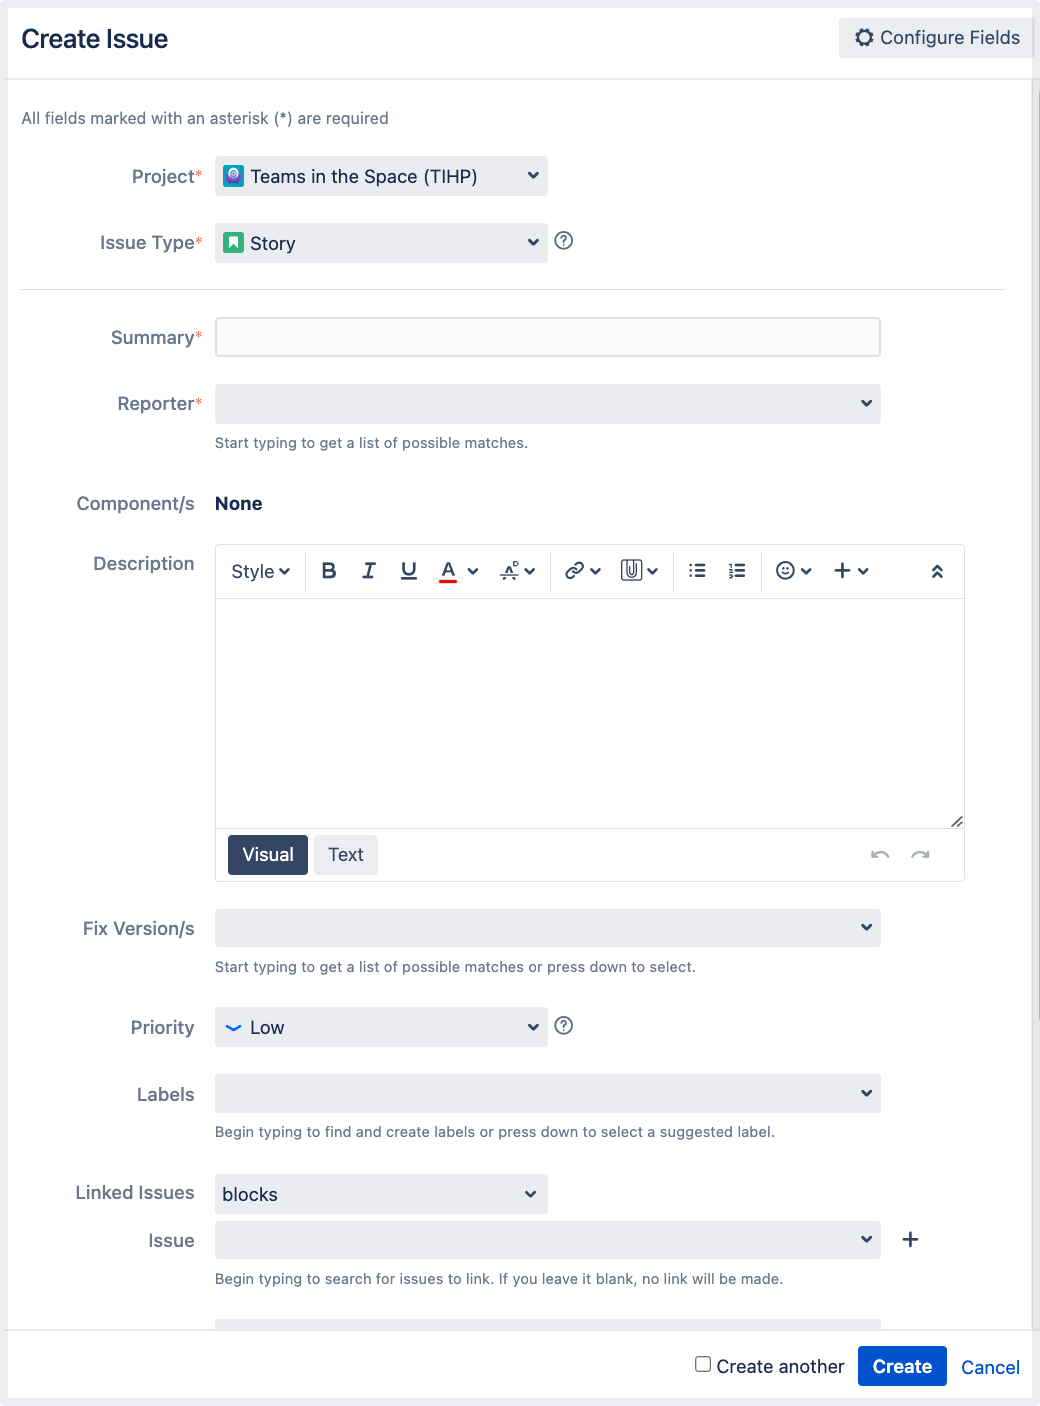
カスタマイズ前
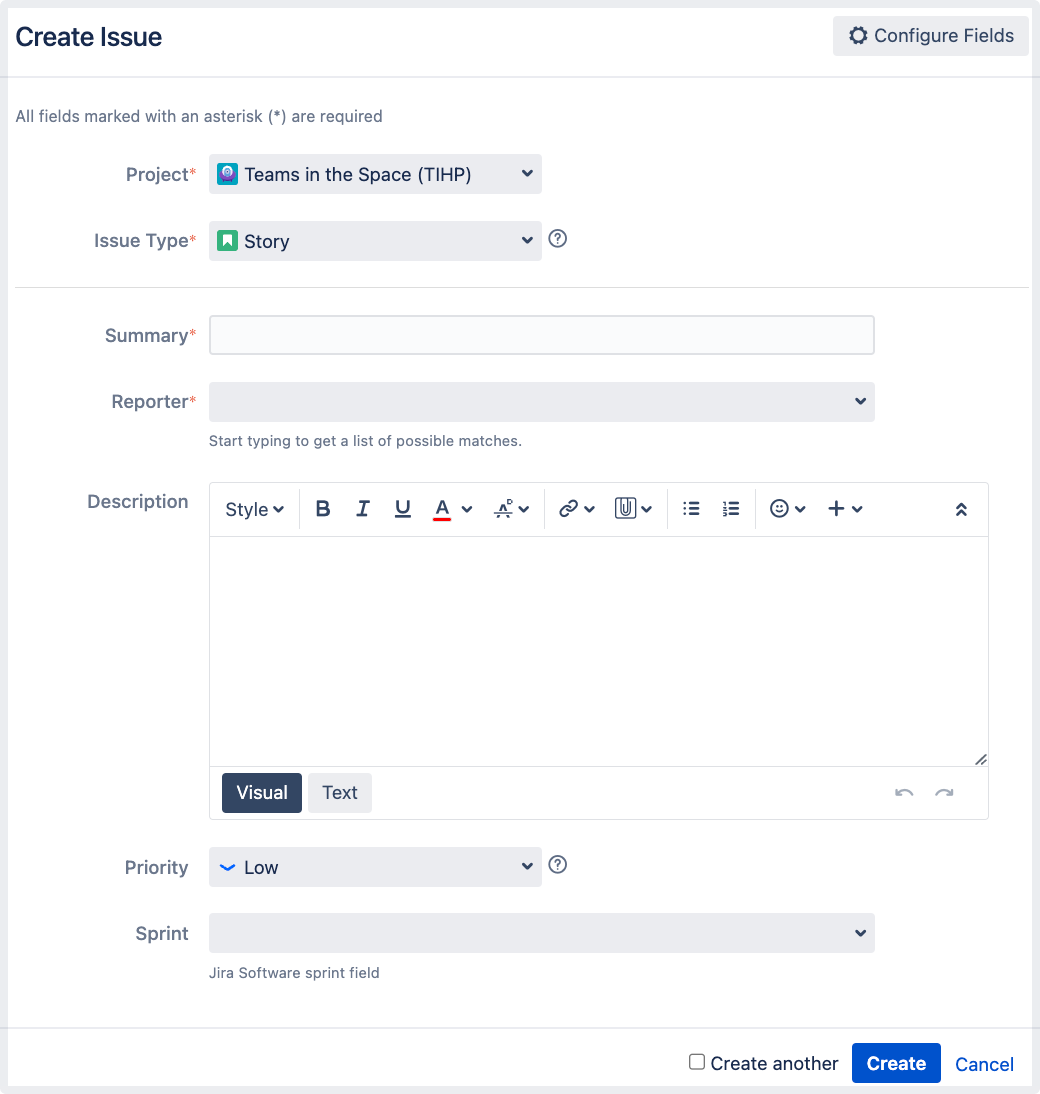
カスタマズ後
課題のカスタマイズに関しては、Jira 管理者とプロジェクト管理者は異なる権限を持っています。Jira における権限の詳細をご確認ください。
プロジェクト管理者が課題を設定する方法
プロジェクト管理者は、次の条件を満たす場合に、プロジェクトで課題のいくつかの側面をカスタマイズできます。
- 既定で有効化されている "拡張プロジェクト管理" 権限を持っている ([プロジェクト設定] > [権限] で確認できます)。
- 変更する画面が他のプロジェクトでも、ワークフローのトランジション画面としても使用されていない
- 画面が既定の Jira 画面ではない (誰もこれらの画面を編集できません)
画面が別のプロジェクトと共有されている場合は、画面を表示したときにその情報が表示されます。

画面が上記の条件を満たしていれば、次の操作を行うことができます。
- 画面に表示されるタブの追加と削除、およびタブ名の編集
- システム フィールドの追加、削除、および再配置
- 既存のカスタム フィールドの追加、削除、および再配置 (カスタム フィールドの作成は不可)
課題操作のための画面を編集する
[プロジェクト] ドロップダウンを開き、画面を管理するプロジェクトを選択します。
- プロジェクト サイドバーで、[プロジェクト設定] を選択します。
- [プロジェクト設定] サイドバーで、[画面] を選択します。
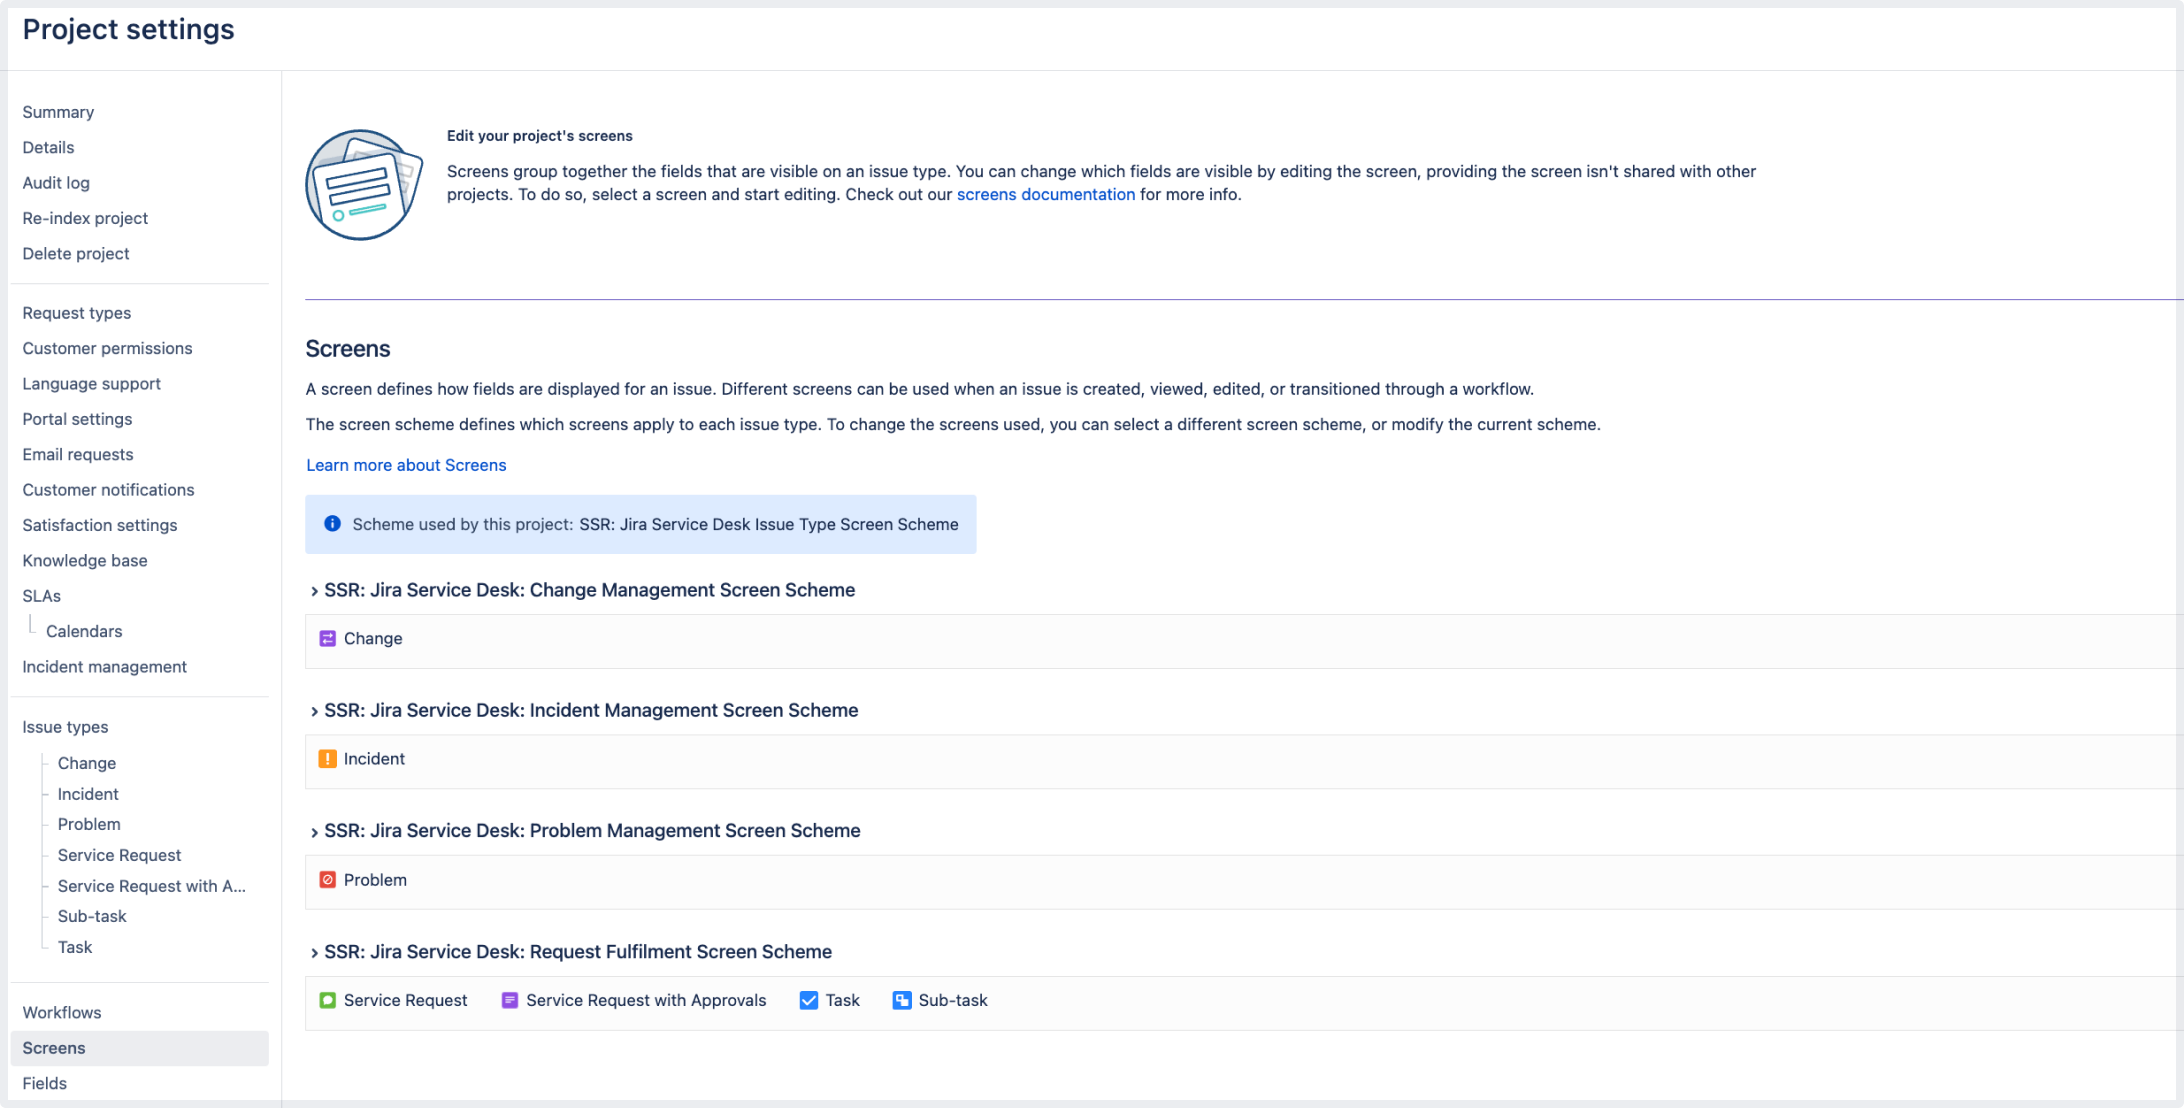
プロジェクトで使用される画面スキーム、およびそのスキームを使用する課題タイプが表示されます。
そのスキームと課題タイプに関連付けられている画面を表示するには、画面スキーム セクションを展開します。画面名を選択して、画面設定を開きます。

[フィールド タブ] — これは、関連するフィールドをグループ化する方法です。
[空の場合に表示] トグル — 有効にすると、空のカスタム フィールドが課題ビューに表示されます。
または、プロジェクト設定の [課題タイプ] タブからプロジェクト画面を設定することもできます。画面を設定する課題タイプを選択すると、同じ画面設定ページが表示されます。
画面の設定ページでは、次の操作を実行できます。
操作 | 手順 |
|---|---|
| タブの追加 |
|
| タブの移動 | タブの点線の部分 (タブ名の横) にカーソルを置き、希望する位置にタブをドラッグします。 |
| タブの名前変更 | 1. タブ名にカーソルを合わせて、鉛筆アイコンをクリックします。 2. 新しいタブの名前を入力し、OK をクリックします。 |
| タブの削除 | タブ名の上にカーソルを置きXをクリックします。 |
| フィールドの追加 |
|
| フィールドの移動 | フィールドの点線の部分 (フィールド名の横) にカーソルを置き、希望する位置にフィールドをドラッグします。 フィールドを別のタブの名前までドラッグして移動し、ドロップします。 |
| フィールドの削除 | フィールドの上にカーソルを置き、表示される X をクリックします。 |
| 課題ビューでの空のフィールドの表示 | データのないカスタム フィールドを課題ビューに表示するには、[空の場合に表示] トグルをオンにします。課題ビューで空のフィールドを非表示にするには、トグルをオフにします。 システム フィールドと同様に、Jira では空のフィールドには自動的に値「なし」が設定されます。 |
Jira 管理者が課題を設定する方法
Jira 管理者の方は、Jira 管理者向けの次のドキュメントで、課題のカスタマイズに関するより詳細な概念情報を確認してください。