Set up an email channel with the Microsoft Graph API protocol
お客様は、自分のメールボックスを使用して、キューにリクエストを送信できます。メールを受信して Jira Service Management でリクエストに変換するには、メール チャンネルをセットアップする必要があります。選択できるプロトコルの 1 つに Microsoft Graph API があります。このプロトコルを使用するには、いくつかの手順を踏む必要があります。
Jira Service Management 5.8 では、Microsoft Graph API は受信メールにのみ使用できます。
Microsoft Graph API は OAuth 2.0 に基づいているため、メール チャンネルのセットアップを開始する前に、Azure Active Directory 統合を設定し、Jira Service Management にアプリケーション リンクを追加する必要があります。OAuth 2.0 と Microsoft Azure の統合の設定方法をご確認ください。
To use Microsoft Graph API for incoming email, you need to add the
Mail.ReadWrite
and offline_access permissions to your API permissions in your Azure Active Directory app registry. You also need to add the following URLs to the Scopes section in the application link configuration in Jira:
https://graph.microsoft.com/Mail.ReadWrite
https://graph.microsoft.com/offline_access
アプリケーション リンクを設定するには、Jira 管理者または Jira システム管理者のグローバル権限を持つユーザーとしてログインする必要があります。


Azure Active Directory との統合と Jira Service Management アプリケーション リンクが準備できたら、メール チャンネルの追加に進むことができます。
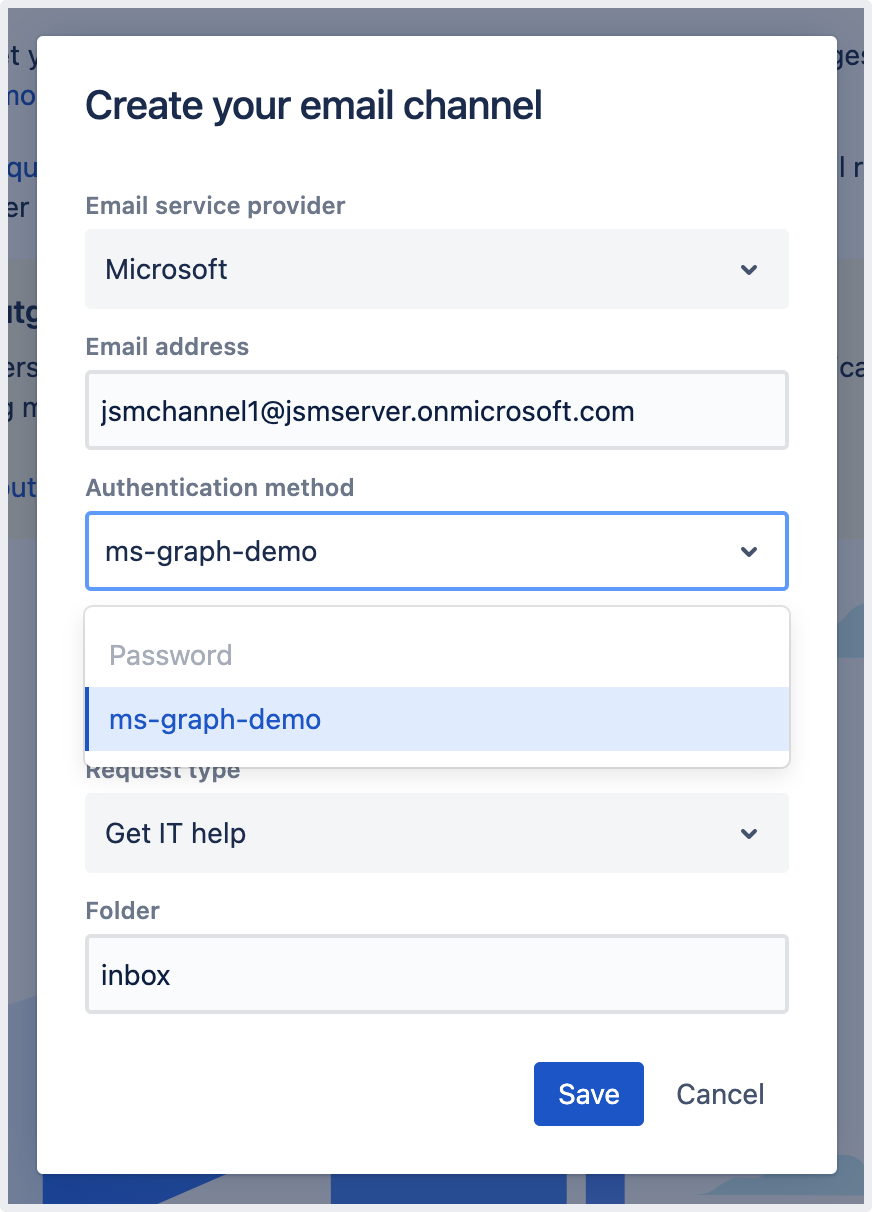
[プロジェクト設定] > [メール リクエスト] に移動して、新しいチャンネルを作成します。
[電子メール サービス プロバイダー] として [Microsoft] を選択し、[電子メール プロトコル] として [Microsoft Graph API] を選択します。
メール アドレスを入力し、認証方式として設定したアプリケーション リンクを選択します。

4. After you select Save , you’ll be redirected to the Microsoft authorization page. Log in and give Jira the required permissions. Once that’s done, you’ll be taken back to the Email requests page in your project settings.
Jira Service Management will test the connection with the newly created Microsoft Graph API email channel and pull the first emails. To see the status of this process, select Actions ![]() > View log next to the new email channel on the Email requests page in your project settings.
> View log next to the new email channel on the Email requests page in your project settings.

Jira Service Management pulls unread emails from the mailbox once a minute. After a message is processed, it’s marked as read. This is done to distinguish between new and old messages. To see what has been processed in your email channel, select Actions ![]() > View log next to the channel on the Email requests page in your project settings.
> View log next to the channel on the Email requests page in your project settings.

Here’s what a ticket that is created from an email looks like:
