Create and push a branch to the remote repository (Git)
When you start on a new feature, you may want to create a branch. Branching offers a way to work on a line of code without affecting the main codebase.
- From Sourcetree, click the Branch button.
- From the New Branch field, enter a name for your branch.
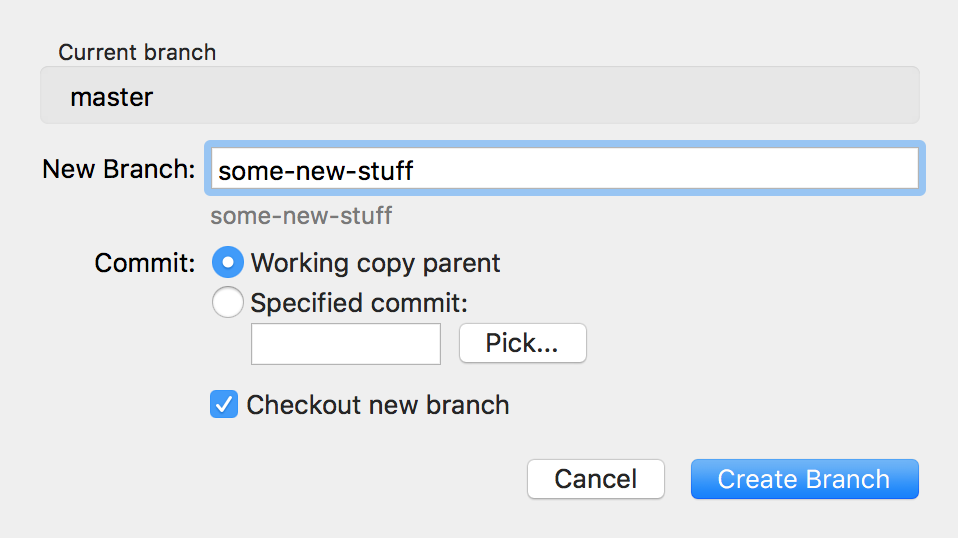
- Click Create Branch.
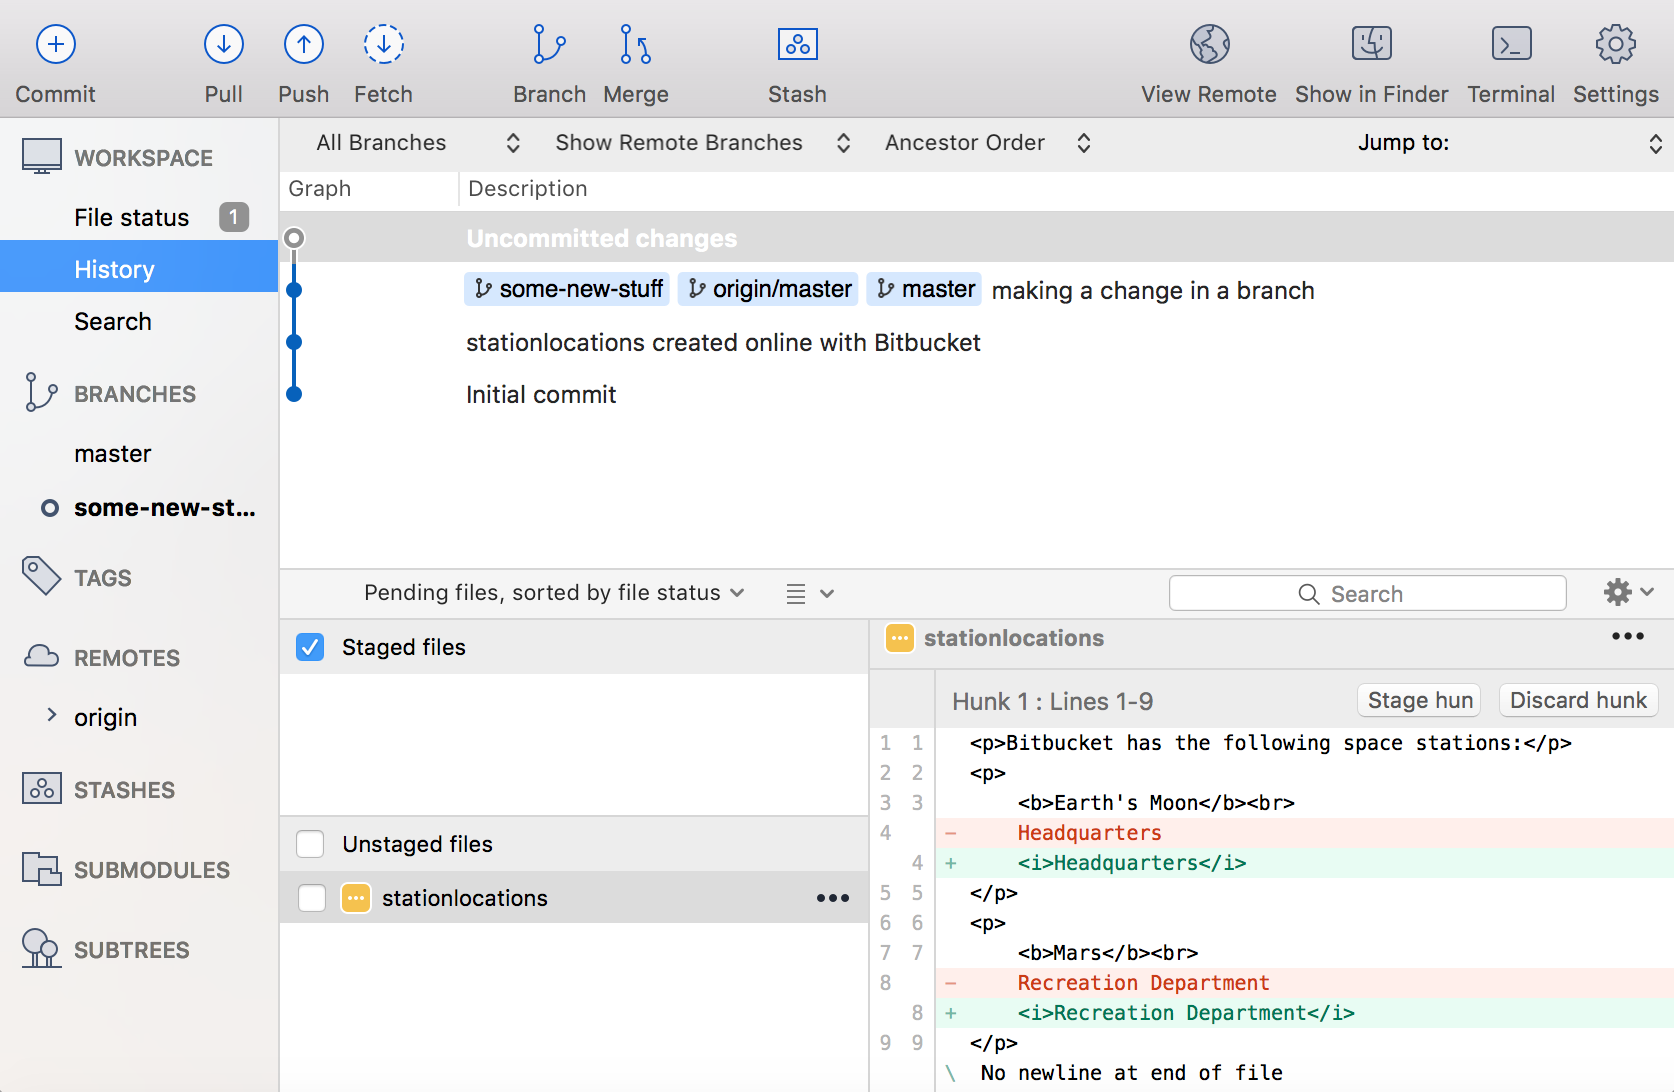
- You're now on your new branch. Make any updates to the repository that you want to make to your branch.
- Open the History view in SourceTree and notice that your repository now has uncommitted changes.
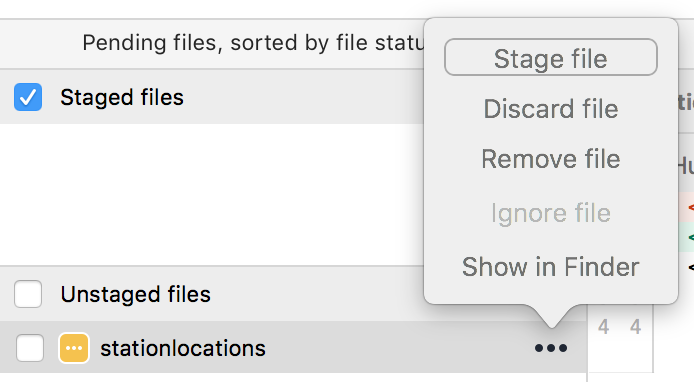
- Selecting Stage file from the options menu of the files.
- 一番上の コミット ボタンをクリックしてファイルをコミットします。
- In the message box, enter a commit message.
Click the Commit button under the box. From Sourcetree's History, you'll see that the file has been updated on your new branch.
Click the Push button to push your new branch to the repository.
- Under the Push? column from the dialog box that appears, select your new branch to indicate that you are pushing that branch to origin and click OK.
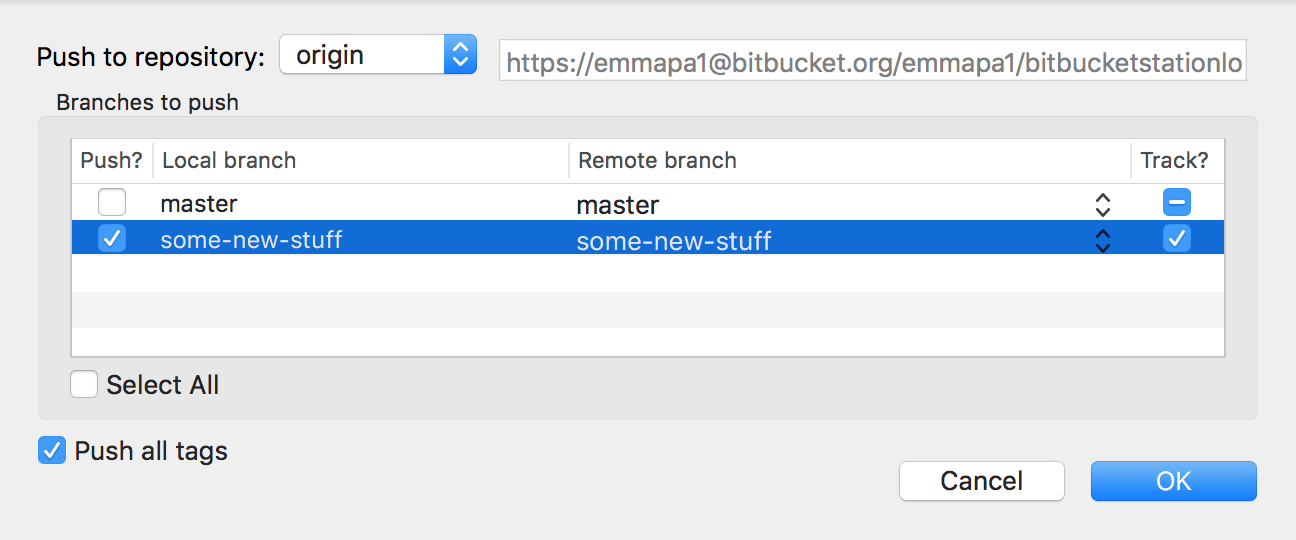
Click the OK button to push changes to your local repository.
最終更新日 2018 年 9 月 27 日
Powered by Confluence and Scroll Viewport.