Use Automation to edit link formatting on Paragraph Fields
プラットフォームについて: Cloud のみ - この記事は クラウド プラットフォームのアトラシアン製品に適用されます。
シナリオ
In this article, we'll describe how you can use Automation and Smart Values to format links added to your issues as Smart Links. This applies to:
- Description Field: By default Smart Links are applied to all compatible URLs inside the description field upon issue creation, however the same does not happen when you edit the description field to include URLs.
- Custom Paragraph Field: for custom fields the URL is not transformed in a smart link, neither during issue creation or edition.
Requirements and Limitations
This functionality is only applicable in the description field and Paragraph custom fields - which supports rich text. In this page you can find more information on how to create a custom field. In addition only compatible links will be transformed into smart links, a list can be found here.
Smart value notation for the smart links
Links can be formatted in three different ways, for each of them we will use a specific notation:
- Inline Link: representation of the page title
- Usage: [URL|URL|smart-link]
- 例:
- Inline Card: smart cards offer richer detail than links
- Usage: [URL|URL|smart-card]
- 例:
- Embedded: interactive preview of link content
- Usage: [URL|URL|smart-embed]
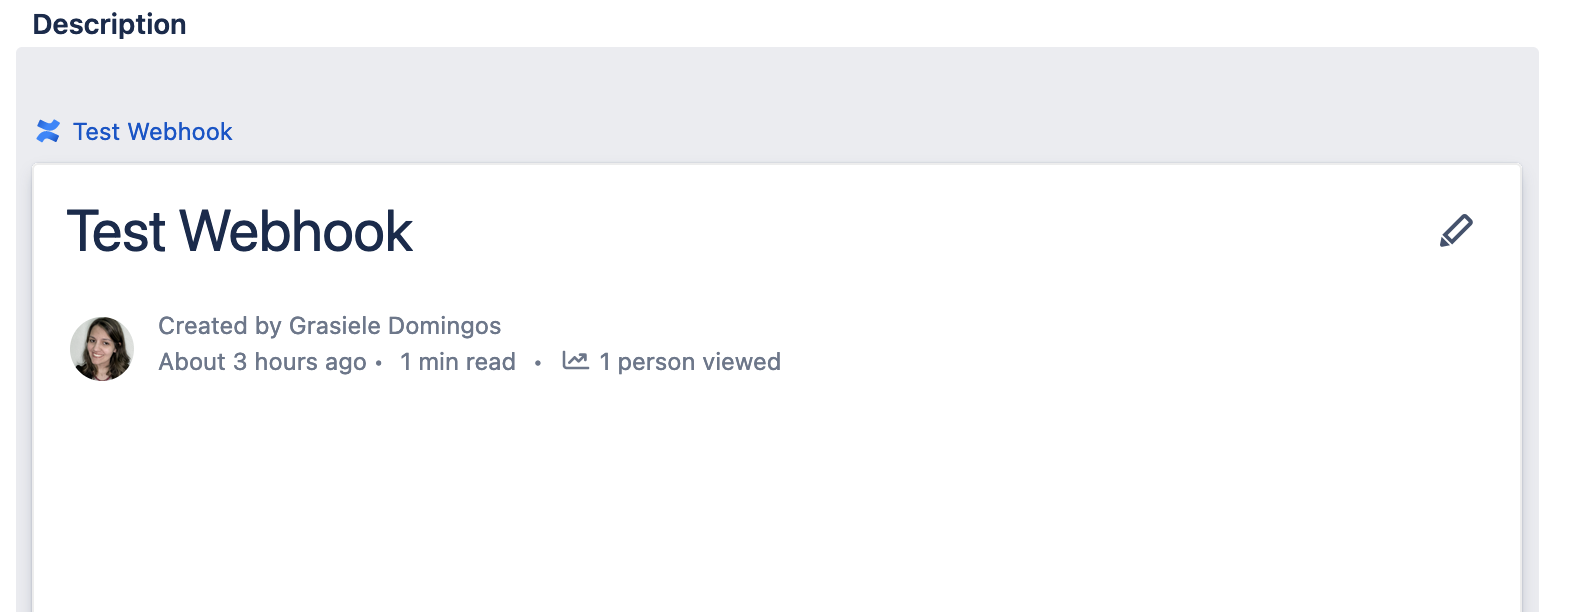
- 例:
Create the Automation
Once you have your field set up, you can proceed to creating the automation that will handle your links.
There are several ways you can perform this, here we will cover two scenarios:
- Detect the existence of a link in a field upon editing an issue.
- Use an automation to create a Confluence page and populate a Jira custom field with the smart link.
Detect the existence of a link in a field upon editing an issue
When editing the description or paragraph custom field, you can add link references to other pages that might be useful in the issue resolution, you can use automation to format these links for better visibility.
- Inside your project, go to Project Settings > Automation
- Click Create rule and set the rule according to the below:
- Trigger: Field value changed
- Fields to monitor for changes: Description
- Change type: Any changes to the field value
- 対象: すべての課題操作
- 保存します。
- Fields to monitor for changes: Description
- Action: Create variable
- Variable name: urlextract
Smart value:
{{description.replaceAll("(\|smart-link)(?=(\]|\|))","")}}- 保存します。
- Variable name: urlextract
- Action: Edit issue
- Under Choose fields to set... select: Description
- Leave it blank
Expand the More options menu and add:
{ "fields": { "description": "{{urlextract.replaceAll("(?<=\|)(.*?)(?=(\]|\|))","$1|smart-link")}}" } }- 保存します。
- Publish your rule ad make sure it is enabled
- Trigger: Field value changed
メモ:
- the example is using the smart-link formatting, however the same can be done with the other formatting types by using: smart-card or smart-embed, instead.
- the example used the Description field, however the same can be applied to a custom field. If you need to apply this for a custom field, you can use the same rule replacing the references to the description field with references to your custom field, this page explains how you can find the smart values for your custom fields.
Use an automation to create a Confluence page and populate a Jira custom field with the smart link
Jira offers the possibility of using automation to create confluence pages from your Jira issues, this page provides details on this functionality. In this example, we create a confluence page and add the link to it into a custom field inside the issue for reference.
- Inside your project, go to Project Settings > Automation
- Click Create rule and set the rule according to the below:
- Trigger: Issue Created
- Action: Create page in Confluence
- Title:
{{summary}} - Space: choose Confluence space from the drop down
- : choose from the drop down
- 保存します。
- Title:
- Action: Edit issue
- Under Choose fields to set... select: your custom field
And add the smart link notation, using the smart values for your confluence page:
[{{createdPage.url}}|{{createdPage.url}}|smart-link]保存します。
- Under Choose fields to set... select: your custom field
- Publish your rule ad make sure it is enabled
メモ:
- the example is using the smart-link formatting, however the same can be done with the other formatting types by using: smart-card or smart-embed, instead.
- the example used the Issue Created trigger, however the same can be done to other triggers, the goals was just to provide an example on how to use the link transformation. More trigger examples can be found on this page.


