Adding a field to the Issue Creation widget and making it mandatory
プラットフォームについて: Cloud のみ - この記事は クラウド プラットフォームのアトラシアン製品に適用されます。
要約
It may be mandatory to populate certain issue fields at the time of issue creation. However, some of these fields may not be visible on the issue creation screen, or the users may skip them due to some reasons.
This article shares the steps to include a given field on the issue creation screen and make it mandatory for the users to populate that field at the time of issue creation.
Making a field visible on the issue creation modal:
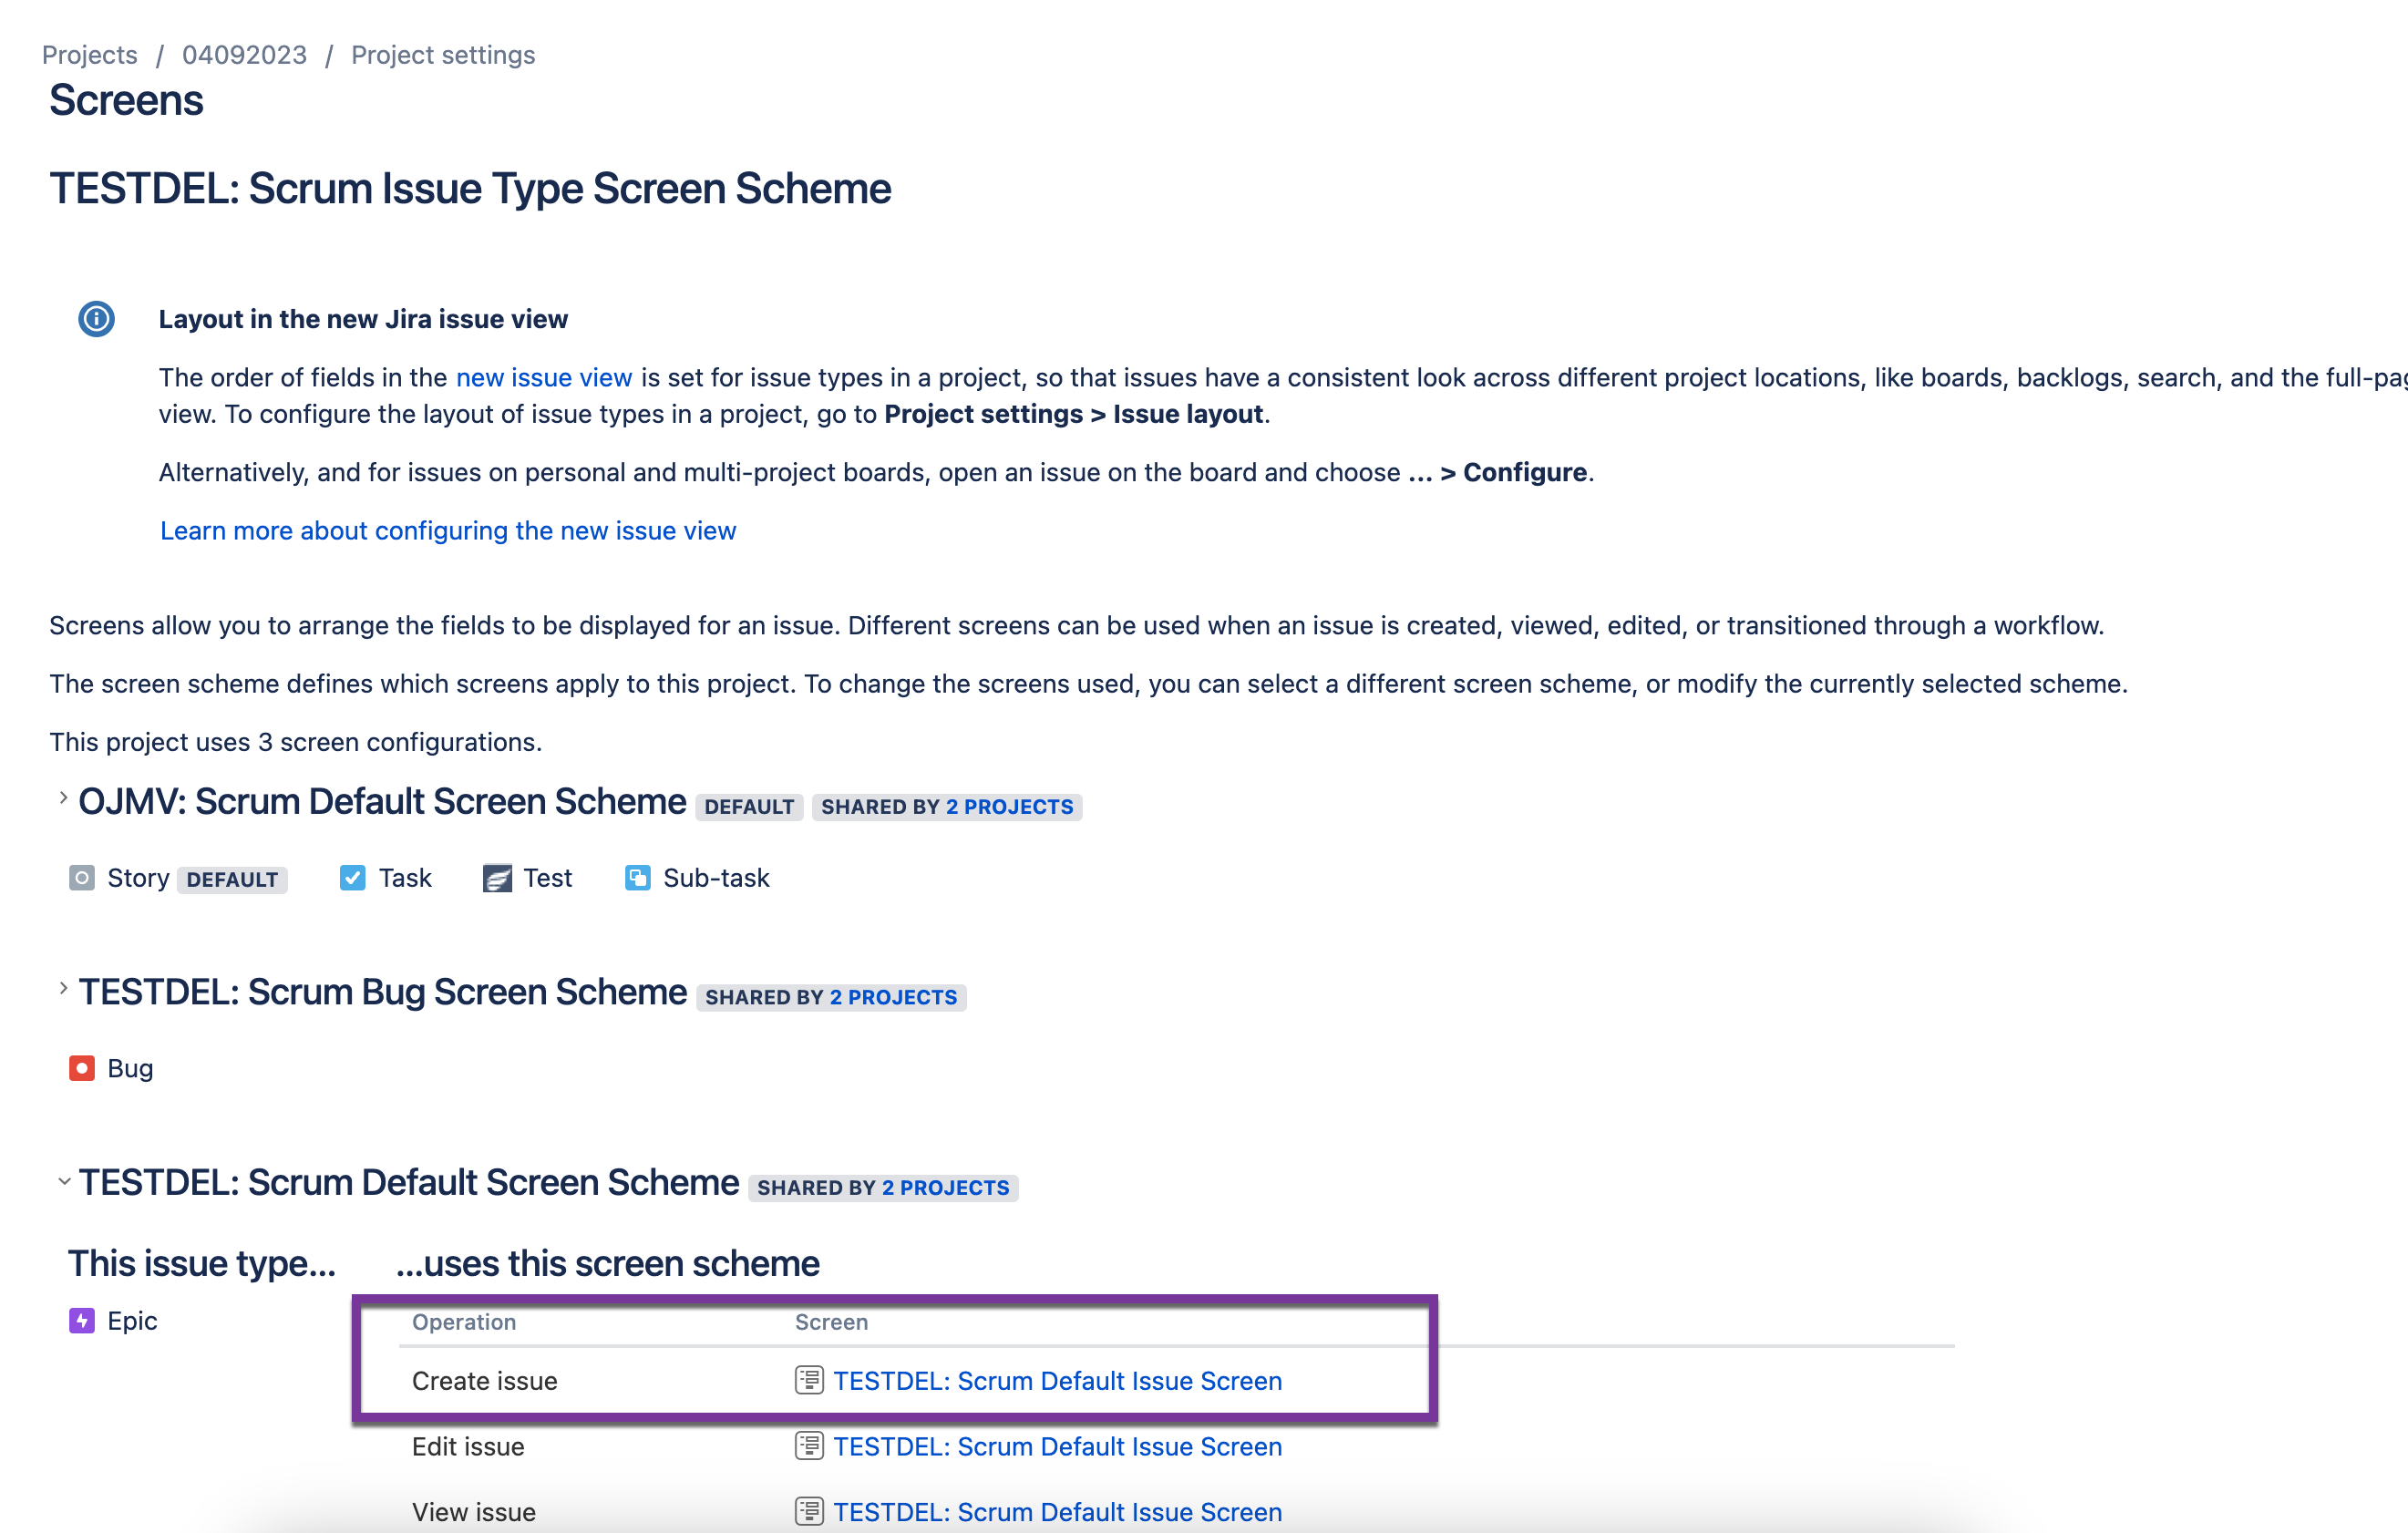
Go to the Project Settings > Issues > Screens.
Select the screen being used for issue creation.
The screen configuration page appears and the fields already available on the screen are present here.
Scroll down to the bottom of the list and search for the field to be added. Select the field from the drop-down and it will be added to the screen.
This field will now be visible when we create a new issue of this issue type.
Making the field mandatory:
Go to Project Settings > Workflows.
Edit the workflow being used for the issue type(s) for which the above steps were done. (Different issue types could be using different workflows, so the one associated with the required issue type should be edited).
Click on the Create Transition. Then select Validators on the right side.
Validators open up in a new tab. Click on Add Validator on the right side.
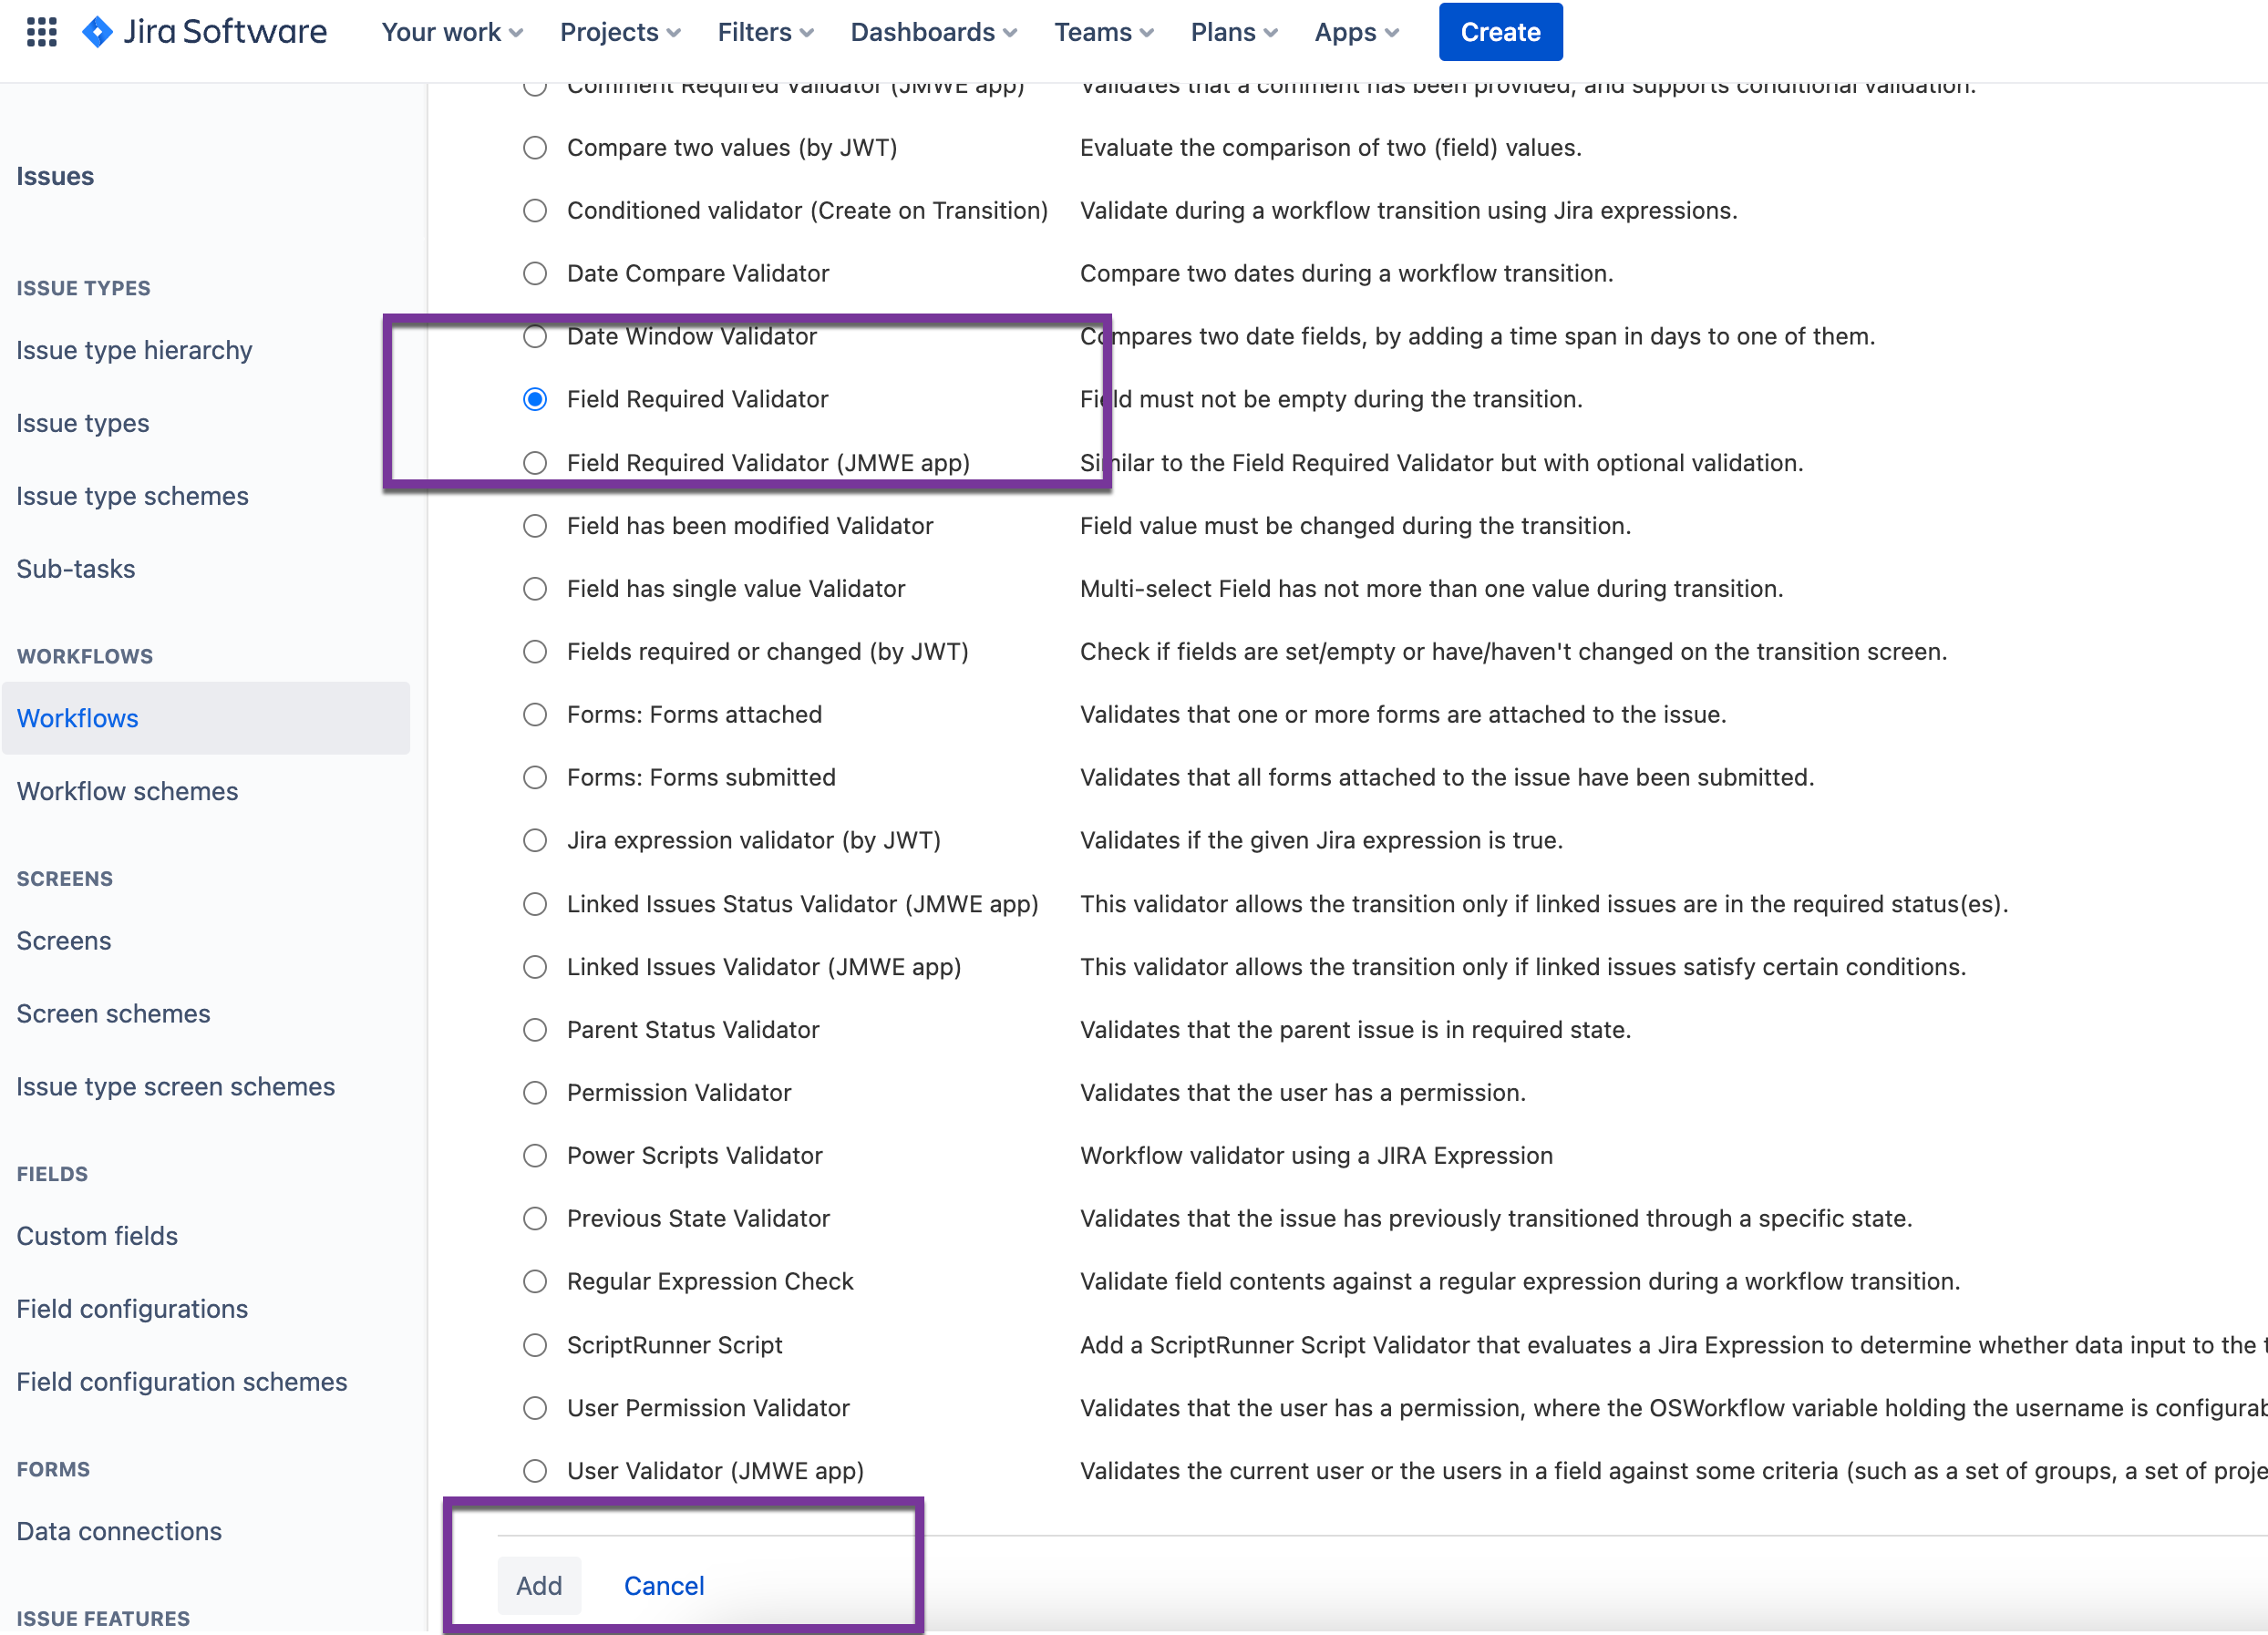
Select the “Field Required Validator” and click Add at the bottom of the list.
In the next screen, select the following settings and then click Add.
Fields required for this transition: Enter the fields that must be mandatory during the issue creation. We can create multiple fields if required.
Error message (optional): Enter the error/warning message to be displayed if users create issues without populating these fields.
Ignore context: Selecting this checkbox will make the field mandatory even if the context for this field isn’t configured.
Return to the workflow screen and select the Publish Draft option to publish the changes made to the workflow.
The changes will be published. If a user creates issues without populating the selected fields, it will display the warning message set under the validator configuration (in Step 6).


