匿名化の再試行
Jira でのユーザーの匿名化を元に戻すことはできません。失敗した場合や中断された場合であっても、ユーザーは部分的に匿名化されるため、匿名化を開始する前のようにそのユーザーを見つけて匿名化することはできません。ここでは、匿名化されたユーザーを見つけて匿名化を再試行する方法について説明します。
次のセクションにジャンプ
このページで説明する範囲について
You will need to retry the anonymization in two cases:
ユーザーの匿名化がエラーによって失敗した。
Jira went down while anonymizing a user, and you’re not sure whether it completed successfully
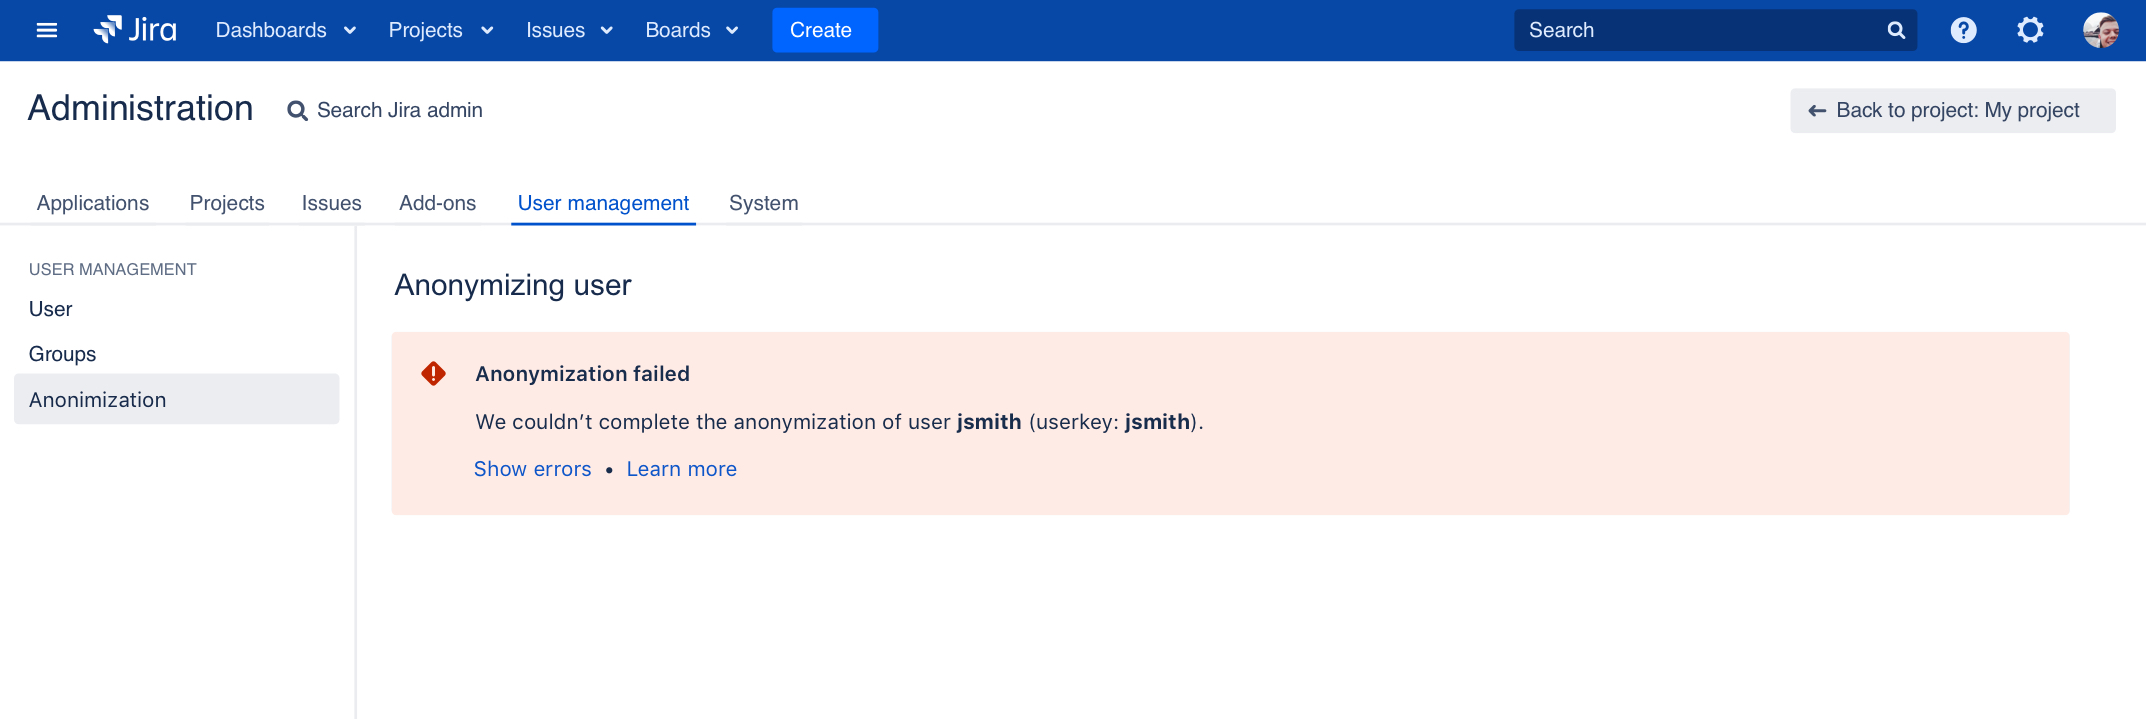
問題の修正
匿名化を再試行する前に、失敗の原因になった問題を修正する必要があります。
Logs
If the error message shown in Jira isn’t enough, you can find more details in the Jira application log:
<home-directory>/atlassian-jira.log匿名化の再試行
ユーザーの匿名化を再試行するには、次の詳細を提供する必要があります。
- 現在のユーザー名 (元のユーザー名と同じか、匿名化済みの場合があります)
- 元のユーザー名
- 元のユーザー キー
監査ログからユーザー情報を取得する
[管理] > [システム] > [監査ログ] に移動します。
Look for an entry “User anonymization started”. This entry contains the original username and user key.

A. Original username
B. Original user keyLook for an entry “User renamed”. If this entry exists, it means that the original username has already been anonymized. If it doesn’t, the user still has the original username, so you can use it as current username.

A. Anonymized full name. Click it to open the user profile and see the current username.
匿名化の再試行
[管理] > [ユーザー管理] > [匿名化] に移動します。
右上の [匿名化を再試行] をクリックします。
現在のユーザー名、元のユーザー名、および元のユーザー キーを入力します。
[匿名化] をクリックします。匿名化は初回の実行時と同じように見えますが、既に匿名化されている対象は省略されます。