カスタム パターンを作成する
You can create your own custom patterns and edit or disable patterns. You can't modify the default pattern, you can just create a custom pattern as a copy of the existing one. You can modify the custom pattern after saving it.
このページの内容
- Create a custom pattern
- Pattern Editor view
- Pattern processing
- Use pattern Command Runner
- プロバイダー クラス
- その他の機能
- Custom pattern for Discovery Agent
Create a custom pattern
To create a custom pattern, run Discovery (use the command Discovery.exe -s), and go to the Pattern tab. Then:
- To create a new pattern, select Create pattern. You'll see the Pattern Editor view in a creation mode with some predefined data.
- To import a pattern from an existing
*.patfile, select Import pattern from file and select the file you need.

- To create a pattern from an existing pattern, find the pattern you need. Then, next to the pattern name, select Copy . You'll see the Pattern Editor view with predefined data and modified Pattern name and ID.

Pattern Editor view
Below, you can see more information about the Pattern Editor view.
プロパティ | 説明 | 必須 | 使用可能な値 |
|---|---|---|---|
名前 | The name that will be displayed on UI and in logs. Should be unique. | はい | Any text value.
|
バージョン | The pattern version in semantic format X.Y.Z (X.Y.Z.W). The version is displayed in logs and helps to identify what exact version of the pattern was executed. | はい | Version in format X.Y.Z |
ID | The pattern's unique ID. It allows to identify patterns while running scan. | はい | Any text value |
Alternative pattern | The pattern that will be executed if current pattern can't be processed. For example, if a PowerShell pattern can't be executed, you can run another pattern by using WMI. | いいえ | Pattern name selected from the list of available patterns |
Order Number | The order number determines the execution sequence of similar patterns. For example, if you have two patterns that set | はい | Numeric value - 1, 2, 3... |
Process Type | Identifies the processing type for the command specified in the Command field. For example, | はい | |
Pattern Type | Identifies the object that will be received as a parameter in the C# code defined in the Processing field. The
| はい | |
コマンド | Command executed on the remote machine. The command execution depends on selected Process type. | いいえ | Any command that can be executed remotely for the specified type |
Processing | C# code used to process data received as output from command execution on a remote machine. The code in the fields will be automatically compiled and checked for errors upon saving. You won't be able to save a pattern if the code can't be executed during a scan. | はい | C# code. |
Pattern processing
The PerformAction method (public void PerformAction(object[] parameters) {}) in the Processing field is mandatory and the Discovery-Tool invokes it with an object array that includes the following three objects:
| パラメーター | objectType | 説明 |
|---|---|---|
| parameters[0] | コマンド結果 | 初期パターン コマンドの結果を含みます。 |
| parameters[1] | iProvider | 検出システムに接続されている実行中のプロバイダークラスを含みます。 このプロバイダーは、必要に応じて他のコマンドを実行するためにパターンで使用されます。 |
| parameters[2] | オブジェクト | スキャンの開始時に最初に作成される HostInfo-/Device-オブジェクトを含みます。 |
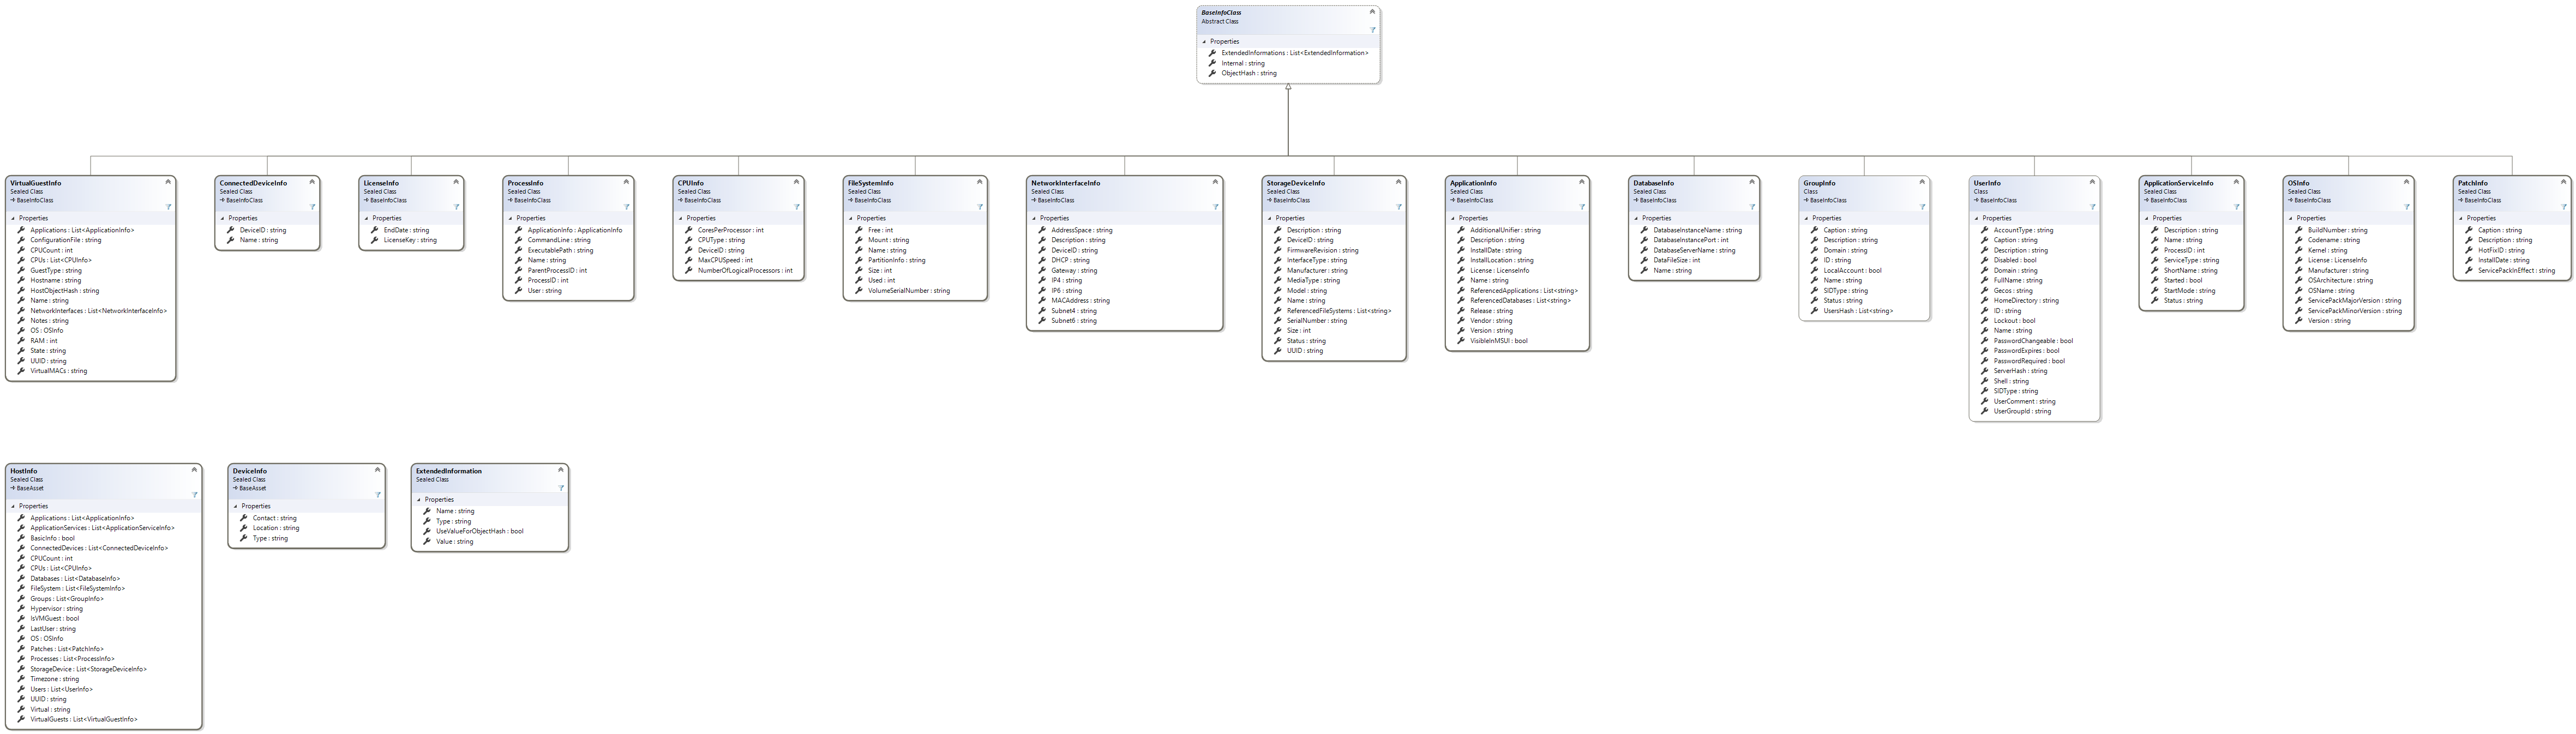
You can use next scan objects and properties to add scan data.
We recommend that you develop and test a new pattern in a non-production environment and set up a connection to the Host or Device that returns the result data you want to handle with from Discovery.
Then, disable all patterns excluding the main HostInfo Pattern, such as Linux_Hostinfo_Hostname, Windows_Hostinfo_Hostname_Model, or SNMP_Deviceinfo_Default. It's mandatory to have a main HostInfo object that includes the Hostname. With this setup, it's possible to quickly test a new pattern without waiting for responses from all other patterns.
To move or copy custom patterns from one Discovery host to another, you need to export and import *.pat files. You can't directly copy patterns.bpat files as it would work only on the instance where it was created.
Check out more custom pattern examples
Use pattern Command Runner
You can execute pattern commands on a specified IP address and see the results immediately, making it easier to tailor patterns to your needs.
To run pattern commands:
- In the Discovery tool, create user credentials.
To easily identify the credentials later, fill in the Label field. If you don't set a label for the credentials, you'll see an ID instead of a label when entering the execution details.

- Go to the Pattern tab and select the pattern you wish to debug (to run a command).
- Select Run pattern command to enable the Command Runner interface.

- Enter the execution details:
- Enter the target IP address.
- From the dropdown menu, select the needed credentials.

- To execute the command defined in your current pattern, select Run.
A debug window will appear, showing both the execution details and the command result.
Process types and command execution
Command execution depends on the selected process type.
プロセス タイプ | Command execution |
|---|---|
WMIQuery | Executes the command as a WMI query. The WMI namespace from the pattern field is used, with root/CIMV2 as the default. |
WMIExecute | Executes the shell command as a separate Windows process. |
WMIRegValue | Executes the WMI provider to read a specific registry value for the registry key in the command. |
WMIRegValueList | Executes the WMI provider to read a list of subkeys for the registry key in the command. |
PowerShellExecute | Executes the command as a PowerShell command. |
SSHExecute | Executes the command via SSH. |
VIMObject | Executes the command using the VMware.VimClient provider. |
SNMP_GET and SNMP_WALK | Executes the SNMP command. |

Known pattern Command Runner limitations
When Discovery runs on Linux using Mono, it can't execute WMI commands. As a result, the Command Runner UI elements for WMI process types will be hidden.
プロバイダー クラス
For connecting to Host or Devices, there are four types of Providers used by the Discovery-Tool:
The following sections describe Providers handling the connection and execution of commands to collect data.
Inside a Pattern, you can use the actual connected Provider to execute additional commands if more information from the System is needed.
SSH プロバイダー
The SSH-Provider-Class is connected to a Linux System and can be used inside a Pattern:
using Insight.Discovery.ProviderClasses; // Include the ProviderClasses Namespace at the Head of the PatternCode
using Insight.Discovery.InfoClasses; // Include the InfoClasses Namespace at the Head of the PatternCode
// Casting the connected Provider out of the parameters from the PerformAction-Method
SSHProvider ssh = (SSHProvider)parameters[1];
// using the SSH-Provider to execute a command and receiving the result.
var result = (SSHExecuteResult)ssh.ExecuteCommand("hostname"); // returning the hostname of a Linux System
For example, a cast SSHProvider is used in the "Linux_Hostinfo_Hostname.pat" Pattern.
WMI プロバイダー
The WMI-Provider-Class is connected to a Windows System and can be used inside a Pattern:
using Insight.Discovery.ProviderClasses; // Include the ProviderClasses Namespace at the Head of the PatternCode
using Insight.Discovery.InfoClasses; // Include the InfoClasses Namespace at the Head of the PatternCode
// Casting the connected Provider out of the parameters from the PerformAction-Method
WMIProvider wmiProvider = (WMIProvider)parameters[1];
// using the WMI-Provider to read a Registry Value.
var result = (WMIRegValueResult)wmiProvider.GetRegistryValue("HKEY_LOCAL_MACHINE\SOFTWARE\Microsoft\Windows\CurrentVersion\Uninstall\<Key>", "DisplayName");
// using the WMI-Provider to get a List of all Registry-Sub-Keys.
var result = (WMIRegValueListResult)wmiProvider.GetSubKeysFromRegistry("SOFTWARE\Microsoft\Windows\CurrentVersion\Uninstall\");
//using the WMI-Provider to execute a WMI query receiving the result.
var result = (WMIQueryResult)wmiProvider.ExecuteWMIQuery("netstat -an");
//using the WMI-Provider to execute a command and receiving the result.
var result = (WMIExecuteResult)wmiProvider.ExecuteWMICommand("netstat -an");
SNMP プロバイダー
The SNMP-Provider-Class is connected to a SNMP Device and can be used inside a Pattern:
using Insight.Discovery.ProviderClasses; // Include the ProviderClasses Namespace at the Head of the PatternCode
using Insight.Discovery.InfoClasses; // Include the InfoClasses Namespace at the Head of the PatternCode
using System.Text;

// Casting the connected Provider out of the parameters from the PerformAction-Method
SNMPProvider snmp = (SNMPProvider)parameters[1];

// (Optional) Return octet strings as HEX
snmp.OctetStringAsHex = true;

// (Optional) Set encoding for octet string (Encoding.ASCII, Encoding.UTF8, Encoding.Unicode, or Encoding.UTF32)
snmp.OctetStringEncoding = Encoding.ASCII;

// using the SNMP-Provider to execute a SNMPGet command and receiving the results
var result = (SNMPExecuteResult)snmp.ExecuteCommand("1.3.6.1.2.1.1.6.0", ScanProcessType.SNMP_GET, true);

// using the SNMP-Provider to execute a SNMPWalk command and receiving the results
var result = (SNMPExecuteResult)snmp.ExecuteCommand("1.3.6.1.2.1.2.2.1.2", ScanProcessType.SNMP_WALK, true);

// using the SNMP-Provider to execute a SNMPWalk command with contextName and receiving the results
var result = (SNMPExecuteResult)snmp.ExecuteCommand("1.3.6.1.2.1.2.2.1.2", ScanProcessType.SNMP_WALK, "myContext",true);
VIM プロバイダー
The SNMP-Provider-Class is connected to a VMWare ESXi System and can be used inside a Pattern:
using Insight.Discovery.ProviderClasses; // Include the ProviderClasses Namespace at the Head of the PatternCode
using Insight.Discovery.InfoClasses; // Include the InfoClasses Namespace at the Head of the PatternCode

// Casting the connected Provider out of the parameters from the PerformAction-Method
VIMProvider snmp = (SNMPProvider)parameters[1];

// using the VIM-Provider to execute a command and receiving the results
var result = (VIMCommandResult)snmp.ExecuteCommand("HostSystem");
その他の機能
ImportService
アプリの InstallDate など Discovery-Object の Date 属性を設定する場合は、特定の形式 ("MM/dd/yyyy") にする必要があります。
提供される ImportService.ImportDate メソッドを使って変換を実行できます。
using Insight.Discovery.Tools; // Include the Discovery Tools Namespace at the Head of the PatternCode

// using the ImportDate Method to transform the Date string of a result Object
discoveryObject.InstallDate = ImportService.Instance.ImportDate("resultDateString");

// The following input formats will be transformed:
// "MM/dd/yy", "M/dd/yy", "MM/dd/yyyy", "M/dd/yyyy", "MM/dd/yy", "M/d/yy", "MM/d/yyyy", "M/d/yyyy", "yyyyMMdd", "yyMMdd", "dd.MM.yy", "dd.MM.yyyy", "MMM-dd-yy", "MMM-dd-yyyy", "yyyy-MM-dd"
LogService
Discovery ログファイルにエントリを書き込む場合は、提供される LogService クラスが使えます。
using Insight.Discovery.Tools; // Include the Discovery Tools Namespace at the Head of the PatternCode

// creating a "normal" log entry
LogService.Instance.LogNormal("My normal log entry");

// creating a "debug" log entry with additional Exception object
try
{
	LogService.Instance.LogDebug("a debug log entry");
	// Code that could raise an exception
}
catch (Exception ex)
{
	LogService.Instance.LogError("Log of an exception", ex);
}
Custom pattern for Discovery Agent
Starting from Discovery Agents 7.1.0, you can use custom pattern for Discovery Agent scans:
- Create a custom pattern.
- Go to the Agent tab of the Discovery tool.
- Select Patterns transfer and select the custom pattern.
- Save the selection.
The Discovery tool will generate a secure agent_patterns.bpat file. During the next data collection from the connected agents, this agent_patterns.bpat file will be transferred to the Discovery Agent and securely stored using an Agent Token generated by the agent. If the file is modified on the Discovery side (if the list of patterns changes or a custom pattern is edited), it'll be re-generated and sent to the agent.
If you aren't using Discovery Agents 7.1.0 (or later) together with the Discovery tool, you can configure the custom patterns list in the following way:
Create a custom pattern.
In the Pattern Transfer list, select your patterns.
Save the selection.
Run
Discovery -exportpatterns. More about Discovery commandsCopy the
agent_patterns.bpatfile from<Discovery root folder>/pattern_exportto all the agents. Discovery Agent shouldn't have AgentToken configured.
On next Discovery Agent scan run, the new pattern list will be executed.