JSON インポート
このインポート タイプでは、JSON ファイルを使用してアセットにオブジェクトがインポートされます。インポートの詳細をご確認ください。
インポートを作成、設定、有効化するには、ユーザーがオブジェクト スキーマのアセット マネージャーである必要があります。
次のセクションにジャンプ:
はじめる前に
JSON ファイルをインポートするには、以下のことについても把握しておく必要があります。
アセットにインポートする JSON ファイルは、JSON 標準に従っている必要があります。
JSON ファイルのサイズの上限は 10 MB です。
さらに、セレクターを使用しても、使用しなくてもオブジェクト タイプ マッピングを作成できますが、これは JSON ファイルの構造によって異なります。セレクターを使用する場合は、[Attribute.*[Attribute] という形式にする必要があります。
JSON ファイルのインポート
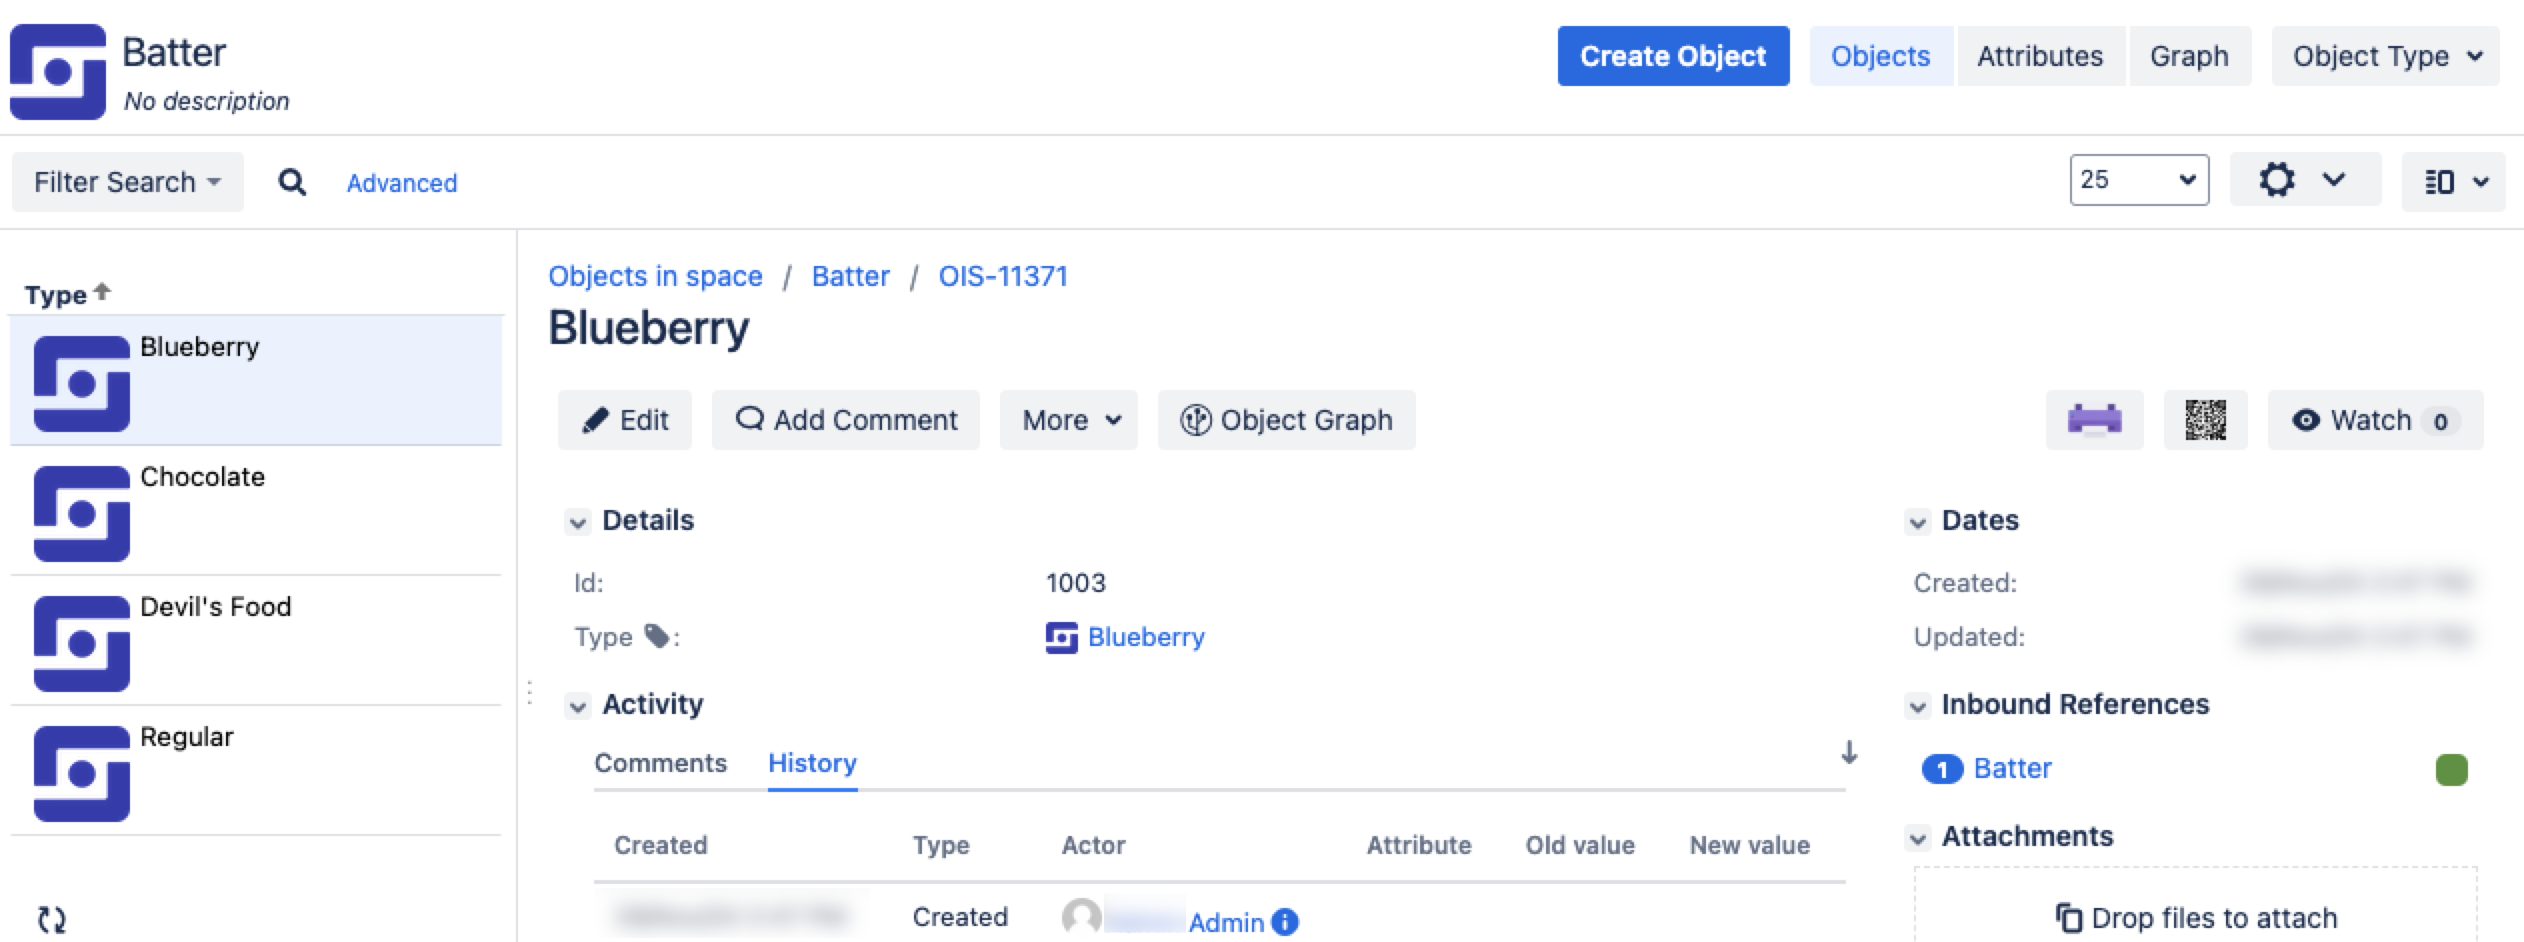
テスト目的で、次の JSON ファイルのサンプルを使用できます。このファイルを使用すると、マッピングを含む 3 つのオブジェクト タイプを作成し、オブジェクト参照を行うことができます。このファイルには、生地やトッピングなど、ケーキに関する情報が含まれています。
{
	"id": "0001",
	"type": "donut",
	"name": "Cake",
	"ppu": 0.55,
	"batters":
		{
			"batter":
				[
					{ "id": "1001", "type": "Regular" },
					{ "id": "1002", "type": "Chocolate" },
					{ "id": "1003", "type": "Blueberry" },
					{ "id": "1004", "type": "Devil's Food" }
				]
		},
	"topping":
		[
			{ "id": "5001", "type": "None" },
			{ "id": "5002", "type": "Glazed" },
			{ "id": "5005", "type": "Sugar" },
			{ "id": "5007", "type": "Powdered Sugar" },
			{ "id": "5006", "type": "Chocolate with Sprinkles" },
			{ "id": "5003", "type": "Chocolate" },
			{ "id": "5004", "type": "Maple" }
		]
}「Name」属性をラベルとして選択すると、「Blueberry」、「Chocolate」、「Devil’s Food」、「Mail Server」の 4 つのオブジェクトが作成されます。その結果、次のような構成になります。
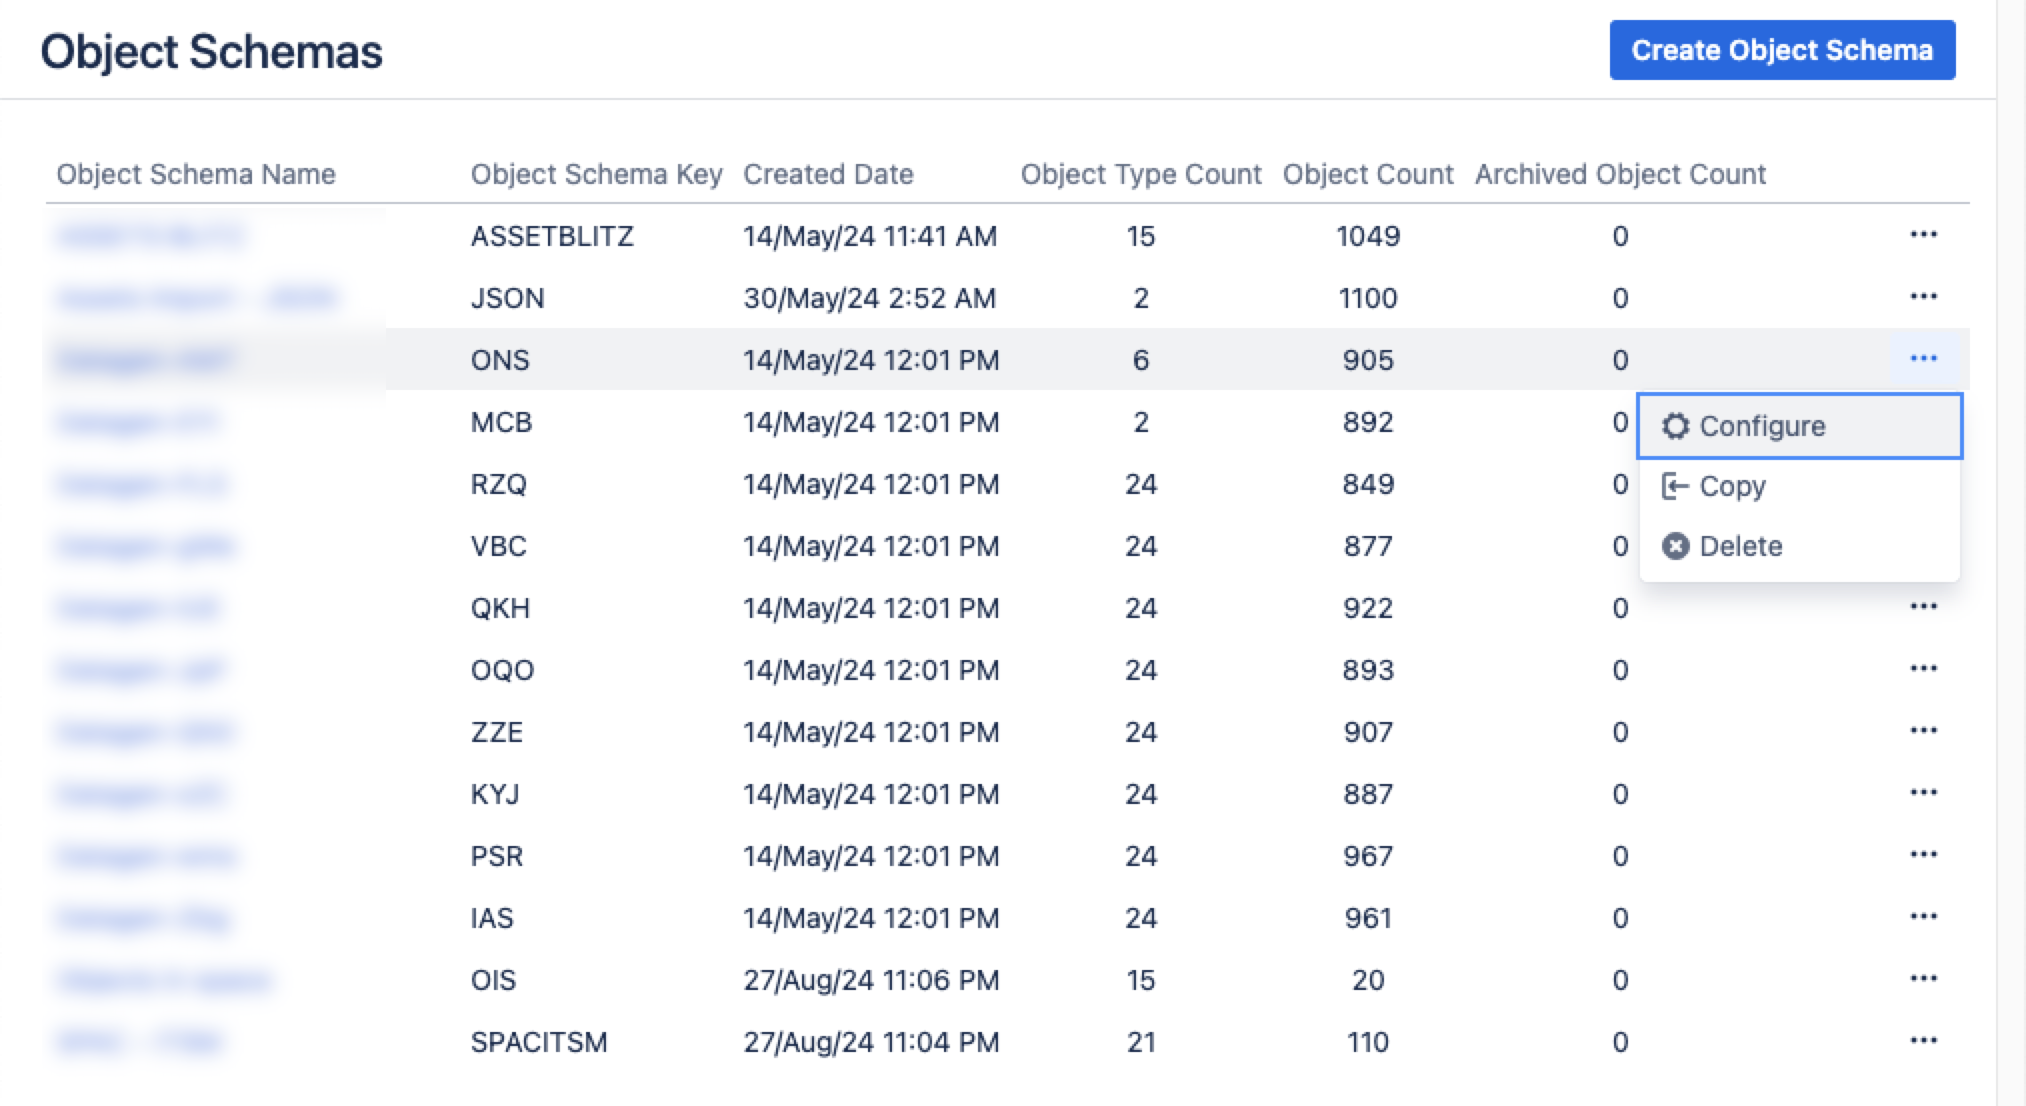
サービス プロジェクトから、[アセット] > [オブジェクト スキーマ] の順に移動します。
[オブジェクト スキーマ] リストから [ その他のアクション] > [構成] の順に選択します。
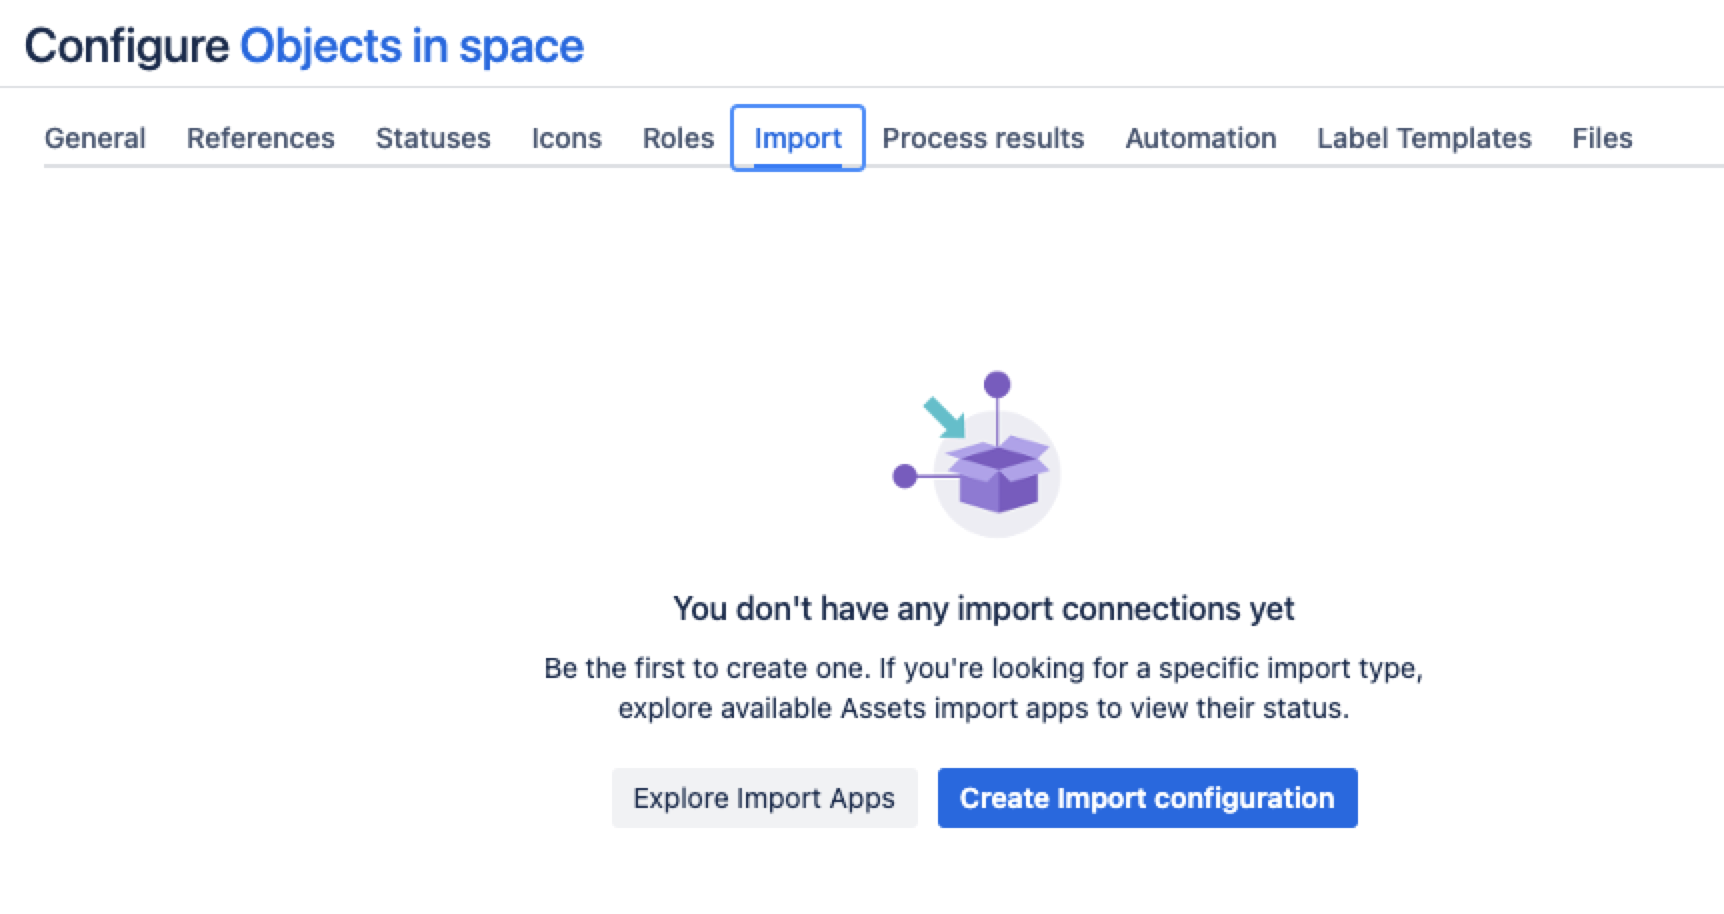
スキーマ構成ビューで [インポート] タブを開きます。
[インポート] タブで、次の手順に従います。
インポート構造がない場合は、「インポート接続はまだありません」というメッセージが表示されます。新しいインポート構造を作成するには、[インポート設定を作成] を選択します。
インポート構造が作成済みである場合は、[設定を作成] を選択します。
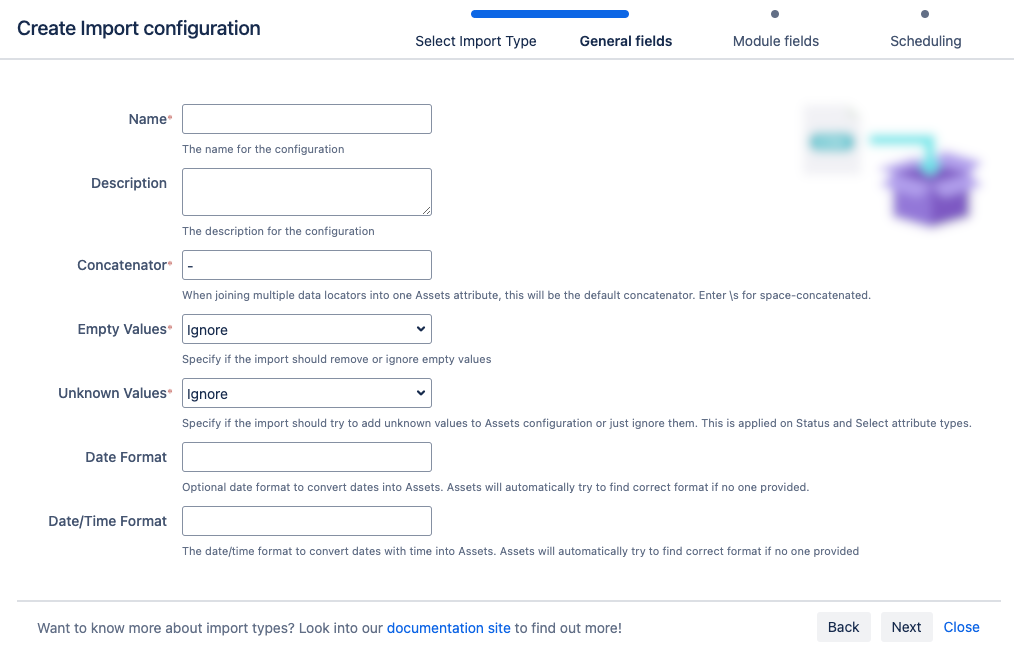
[CSV インポート] > [次へ] の順に選択します。
[一般]、[モジュール]、[スケジュール] の各インポート フィールドに入力します。
7. [インポート設定を保存] を選択します。
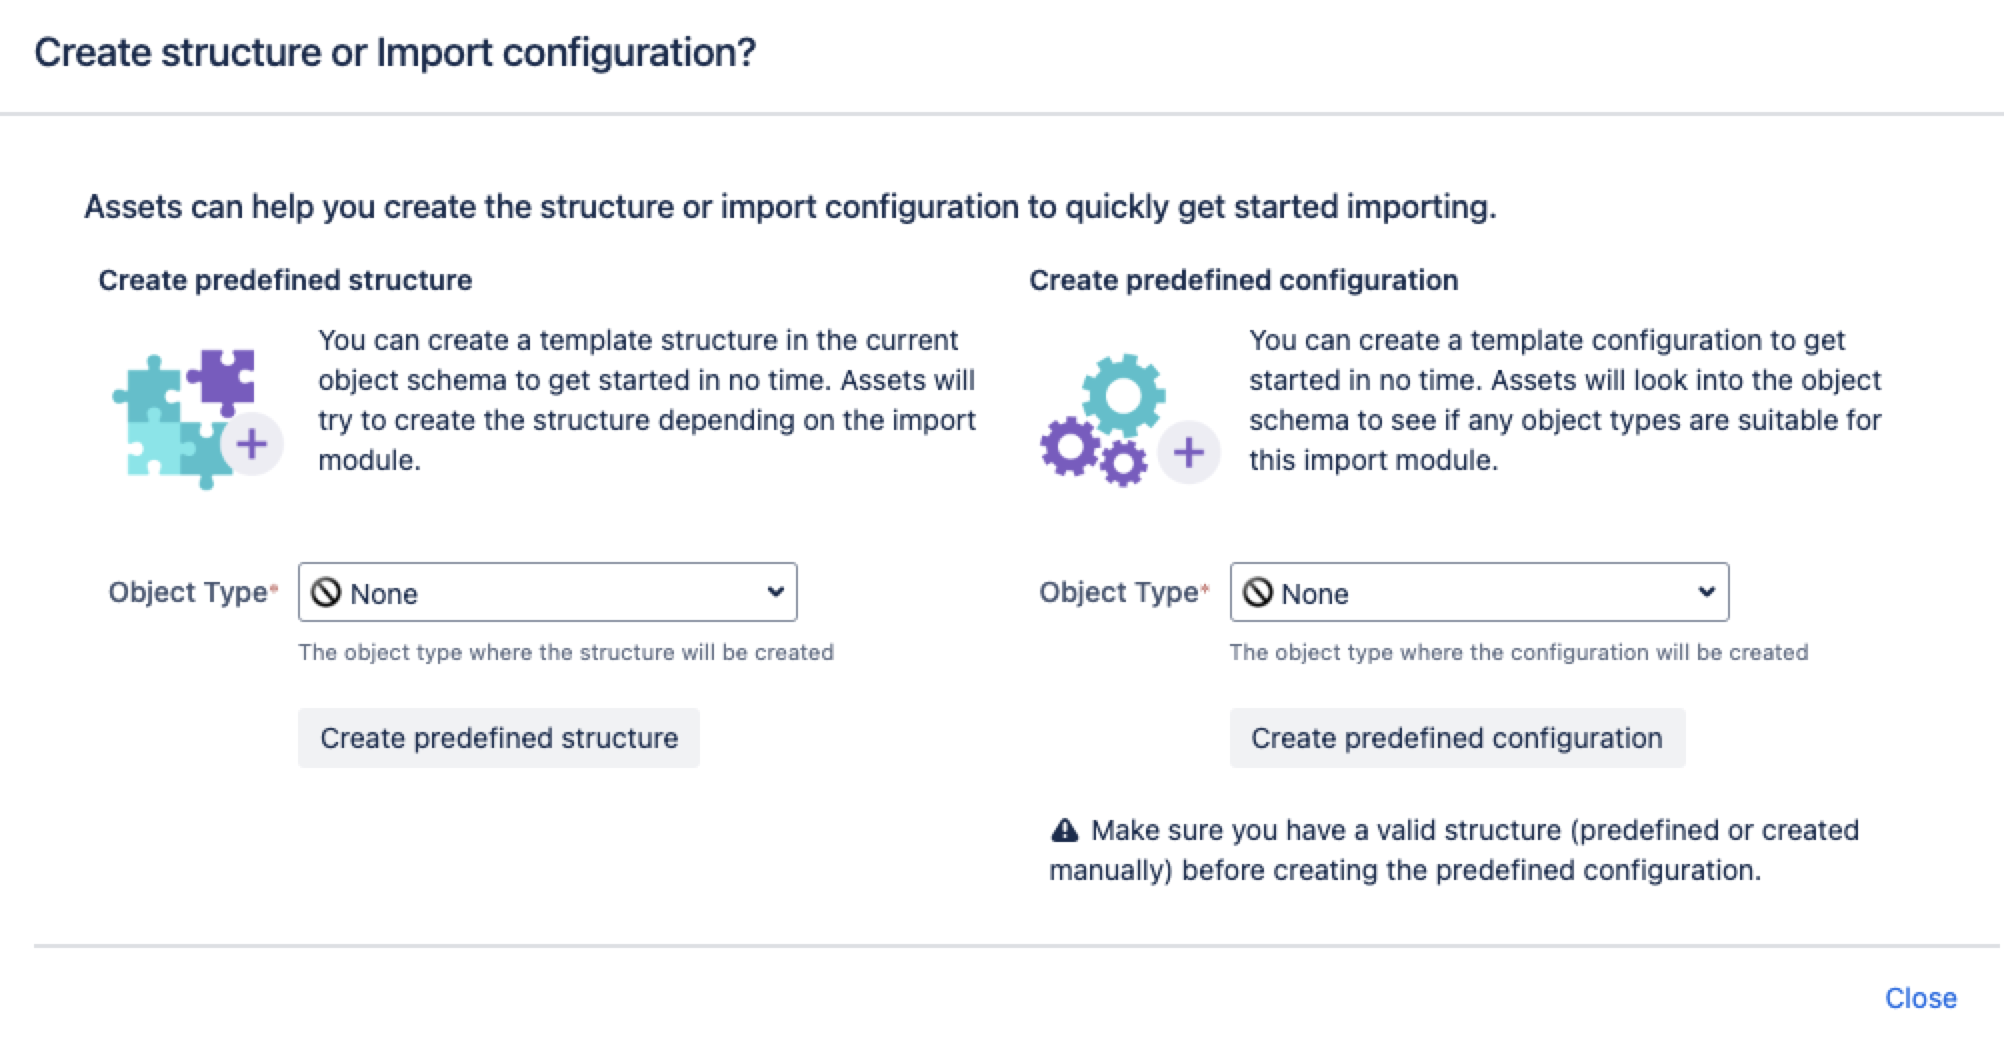
次に、JSON ファイル用の定義済みの構造と設定を作成できます。
事前定義済みの構造と設定
定義済みの構造を作成する – これにより、スキーマに属性と関係を持つオブジェクト タイプが作成されます。
定義済みの構成を作成する – これにより、インポート構成にタイプ マッピングが作成されます。
JSON のインポートの場合、定義済みの構造と設定は、設定に存在する JSON ファイルまたは URL に基づいて作成されます。初期設定では、一部のオブジェクト タイプ マッピングが無効になっている可能性があります。すべてのオブジェクト タイプ マッピングが有効になっていることを確認してください。
作成されたインポート設定
これでインポート設定を表示できるようになりましたが、まだ準備が完了していません。引き続き、オブジェクト タイプと属性のマッピングを作成または確認して、インポート設定に問題がないことを確実にする必要があります。
準備できたら「2. オブジェクト タイプと属性マッピングを作成する」に進みます。
最後に一言
次のステップでは、オブジェクト タイプと属性マッピングを作成します。JSON インポート タイプに固有の設定をいくつか紹介します。
オブジェクト タイプ マッピングの設定
名前 | 説明 |
|---|---|
| セレクター | JSON インポートのセレクター。
例:
JSON 配列のみがセレクターとして有効です。 |
属性マッピングの設定
名前 | 説明 |
|---|---|
| attribute1[*].attribite2[*].. | 指定されるデータ ロケーターは、JSON と設定されているセレクターによって異なります。 |
既知の制限事項
Currently, the JSON import doesn’t support the use of OAuth tokens or API tokens for authentication when importing the JSON file using a URL. Only basic authentication is supported. As a workaround, you can save the JSON file on Jira's host and import the file again. This method can be used to bypass authentication issues, but it doesn’t support automatic, scheduled imports directly from external sources.
To automate schedule imports directly from external sources, you can save new JSON output with the same filename and archive older versions with a date and timestamp. This allows the use of scheduled file upload imports, but requires careful file management to ensure the correct file is imported each time.
