高度なリポジトリ管理
この機能は、Bitbucket Data Center ライセンスを持っている場合にのみ利用できます。
In Bitbucket Data Center, you can manage all of the repositories in your instance from the Repositories page in the Administration area. You can also create a new repository from here.
On this page
Related pages: Forks

Filtering options include:
Repository type - helps you filter on repositories by their type, such as those that are:
in projects
パブリック
personal
Status – lets you filter on a repository’s status, which includes:
- archived
- アクティブ
- すべて
Last changed - lets you specify a date range to find repositories based on the latest changes made to them such as:
作成
push
ref-change
移動
changes to name or description
changes to settings for default branch, forking, and public access
- Size - lets you find repositories based on their size
Search - find repositories by name, description, project, or user.
To view all repositories in Bitbucket, go to Administration ![]() > Repositories (under Git). Select all or multiple repositories from the list and you’ll then have options to perform bulk delete or move actions on them.
> Repositories (under Git). Select all or multiple repositories from the list and you’ll then have options to perform bulk delete or move actions on them.
リポジトリ サイズ
The repositories in your instance may also display an approximate size. For repositories without forks, the size is calculated by the size of their objects. For forks, the size is calculated by the size of their objects unique to the fork that is not shared with the upstream repository.
If a forked repository has not had anything added to it, it may display as 0 value. If there is no value shown, the size of the repository couldn't be calculated.
For more details about missing or 0 B repository size (as well as a delayed listing of repositories and no date shown), see our Missing information in advanced repository management pages article.
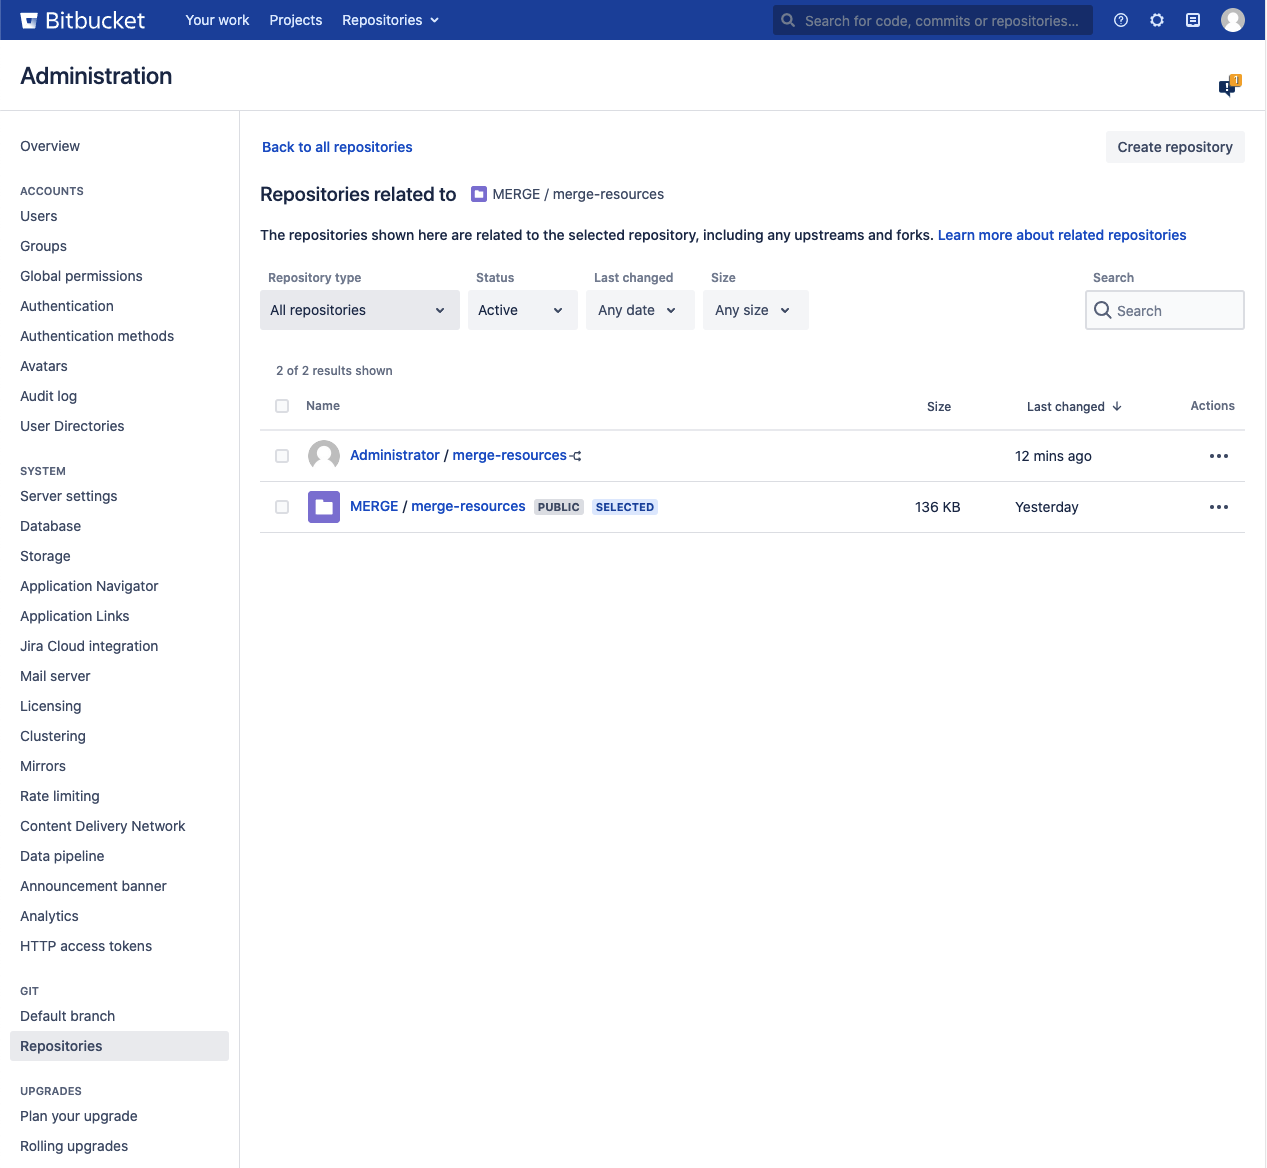
Related repositories
Advanced repository management provides the ability to review all repositories that are related to one selected from the Repositories page.
To view all related repositories:
On the Repositories page, select ••• > Related repositories next to a single repository.
A new page then opens so that you can review all related forks and upstream repositories.
The same filter options are available here as on the Repositories page.
When you fork a repository, you create a hierarchy of related repositories. The original repository is the root, and any parent repository of a fork is considered an upstream repository.
For example, the below hierarchy shows us that AQUARIUS is the root repository as well as the upstream to forks LEGACY and NEXTGEN.

NEXTGEN is forked to create personal repositories. So then, NEXTGEN becomes an upstream repository with two direct forks, ELLEN’S FORK and NIEL’S FORK.

リポジトリを削除する
If you’d rather not delete a repository, you can archive it instead. Learn more about how to archive repositories
You can choose to delete one or multiple repositories at once. Deleting a forked repository does not delete the upstream repository, nor will deleting an upstream delete any of the forked repositories.
Deleting a repository that has related repositories will not remove its contents from the disk until all of its related repositories are deleted.
To delete a single repository:
Select a repository from the list.
Select ••• > Delete.
To confirm, select Delete.
To delete more than one repository:
Select all or individual checkboxes next to each repository.
Select Delete
 .
.To confirm, select Delete.
Move a repository
You can choose to move one or multiple repositories at once.
To move a single repository to another project:
Select a repository from the list.
Select ••• > Move.
Select the project from the Project list where you want to move the repository.
If required, change the name of the repository.
To confirm, select Move.
The repository will inherit the access rights of the project selected, and the clone URL is modified.
You’ll have to update the remote using the command, git remote set-URL.
To move more than one repository:
Select all or individual checkboxes next to each repository.
Select Move
 .
.Select the project from the Project list where you want to move the repositories.
To confirm, select Move.