Java と Bamboo を使い始める
このチュートリアルでは、Bamboo を使用して Java プロジェクトのビルドを実行し、迅速にフィードバックを得る方法について概説しています。Bamboo には、継続的インテグレーション ワークフローの設定を管理する、「プラン」という概念があります。そのため、最初のビルドを実行するには、Bamboo プランを作成して実行します。
はじめる前に知っておくべき情報
This tutorial assumes you have an individual Bitbucket account. If you don't, it only takes minutes to create one, and you can always delete it after you're done.
1. プロジェクトとプランを作成する
A Bamboo plan specifies the source code repository, the tasks to run in your build, and when to trigger a build. We start by creating a new plan:
- プランを作成できる権限を持つユーザーとして Bamboo インスタンスにログインします。
- Select Create > Create plan from the menu bar.
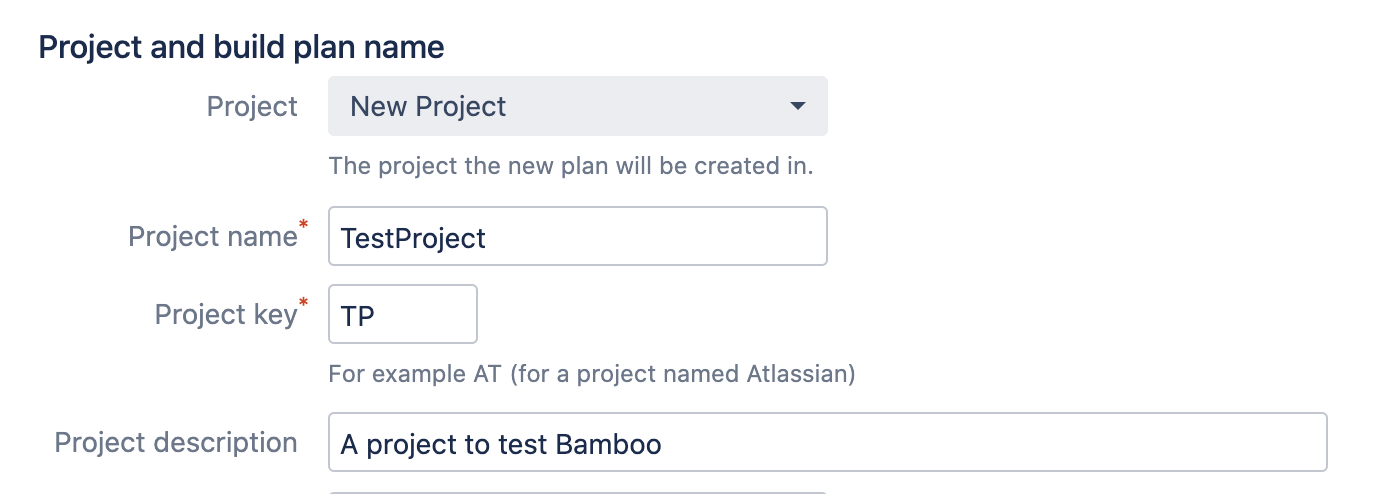
Every plan belongs to a project. We don't have a project yet, so select Project > New Project, and enter details for both the project and plan.
プラン名、プラン キー、プランの目的の簡単な説明を Bamboo に通知する必要があります。
詳細は「プランの設定」をご確認ください。
2. ソース リポジトリに接続する
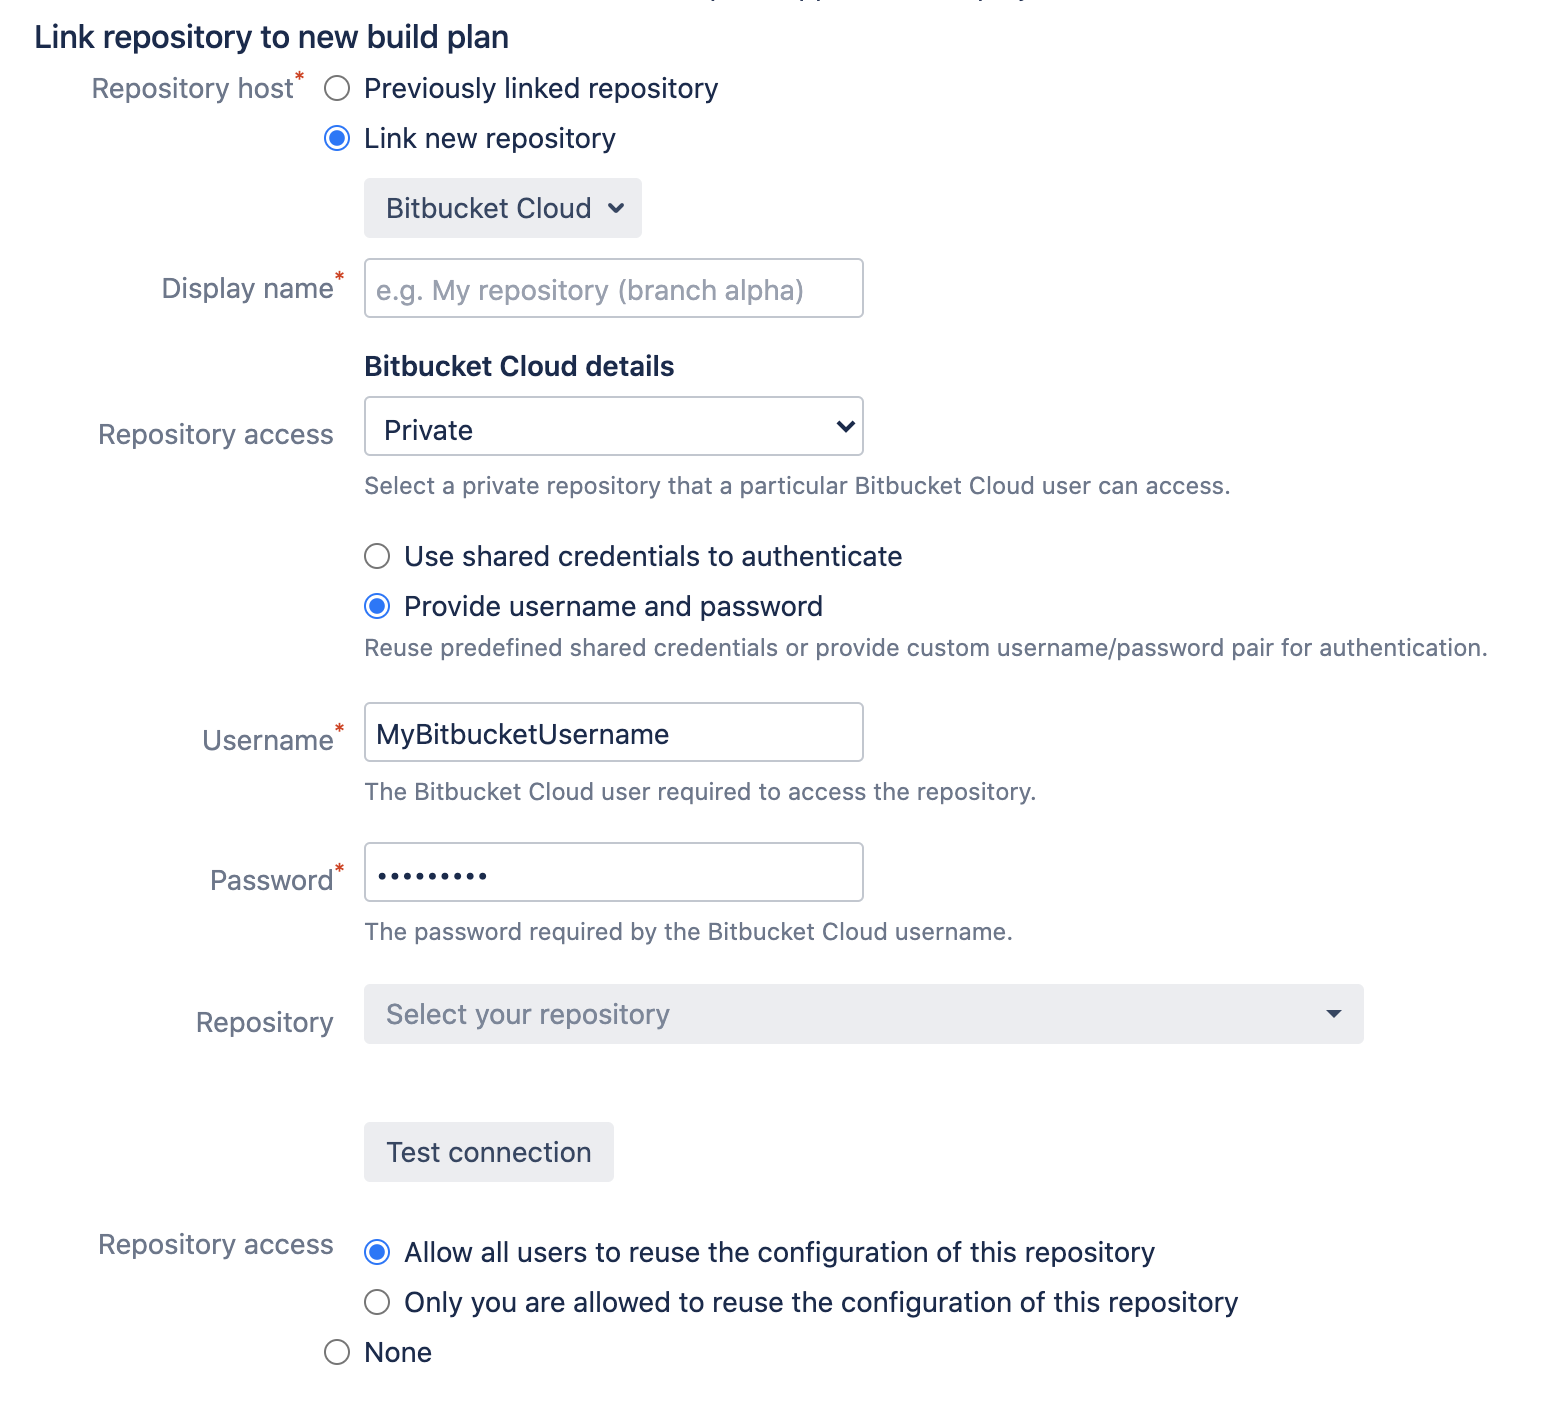
Bamboo needs to know where the source code repository is located, and needs permissions to access the repo, so that it can check out the code when it runs a build. Enter your Bitbucket credentials, and select your repository.
必要に応じて、このチュートリアルの Bitbucket のデモ用 atlassian_tutorial/helloworld リポジトリに接続してください。
詳細は「ソース コード リポジトリへのリンク」をご確認ください。
3. タスクの設定
プランごとに 1 つ以上のタスクを指定する必要があります。タスクによってプランの実際の作業が実行されます。
ソース コード チェックアウト タスク
新しく作成された計画には、先ほど指定したソース リポジトリからソース コードを取得する既定のソース コード チェックアウト タスクがあります。
詳細は「コードのチェックアウト」をご確認ください。
ビルダー タスク
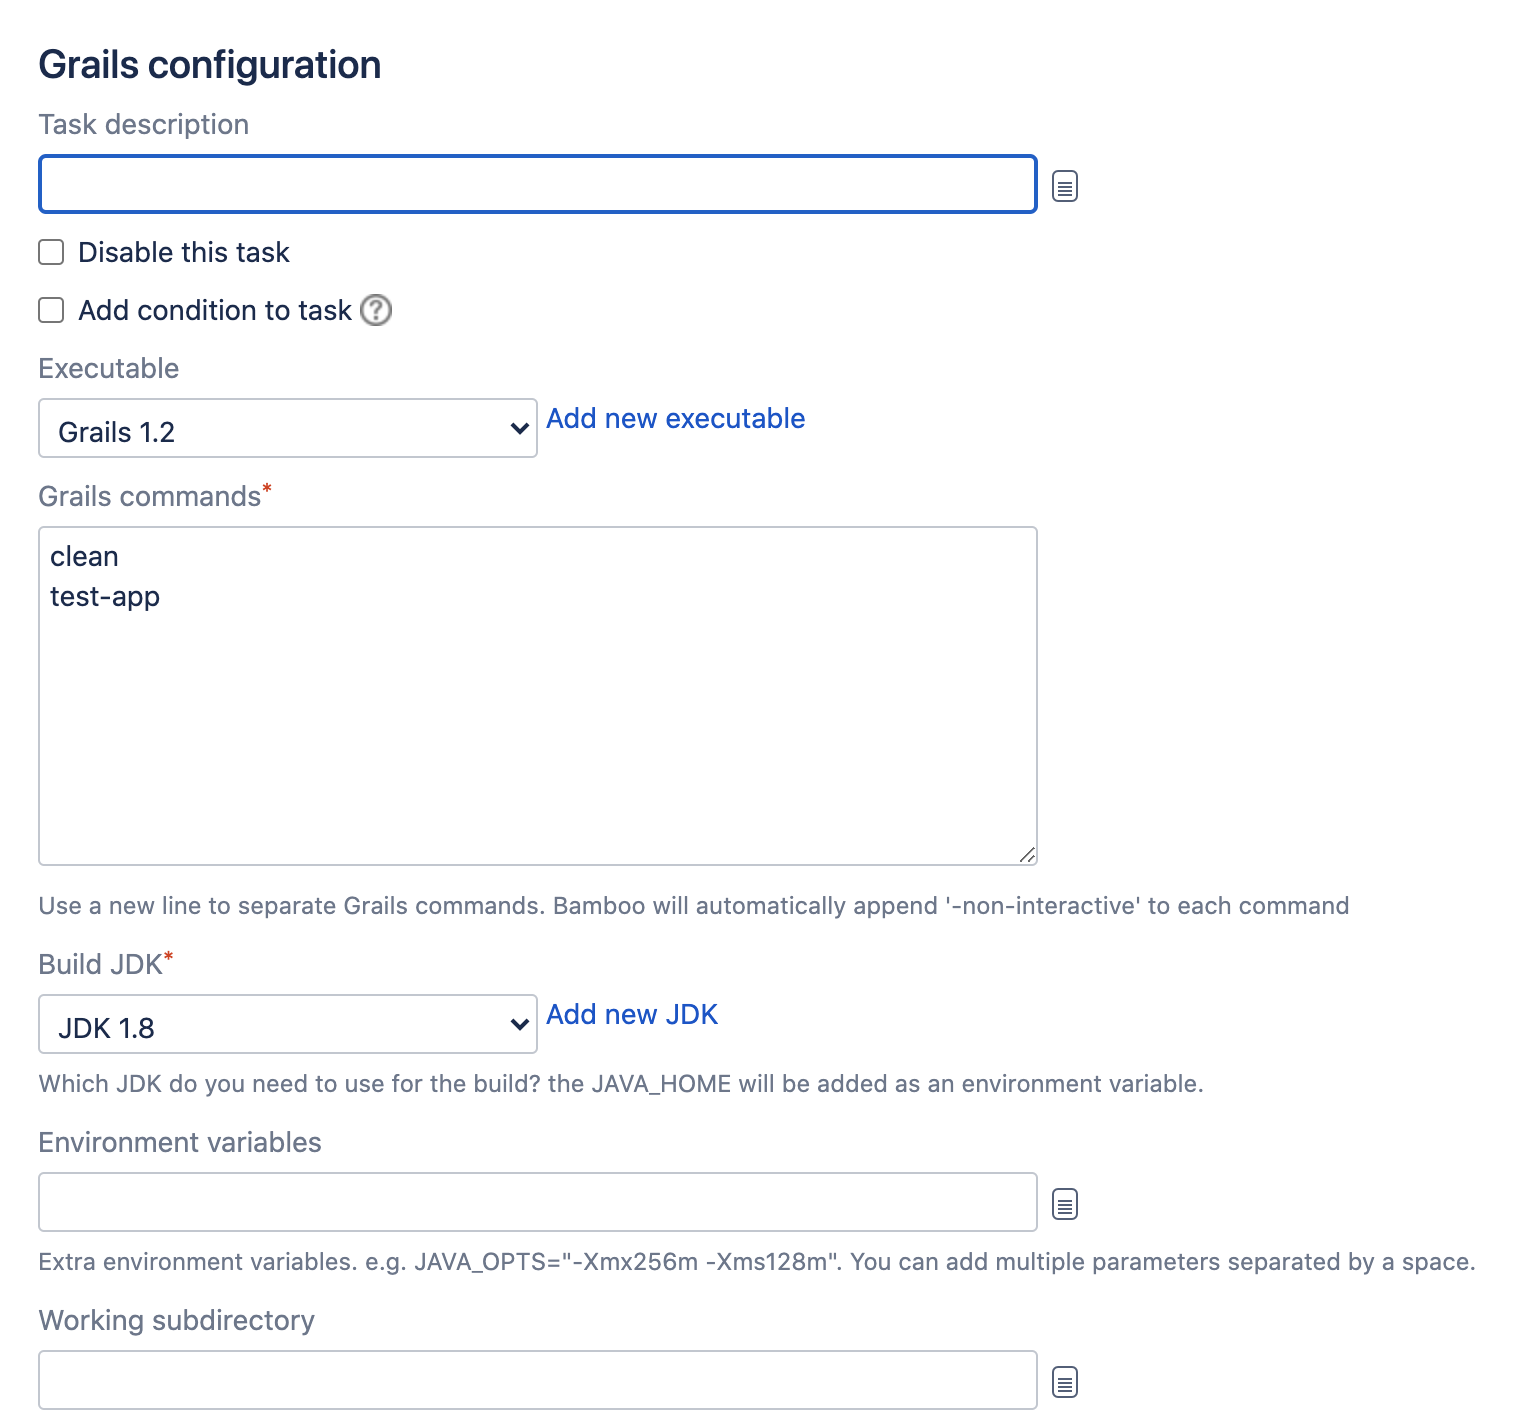
また、コードをコンパイルして、ユニット テストと統合テストを実行します。そのために、Bamboo プランにビルダー タスクを追加します。プロジェクトには、Bamboo が呼び出せるビルド プロセスがすでに設定されていると仮定します。
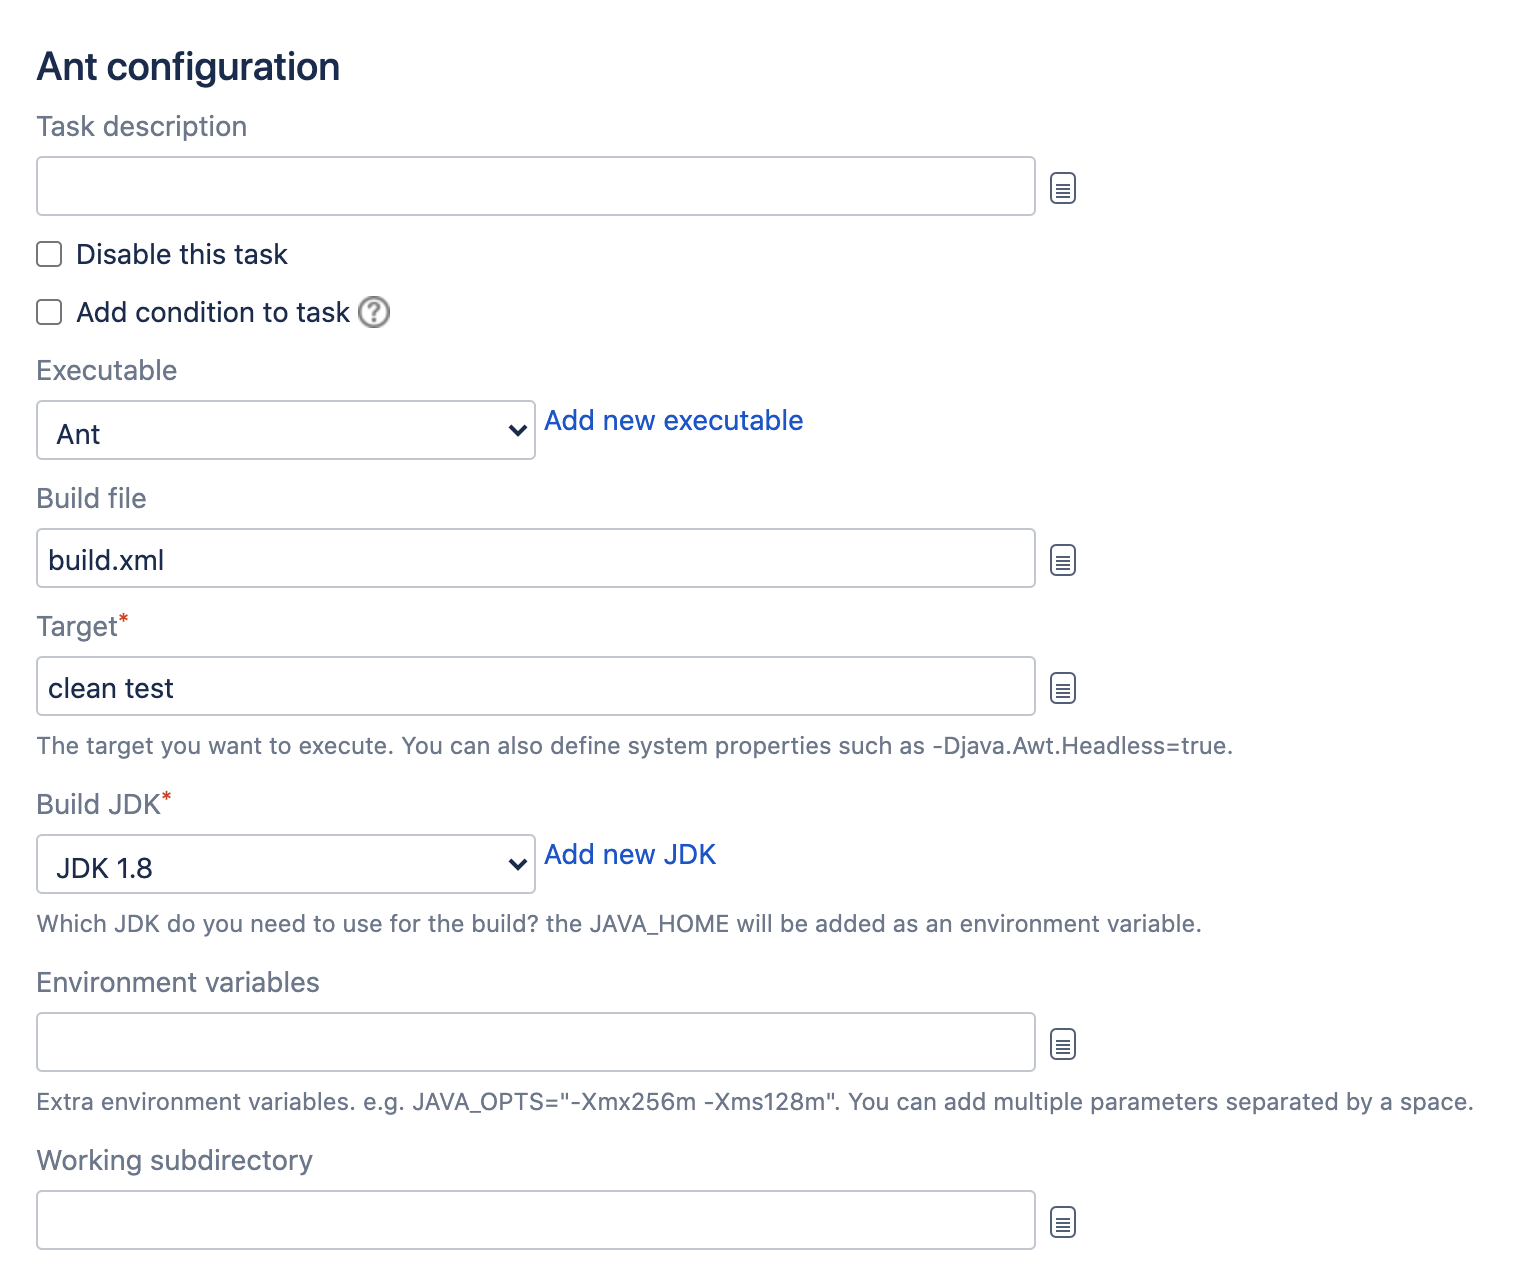
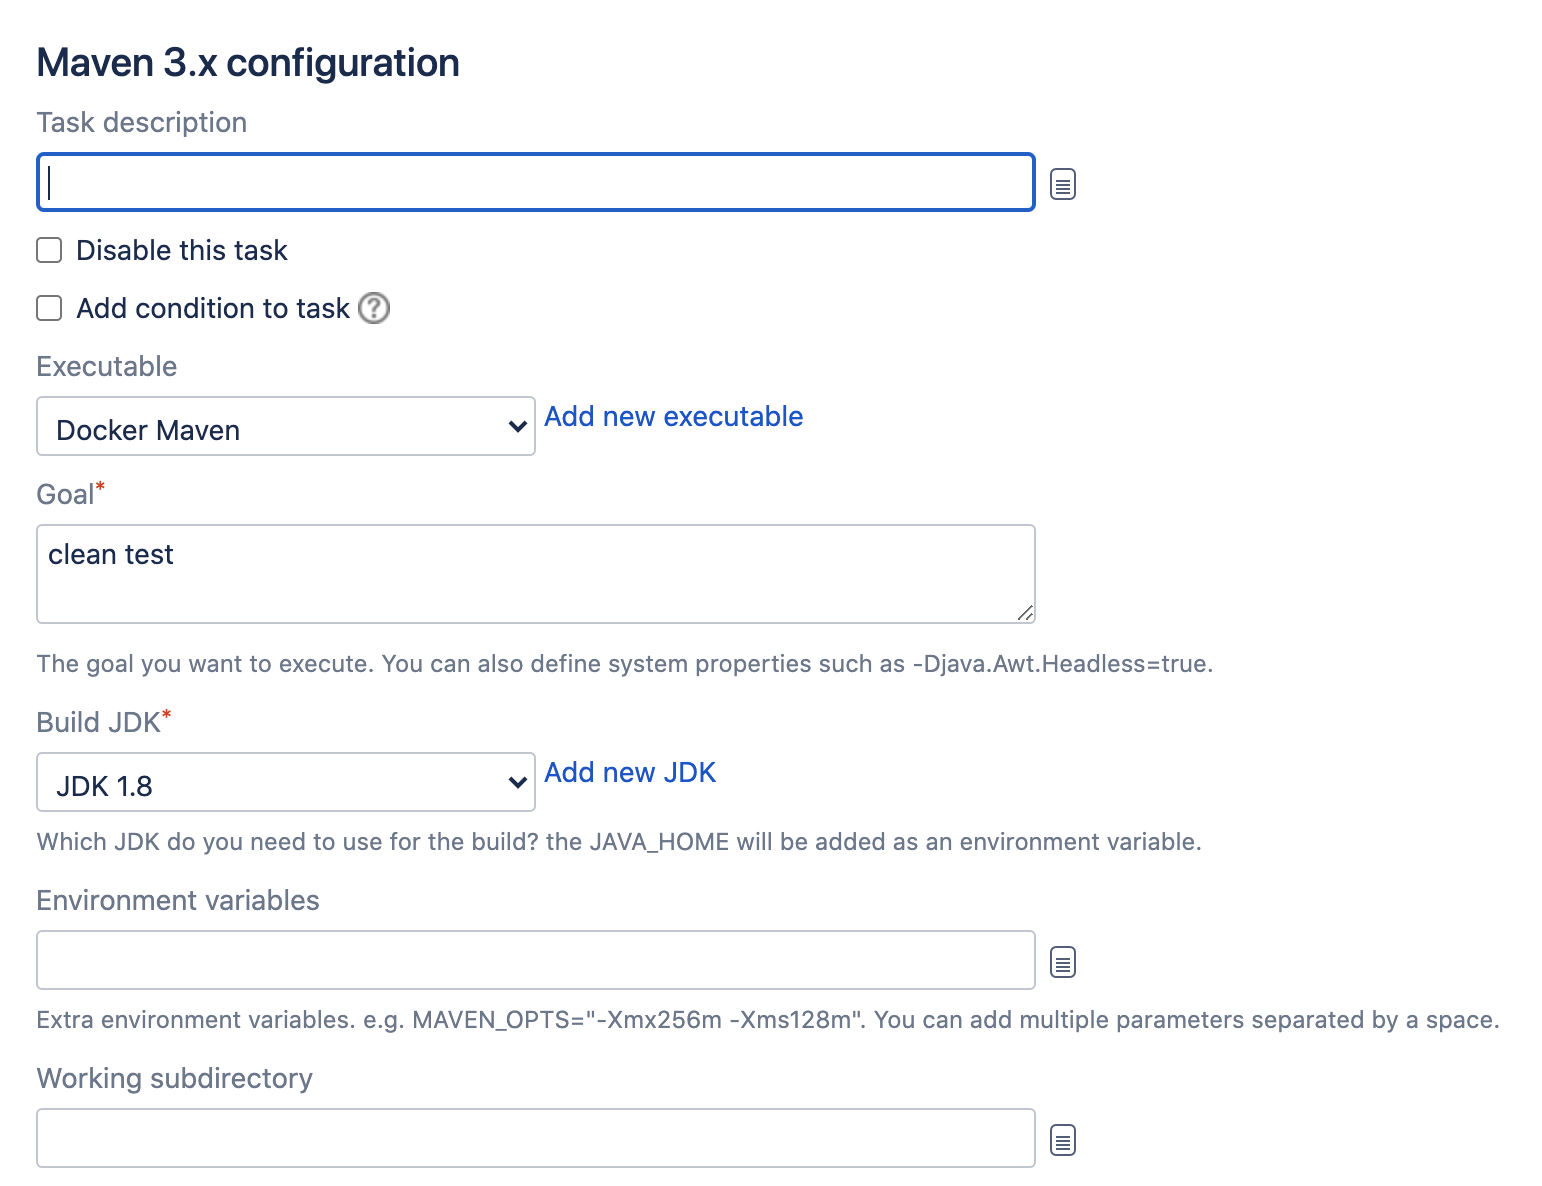
Select Add Task, then Builder and choose the task that matches the build tool for your project. Expand one of the following sections to see configuration details specific to that builder task:
注意:
- Bamboo タスクを使用する前に、Bamboo サーバー マシンにビルド ツールをインストールする必要があります。
- Bamboo には、Gant や Gradle などの他社製ツールのビルド タスクを追加するプラグインがあります。詳細については Atlassian Marketplace をご確認ください。
テスト結果を取得する
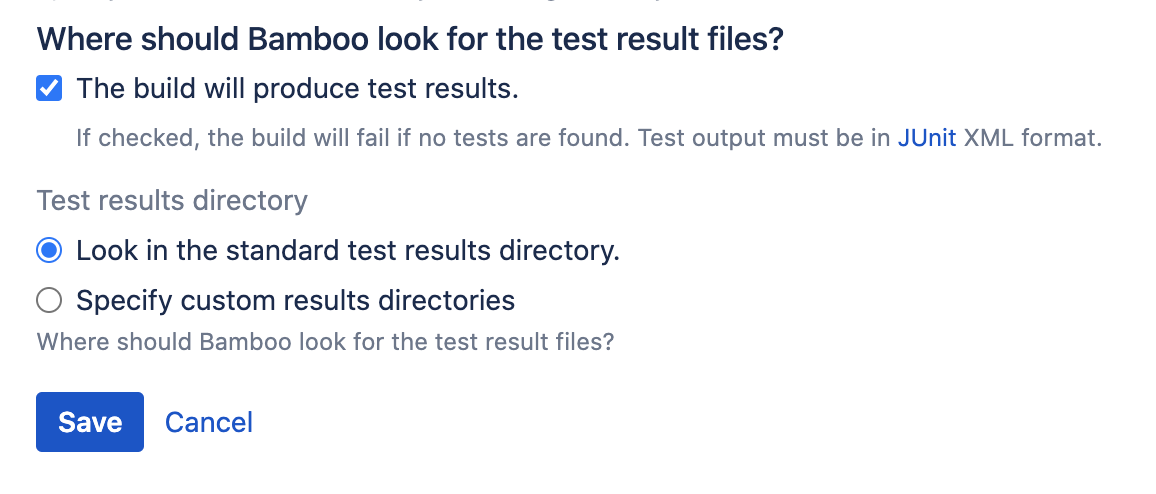
ビルダー タスクによってコードがコンパイルされるとテストが実行されます。上記の各ビルダー タスクには、テスト結果が生成されること、およびテスト結果の保存場所を Bamboo に通知するセクションがあります。プロジェクト ディレクトリで従来の構造を使用していない場合は、結果が保存される場所を指定できます。
詳細については、「ジョブの設定」と「 タスクの設定 」をご確認ください。
5. プランを実行する
計画を有効にして、[作成] をクリックします。
プランが実行されるのを確認できます。Bamboo によって以下が実行されます。
- コード リポジトリに接続する
- ソース コードをチェックアウトする
- コードをコンパイルする
- ユニット テストと統合テストを実行する
- テスト結果を報告する
The 'Plan summary' tab will report whether the build succeeded or not.
ソース コード リポジトリの適切なディレクトリでのテストは、ビルドの一部として自動的に実行され、そのテスト結果は Bamboo に表示されます。
これで、リポジトリに変更をコミットするたびに、Bamboo がソース コードをビルドしてテスト結果をレポートします。
6. フィードバックを取得する
Bamboo のダッシュボードにビルド結果の要約が表示されます。
ビルドに関する詳細情報は、次の方法で入手できます。
- 1 つ以上の計画のビルド結果をウォールボードで確認できます。
- ビルド結果に関する通知をメール、インスタント メッセージ (IM)、RSS フィードで受信できます。
- 計画に関するビルド統計や、ビルドにコードを提供している開発者に関するビルド統計を取得できます。
- 結果を掘り下げて、ビルドをトリガーしたコードの変更内容と、そのビルドに対して実行されたテストを確認できます。
詳細は「フィードバックの取得」をご確認ください。

