Adding, Moving, and Removing Tags in SourceTree
目的
This article should help users to perform basic Tag functions with SourceTree.
ソリューション
このページでは次のような内容について説明します。
Access the Tag Menu
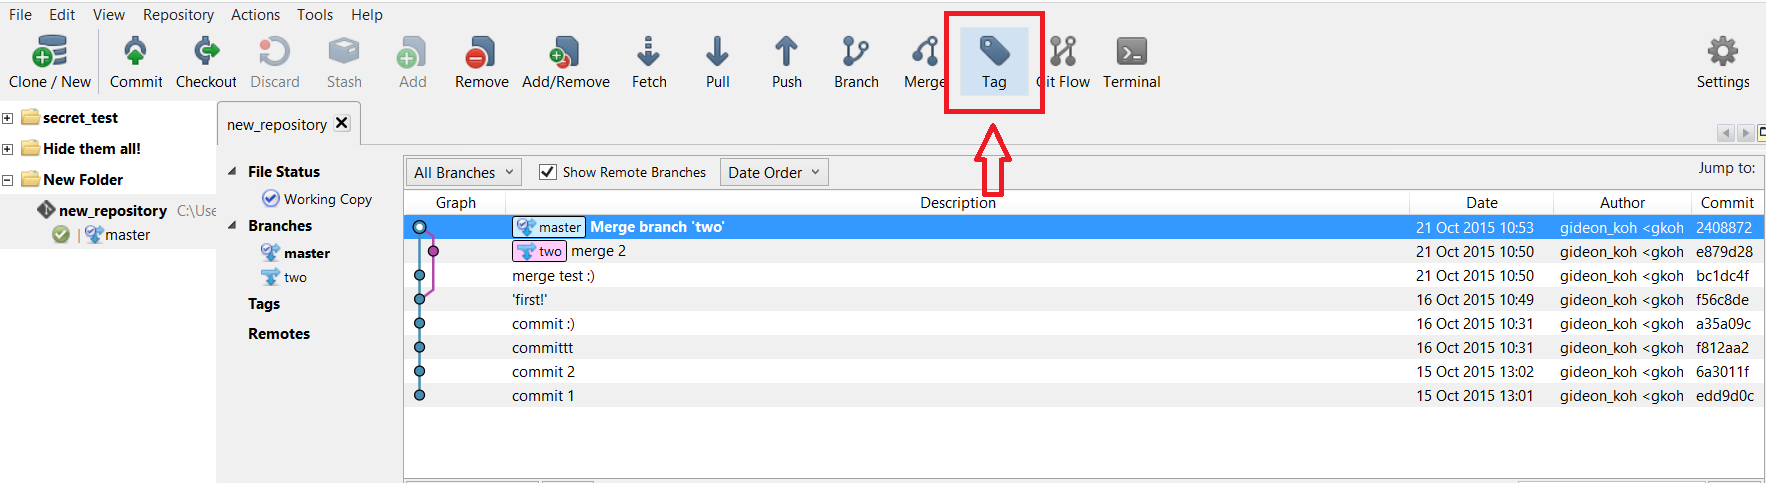
To access the tag function, simply click on the Tag button at the top menu:
Or, you can right-click the sidebar, and then click on New Tag...:

Add a new tag
Clicking on Tag at the top menu, or clicking New Tag... by right-clicking at the sidebar will trigger this window to pop up:

Fill in the necessary details. You can either add it on the parent commit, or you can specify which commit to add the tag on.
To create a lightweight tag instead of the default annotated tag:
- In the Tag window, Click on the Advanced Options
- Then, check on Lightweight tag
To know more about Lightweight tag, read here: https://git-scm.com/book/en/v2/Git-Basics-Tagging#Lightweight-Tags
The end-result should look like this:
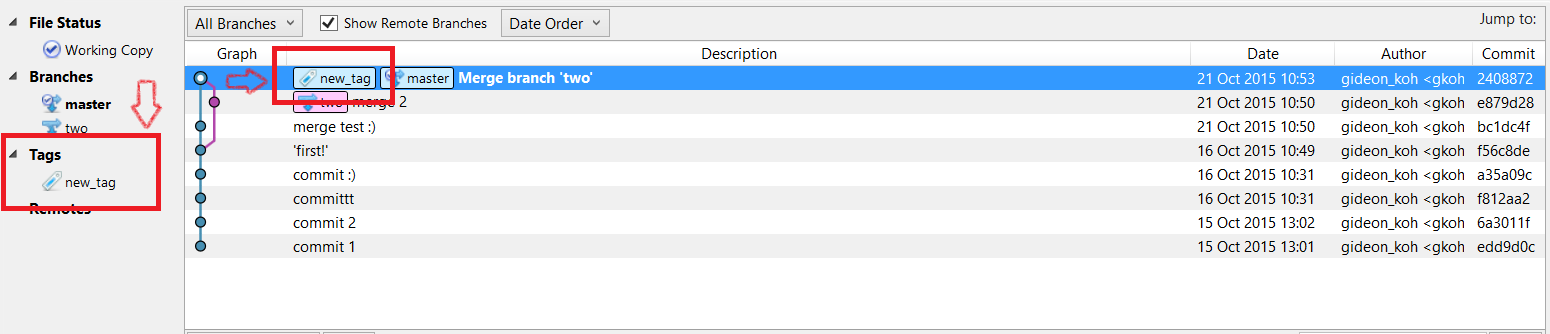
The Tags section at the sidebar should be filled, and the tag will also appear on the commit description.
タグを削除する
Clicking on Tag at the top menu will trigger this window to pop up; select Remove Tag. Select a tag to remove:

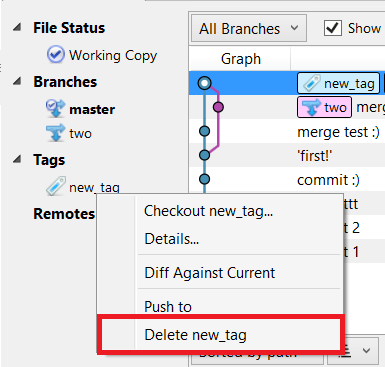
You can also trigger the window to appear by right-clicking a tag at the sidebar, and select Delete <tag_name>:
Moving a tag
To move a tag from a commit to another:
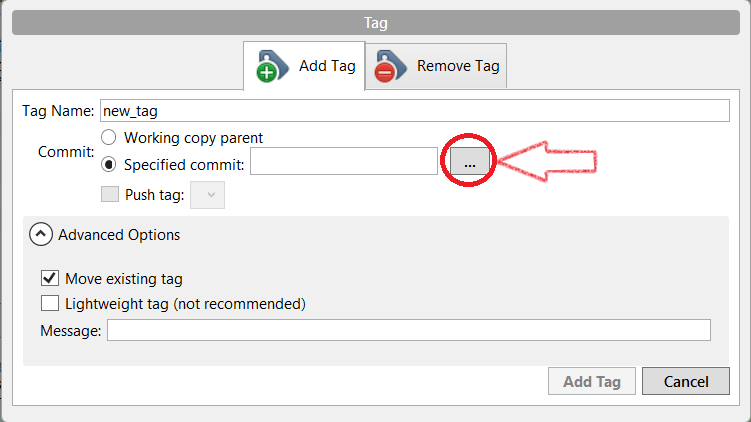
1. In the Tag Name column, type an existing tag you'll like to move.
2. Under Advanced Options, check the box that says "Move existing tag". Specify the commit you would like to move to by clicking the button (the arrow is pointing to) below.:
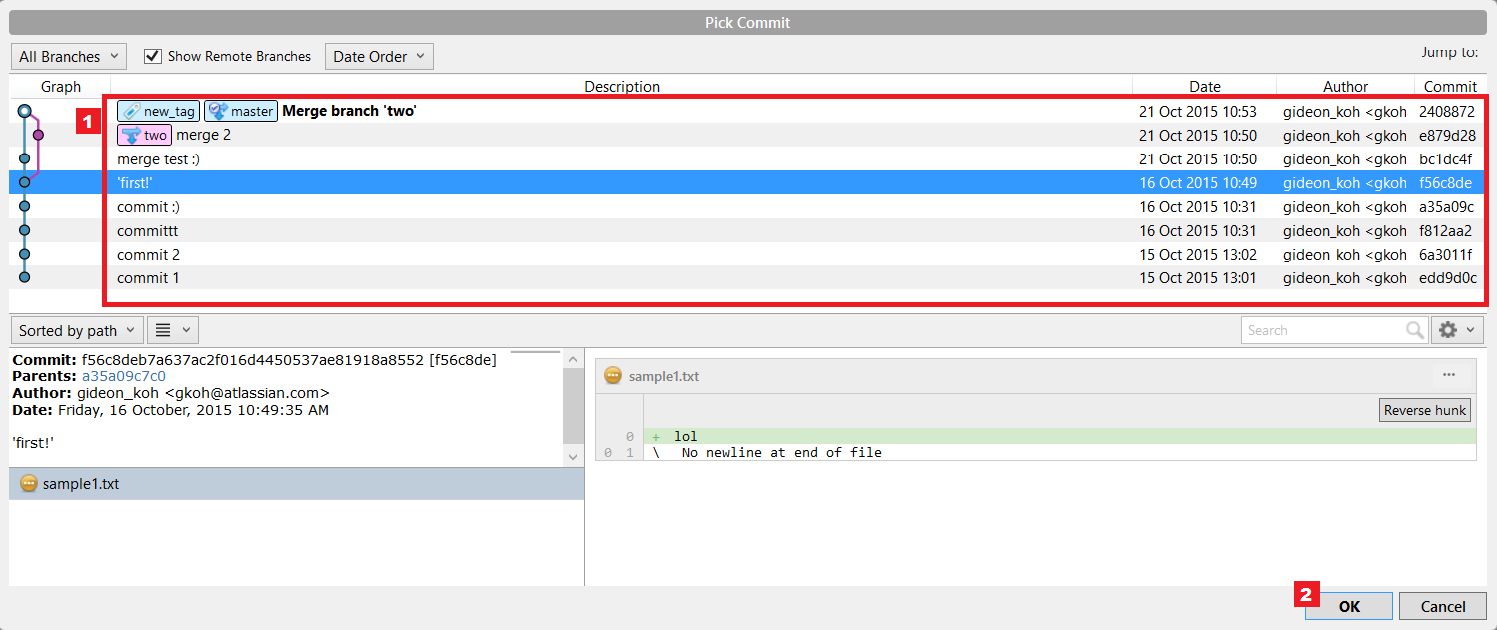
3. Select your commit. Click OK:
4. Click Add Tag.
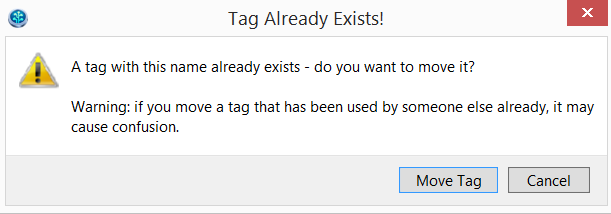
If you did not check "Move existing tag" under Advanced Opttions, a popup window should appear. Click Move Tag:
5. You'll now see that the tag has now moved:
