Users and groups
Bitbucket Server comes with an internal user directory already built-in that is enabled by default at installation. When you create the first administrator during the setup procedure, that administrator's username and other details are stored in the internal directory.
Bitbucket Server Admins and Sys Admins can manage users and groups in Bitbucket Server as described on this page. You can also set up Bitbucket Server to use external user directories.
注意:
- Even after users have been added to the Bitbucket Server user directory, they will not be able to log in to Bitbucket Server until they have been given global access permissions.
Permissions can also be applied separately at the level of projects, repositories and branches.
On this page
Managing 500+ users across Atlassian products?
Find out how easy, scalable and effective it can be with Crowd!
See centralized user management.
ユーザーの作成
ユーザーの作成方法
- In the administration area, click Users (under 'Accounts') and then Create user (on the 'Users' screen).
- Complete the form. You can either set the user's password now, or have Bitbucket Server email the user with a link that they can use to set the password themselves:
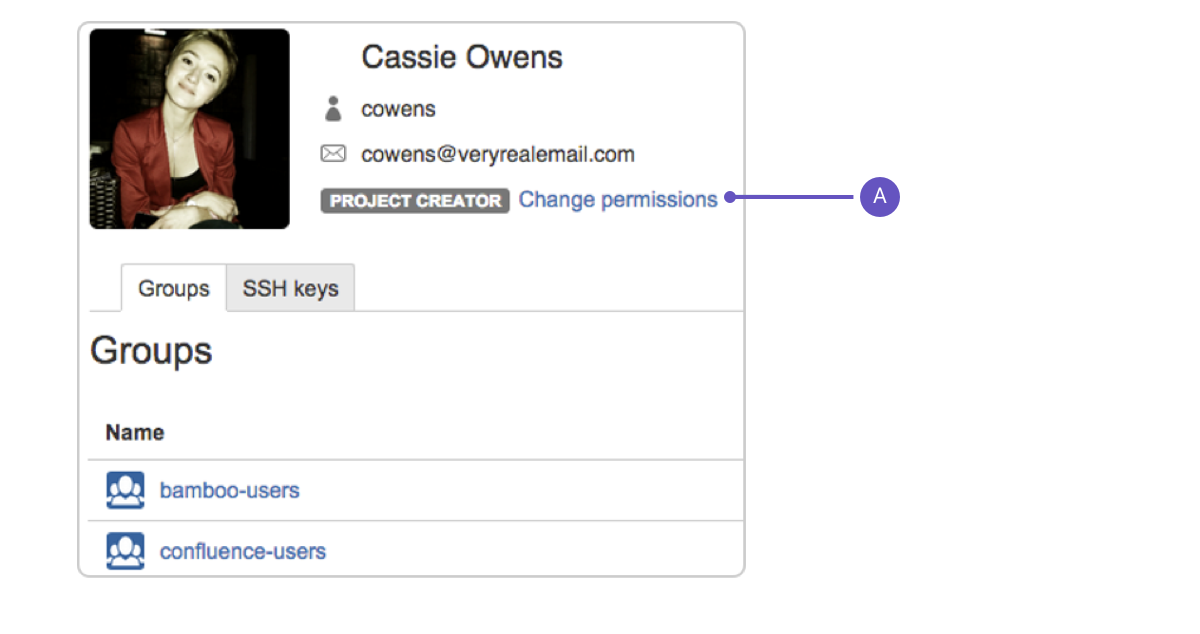
- Once you've created the user, click Change permissions to set up their access permissions. Note that a user doesn't have access to Bitbucket Server until global access permissions have been set.
- Set up user permissions
See Global permissions for more information.
Creating a group
To create a group, from the administration area:
- Click Groups (under 'Accounts') and then Create group.
- Enter the name for the new group, and click Create group (again):
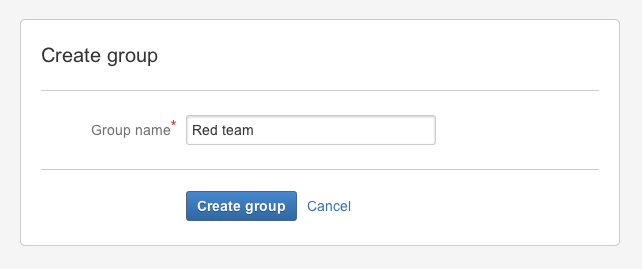
- Now you can add users to your new group (see the next section).
Adding users to groups
You can add users to groups in two ways:
- add a particular user to multiple groups, from the user's account page in the admin area.
- add multiple users to a particular group, from the group's page.
From the user account page
To add a user to a group from the user's account page,
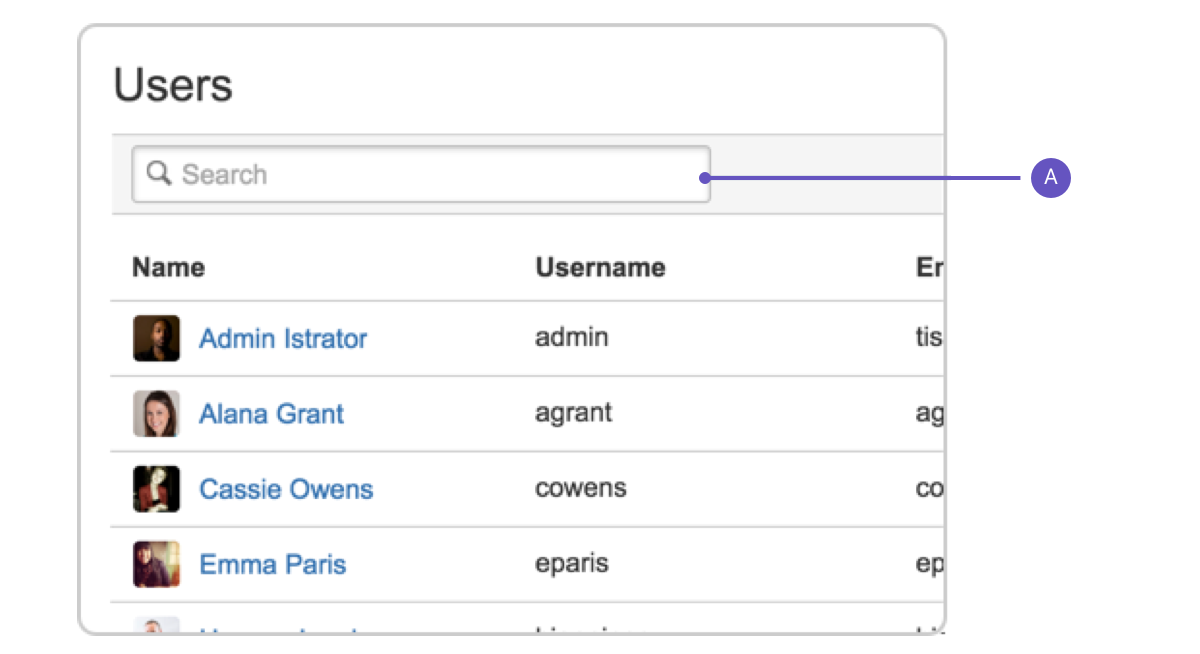
- Click Users in the Administration section, and then use the filter to find the user:
- User search: Filter users by name or email as you type.
- User search: Filter users by name or email as you type.
- On the account page for the user, use the filter to find a group to which you want to add the user.
- Click Add for each group in turn.
From the group page
To add a user to a group from the group's page,
- Click Groups (under "Accounts') in the administration area, and use the filter to find the group.
- On the page for the group, use the filter to find a user to add to the group.
- Click Add for each user you select, to make them a member of the group.
Changing usernames
You can change the username for a user account that is hosted in Bitbucket Server's internal user directory.
To change a user's username:
- Go to Users in the Administration section, use the filter to find the user.
- On the account page for the user, click Rename.
Deleting users and groups
You can delete a user or group from Bitbucket Server's internal user directory, or the external directory from which Bitbucket Server sources users, such as an LDAP, Crowd or Jira Software.
When a user or group is deleted from such a directory, Bitbucket Server checks to see if that user still exists in another directory:
- If the user or group does exist in another directory, Bitbucket Server assumes the administrator intended to migrate the user or group between directories and we leave their data intact.
- If the user or group does not exist in another directory, Bitbucket Server assumes the intent was to permanently delete them, and we delete the users permissions, SSH keys and 'rememberme' tokens.
When deleting users
In the case of users from an external directory (e.g. JIRA or LDAP) and internal users (from the internal directory), users or groups are preserved for seven (7) days.
This includes:
- SSH キー
- GPG Keys
- アクセス トークン
- All user related data stored by apps.
注意
- If an entire directory is deleted, Bitbucket Server will preserve users and groups for seven (7) days before deleting.
- Content which might be of historical interest (comments, pull requests, etc.) is not deleted when a user or group is. Only authentication, authorization and data which serves no purpose to a user who can no longer log in is removed.
- 一部の状況では、同じユーザー名のユーザーが両方に存在している場合にディレクトリの順序を変更すると、そのユーザーの取得元となるディレクトリが変更される場合があります。場合によってはこの動作を使用することで、既存の構成のコピーを作成して一番上に移動させ、古いものを削除できます。ユーザー名の重複はサポートされる構成ではない点にご注意ください。
- You can enable or disable a directory at any time. If you disable a directory, your configuration details will remain but Bitbucket Server will not recognize the users and groups in that directory.
制限事項
- You cannot edit, disable or delete the directory that your own user account belongs to. This prevents administrators from locking themselves out of Bitbucket Server, and applies to internal as well as external directories.
- You cannot remove the internal directory. This limitation aligns with the recommendation that you always keep an administrator or sysadmin account active in the Bitbucket Server internal directory, so that you can troubleshoot problems with your user directories.
- ディレクトリを削除する前に、それを無効化する必要があります。ディレクトリを削除すると、データベースから詳細が削除されます。
Deleting a user versus anonymizing a user
When someone leaves your organization, or no longer needs to use Bitbucket Server, you can delete their user account. Then if required, you can anonymize their username within Bitbucket.
Anonymizing a user means that any remaining personally identifiable information in Bitbucket Server after the user is deleted, is updated to be permanently non-attributable to that specific user.
Anonymizing a user after deletion
When you anonymize a username:
The username is replaced with a non-attributable alias throughout Bitbucket Server.
User mentions are replaced with a non-attributable alias throughout Bitbucket Server.
If the user had a personal project, the personal project name and key is updated to a non-attributable alias.
User cleanup for deletion happens immediately, if it hasn’t already taken place (eg. deleting avatars, SSH keys, permissions).
The following data will remain after a username is anonymized:
User content (such as comments and pull requests).
User data in Git history.
User data in third-party plug-ins may not be anonymized.
To anonymize a deleted user in Bitbucket Server
Be sure the user is deleted from Bitbucket Server prior to anonymization, including from any external directories that the user is a member of.
If the user is not deleted prior to anonymization, the anonymization will fail.
From the Create user menu on the user list page, select Anonymize user from the dropdown.
Enter the exact username to anonymize in the username field, and click continue.
Read through the details of the anonymization process and tick the box to confirm you wish to anonymize this user.
Click Anonymize.
Note that once the anonymize button is clicked, the process will continue even if the browser window is closed.