Set up Sourcetree
- Set up Sourcetree
- Create a personal repository for the tutorial
- Clone your repository and manage files locally
- Commit and push changes
Sourcetree provides you with an interface that gives you the same capabilities you have with Git without the need to use the command line. If you prefer to use Git from the command line, feel free to skip this step.
Install Sourcetree for Bitbucket Data Center and Server
Select the button for downloading Sourcetree from the Sourcetree website.
Double-click the downloaded file to open it.
Install Sourcetree as you would any other installation.
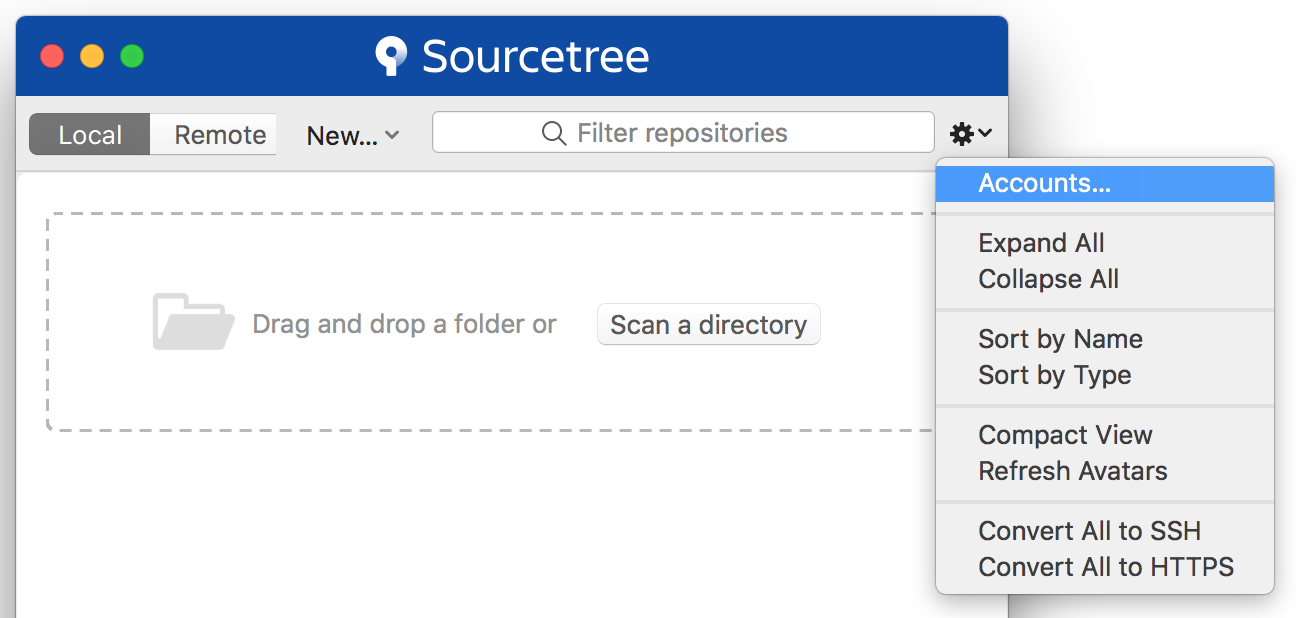
Open Sourcetree, select the gear icon and then select Accounts.
5. Select Add from the Accounts tab.
6. After you select a Host, enter your hosting details. Keep the default Auth Type and select Connect Account to enter your Bitbucket credentials.

When you enter your account details, you can choose whether you prefer to connect with HTTPS or SSH. For information about setting up SSH for your account, see Set up an SSH key.
7. Select Skip Setup from the Clone your first repo box (you'll do this from within Bitbucket for this tutorial).