JUnit パーサー
このページでは、Bamboo タスクで JUnit のテスト結果をパースするように設定する方法について説明します。
TestNG では JUnit XML 形式を使用するため、JUnit パーサー タスクは、TestNG のテスト結果をパースすることもできます。
始める前に
- Bamboo の java ビルダー タスク(Maven など)は、タスクの一部としてテスト情報を解析します。テスト結果がビルダー タスクの一部として生成される場合、テスト タスクを設定する必要はありません。
アトラシアン ブログ:
JUnit パーサー タスクを設定する方法:
- ジョブのタスク設定タブに移動します(新しいプランを作成するとデフォルト ジョブとなります)。
- Select the name of an existing JUnit Parser task, or select Add task > JUnit Parser to create a new task.
- タスク設定の更新
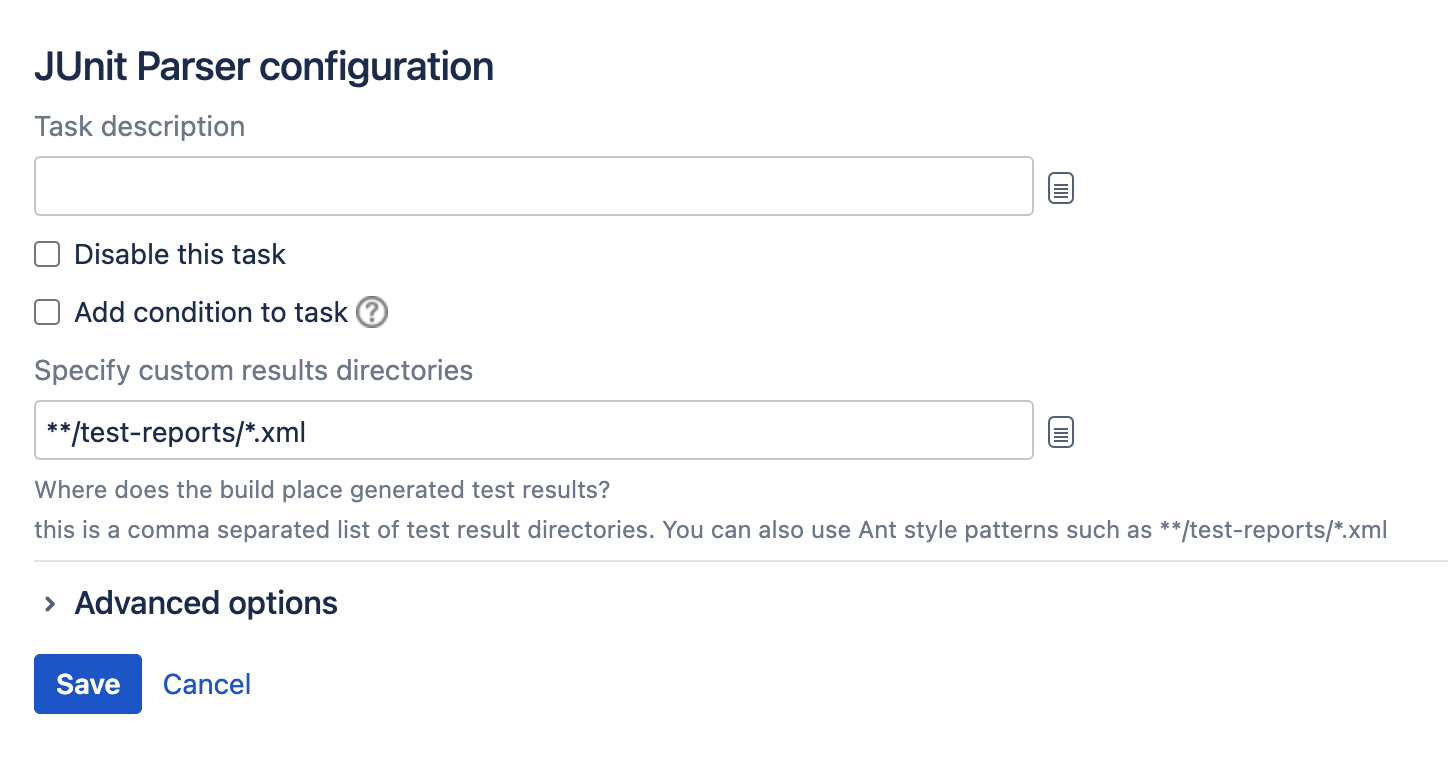
Task description
Enter a description of the task, for display in Bamboo.
Disable this task
Check, or clear, to selectively run this task.
Add condition to task
Make task run only when a certain condition is met.
You can find conditions on Atlassian Marketplace or implement your own.
Specify custom results directories
Enter the name of the test results directory (or multiple directories, separated by commas). You can also use Ant-style patterns such as**/test-reports/*.xml/ where the base directory is the "working directory" – this can be found at the start of your build log. Do not specify an absolute path.
For jobs that use CVS, the job build's root directory is<bamboo-home>/xml-data/build-dir/JOB_KEY/<cvs-module>. - 保存 を選択します。

