デプロイ環境を作成する
新しいデプロイ プロジェクトを作成して設定したら、デプロイ先の環境を作成できます。Bamboo では、複数のデプロイ環境を作成したり、次のものを管理したりすることもできます。
- 名前や説明などの環境詳細
- タスク
- トリガー
- 権限
- エージェント
- 通知
- Variables
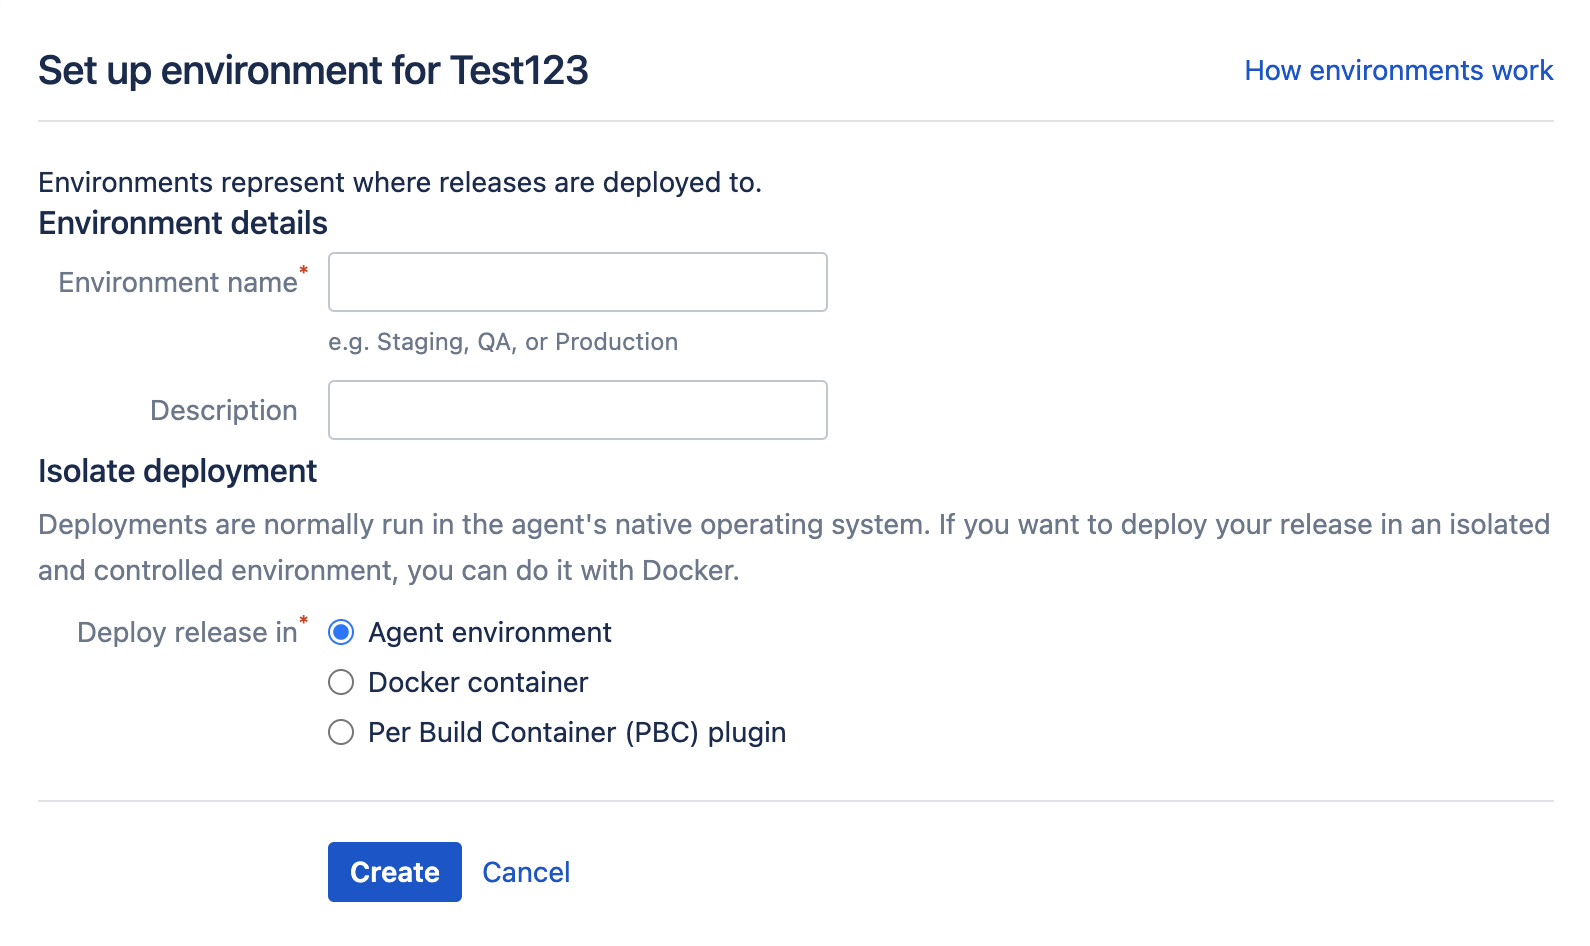
新しいデプロイ環境を作成するには、次のことを行う必要があります。
- Provide a name that represents your environment e.g. Test or Production.
- 対象の環境の機能に関する説明を入力します。
デプロイ環境は、次に示すように、[Deployment project configuration (デプロイ プロジェクトの設定)] 画面から追加します。
新しいデプロイ環境を作成する
- From the top navigation bar, select Deploy > All deployment projects.
- Select the edit () icon for the deployment project you want to edit.
- In the Deployment project configuration screen, select Add environment.
Provide your deployment environment details.
Select if you want to run your deployment in the agent environment or in a docker container. See Docker Runner.
[作成] を選択します。
Your newly created environment appears with a red exclamation mark because no tasks have been defined for this environment yet.
See Tasks for deployment environments for more information on task configuration.
デプロイ環境パネルを使用する
All deployment environments are managed from the Deployment project configuration screen. By default, when the screen loads, each environment panel is displayed in its collapsed state. Select Edit to expand the deployment environment panel:
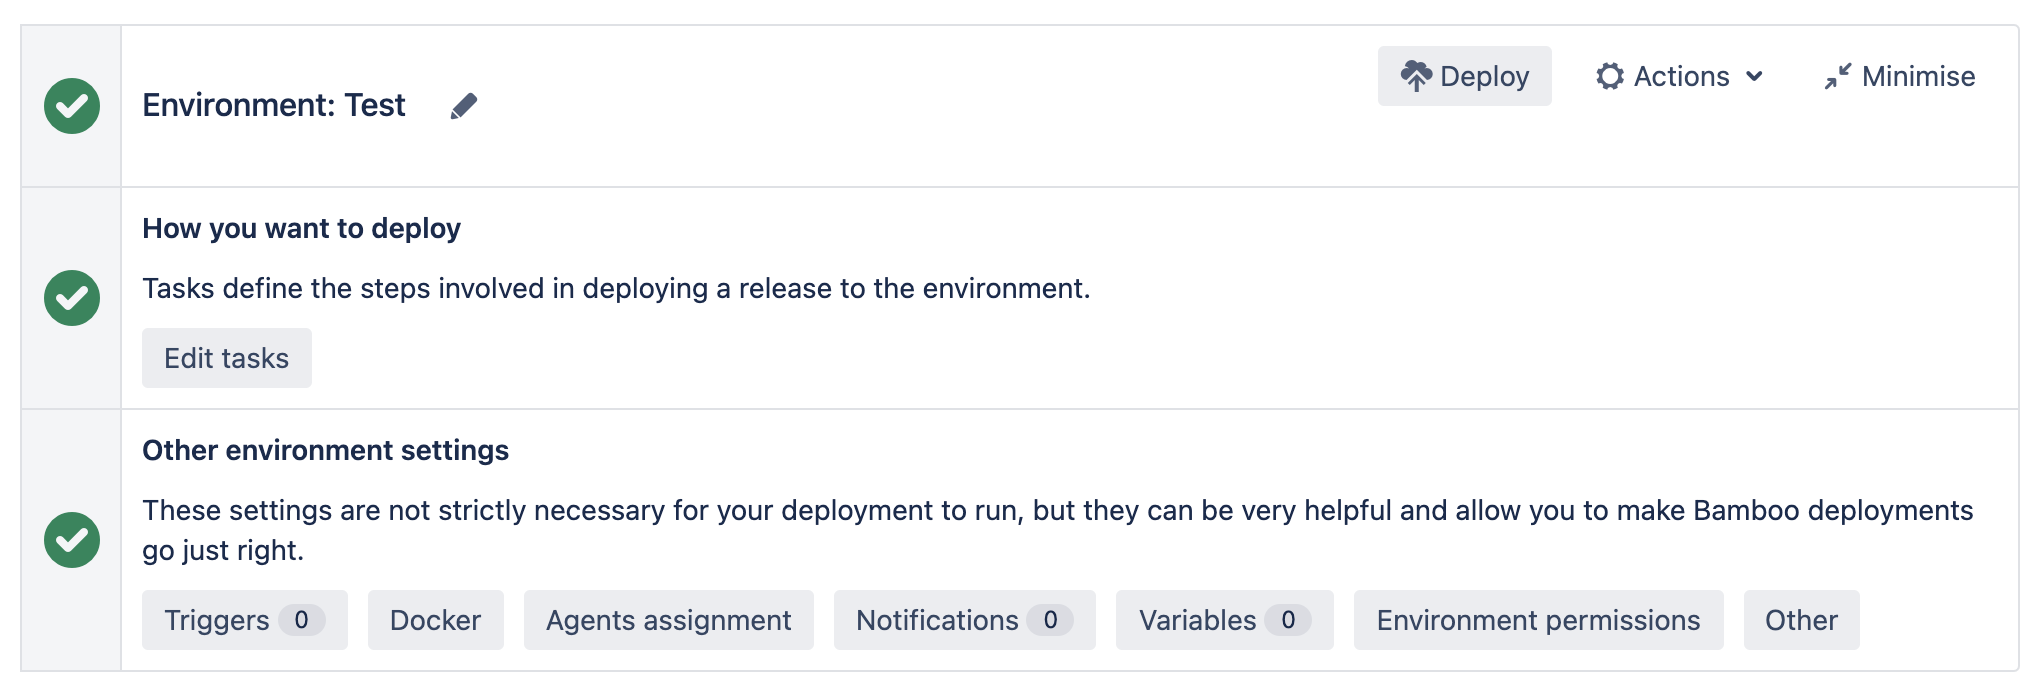
環境パネルを展開すると、3 つの別々のサブパネルが表示されます。
3 つのサブパネルには次の機能があります。
| サブパネル | 機能 | 説明 |
|---|---|---|
| 環境 |
|
|
| How you want to deploy (デプロイ方法) |
| ユーザーが環境に関連するタスクを編集できます |
| Other environment settings |
| 一連のオプション設定を使用して Bamboo のデプロイをより円滑に実行できます |
環境の詳細を編集する
Bamboo では、環境の名前と説明の両方を変更できます。これらの詳細を編集するには、次の手順に従います。
- Expand the environment panel and select the edit () icon next to the environment name. The Update environment screen will display:
Complete the Update environment screen using the following fields:
フィールド説明Optional?環境名 環境の名前 説明 A brief description of your environment - Select Save environment to save your changes.


