Enabling Clover for Bamboo
This page describes how to enable and configure Atlassian Clover or OpenClover app for a job in Bamboo.
Bamboo を Clover と統合すると、次のことが可能になります。
- 各ビルド結果のコード カバレッジの詳細 (つまり、テストでカバーされたコードの割合) を表示する
- ジョブの一定期間におけるコード カバレッジの傾向を表示する
- ジョブのコード カバレッジの要約を表示する
As Clover integration (automatic and manual) produces instrumented classes, we recommend that you ensure that your job does not install them to production (for instance: 'mvn deploy' to public repository, 'scp' to an application server running on production, etc ...). Having instrumented code in such locations is usually not desired.
Common practices to ensure proper separation of instrumented and non-instrumented classes are:
- create a dedicated plan or job with Clover integration enabled
- enable automatic Clover integration for jobs running tests only (e.g. "mvn verify")
- use different location of local artifact cache if you need to install artifacts (e.g. ~/.m2/repository-clover and "mvn install")
- use different URL for uploading artifacts if necessary (e.g. a separate repository for "mvn deploy")
Enabling automatic code coverage integration
Automatic integration works with Ant, Maven and Grails tasks.
- Go to your job. See Configuring jobs.
- Click the Other tab.
- In the 'Would you like to view code coverage for this plan?' setting, check Collect code coverage data for this job.
- Select Automatically integrate a code coverage tool into this job.
- In the Code coverage tool option, select Atlassian Clover (you will need to provide a Clover license in Administration > Manage Apps > Clover for Bamboo) or OpenClover (no license is required).
- 保存 をクリックします。
By default, HTML and XML reports are generated. Additionally, you can:
- Select Generate a historical report to compare the current coverage results with previous code coverage reports.
- Select Generate a JSON report to get the results in a format ready for embedding into applications or external report views.
Enabling manual code coverage integration
Manual code coverage integration works with any kind of task in which Clover can be called (Ant, Maven, Command, Grails). Use it when you already have Atlassian Clover or OpenClover integration configured to generate a report in your build scripts:
- Go to your job. See Configuring jobs.
- Click the Other tab.
- In the 'Would you like to view code coverage for this plan?' settings, check Collect code coverage data for this job.
- Select I already integrated a code coverage tool in this job.
In Coverage report, specify where Bamboo shall look for the XML report file generated. Specify the file path relative to your plan's root directory, e.g.:
target/site/clover/clover.xml保存をクリックします。
In the Artifacts tab, click Create artifact and complete the form as follows
Name
This should begin with with "Clover Report".
Location
This should point to the HTML report directory (e.g. target/site/clover)
Copy Pattern
Use **/*.*Configure Atlassian Clover or OpenClover in your build script so that it generates both XML and HTML reports. See quick start guides how to do this:
Ant: for Atlassian Clover and for OpenClover
Maven: for Atlassian Clover and for OpenClover
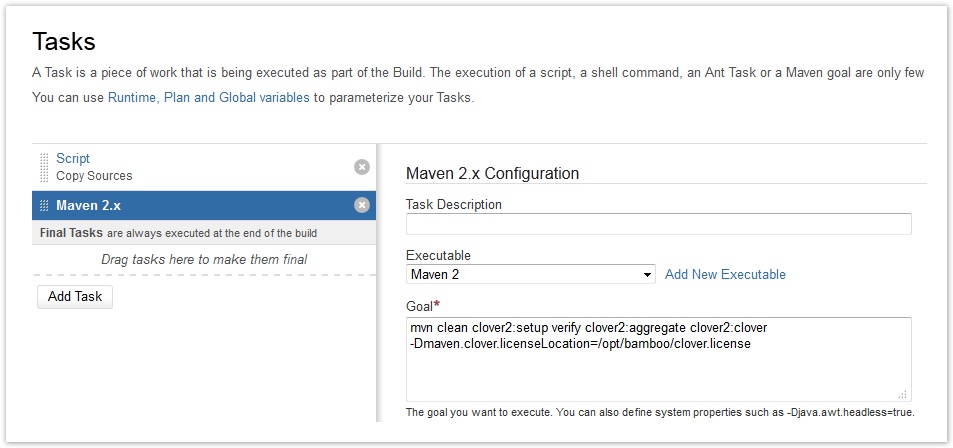
For Atlassian Clover configure the license in your build script or pass it as a proper task parameter in the job configuration:
- Save the license key in a file (for example in /opt/bamboo/clover.license).
- 次の方法で、ライセンス キーの場所をビルド タスクに渡します。
- ビルド スクリプトで場所を定義する
- 計画設定の Ant/Maven タスクの Java プロパティとして渡す
After every build, Bamboo will parse the Clover XML file and generate statistics and charts for a plan summary. The Plan summary and job summary pages will contain a Clover tab.
Browsing code coverage results
For more information on Clover HTML report and Clover statistics for a job, see Viewing the Clover code-coverage for a plan.
For more information on Clover code coverage summary for a plan, see Viewing the Clover code-coverage for a build.
For more information on Clover code coverage statistics across multiple plans, see Generating reports across multiple plans.
Limit the machines that Atlassian Clover runs on
If you have more remote agents than the number of machines for which Atlassian Clover is licensed, you can restrict the machines on which Clover runs by using capabilities:
- For each of the EC2 images on which you would like to run builds with Atlassian Clover, add a capability such as
clover=trueto the configuration for the image.
To do this, go to Administration > Elastic Bamboo > Configuration. Select the elastic image and click Add Capability. - Add a matching requirement, such as
clover=trueto the configuration for each job.
To do this, go to Actions > Configure Plan > Jobs. Select the job where Clover runs and click Requirements and then Add Extra Requirement.