How can I restrict users' access to a specific project on my Jira site?
In this article, we will provide you with all the concepts to properly answer that question when using both Company-managed and Team-managed projects, keeping it as simple as it can be and referencing all relevant links if you want to go deeper into project permissions.
Note: Project permissions aren't configurable when you're on the Free plan, so you must upgrade your Jira Cloud application to Standard or Premium to apply the steps of this documentation. You can check more detail about this in the documentation below:
How to know if I’m working with a Company or a Team-managed project?
You can tell the difference between team-managed and company-managed projects by going to your project sidebar.
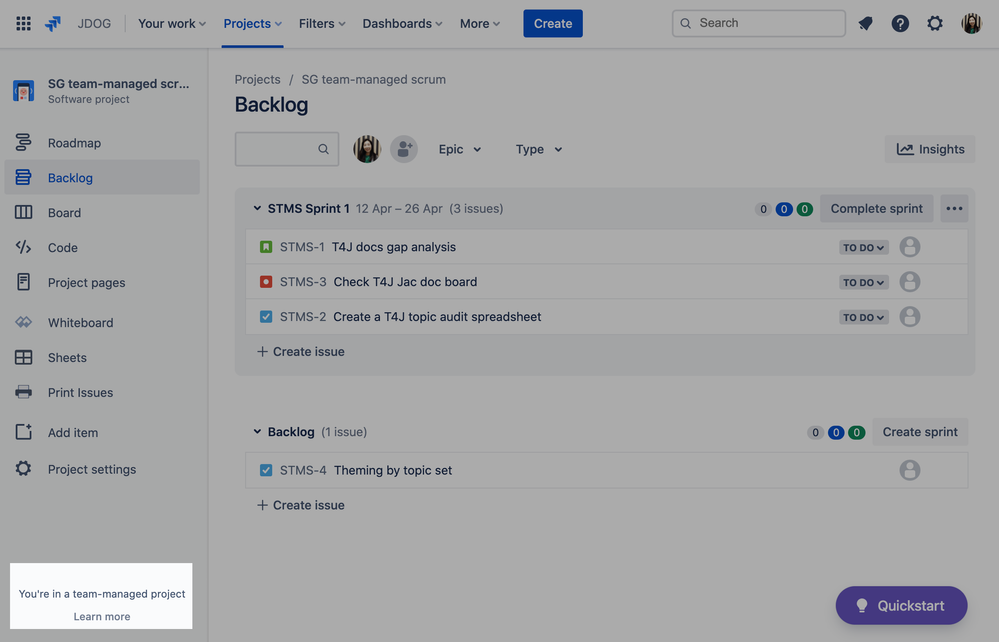
In team-managed projects, the bottom-left of the sidebar says you’re in a team-managed project:
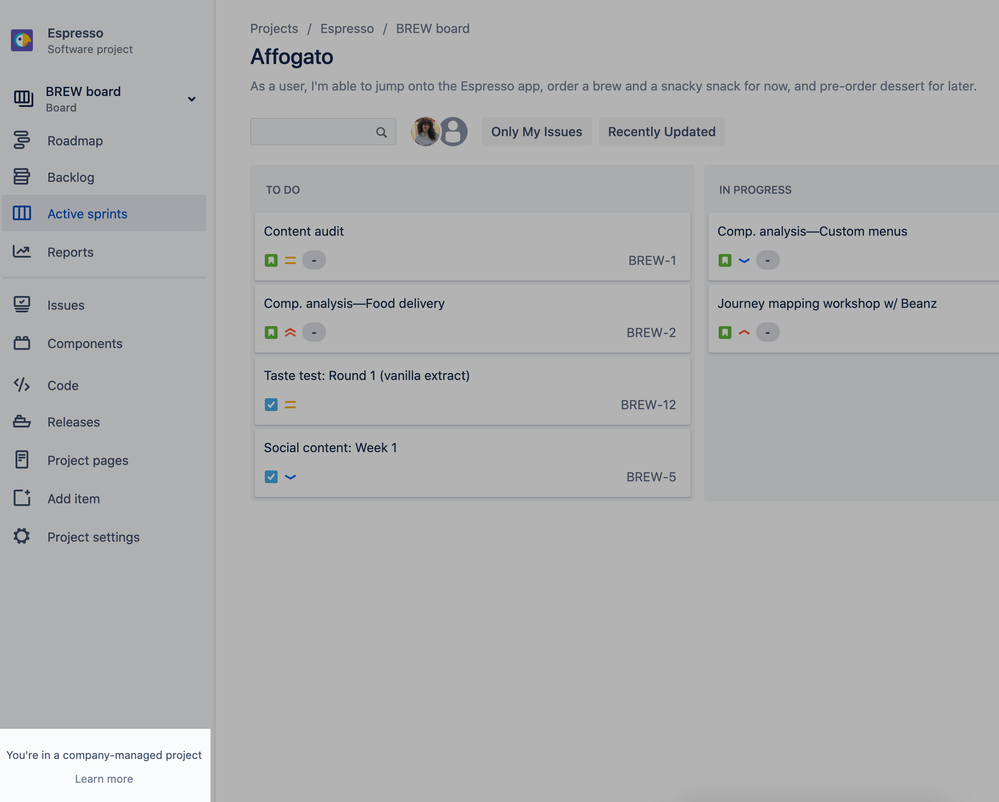
In company-managed projects, the bottom-left of the sidebar will state you’re in a company-managed project:
Now that you know which project type you are using, let’s check the steps to properly restrict them.
For Company-managed projects:
Notice that you must be a Jira administrator to configure permissions for Company-managed projects (Added to any groups with the Administer Jira global permission).
The permissions for company-managed projects are dictated by the permission scheme that is associated with the project. On company-managed projects of Jira Software and Jira work management, all the projects are created sharing the same default permission scheme (One for Jira software, another one for Work Management).
The same logic explained in this article can be applied to Jira Service management (JSM projects) as well. The only difference is that this project type creates a single permission scheme for each project you create.
You can check the related permission scheme by navigating to your project > Project settings > Permissions:
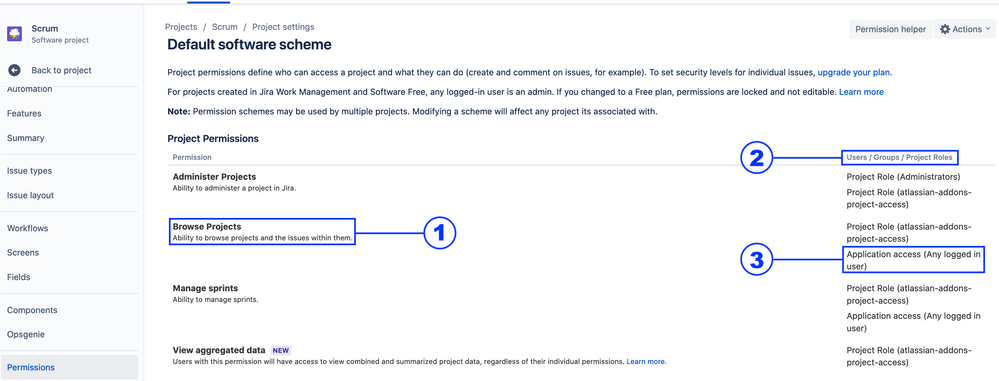
The Browse projects permission is the one that provides users with access to view and navigates through the issues of the project. That being said, this is the one that we must edit to properly restrict the project to a specific team/user.
Besides other options, your project permissions can be associated with Users, Groups, and Roles. To keep it simple and functional, we suggest using Groups and Roles to define it (We will provide the instructions to achieve that in the next steps of this article).
By default, the option “Application access (Any-logged in User)" is always added to the Browse projects permission in the permission scheme used for new projects created. That means that all the newly created projects are accessible to every logged-in user by default.
As the projects of Jira are initially configured to allow any logged user to access, it is required to restrict ALL the projects of your site by editing the default permission scheme(s) and setting the permission(s) with the proper groups/roles, allowing your teams to access only the specific project they need. Basically, these would be the steps:
- Add the users to specific Groups - Define/create a group for each team that must have access to different projects in the Jira site. This documentation provides you with the steps to do it.
- Add/create any Project Role to the Browse projects permission in your shared permission scheme. You can do this by following the path below:
Navigate to any project using that permission scheme > Project settings > Permissions > Edit- Relate the Groups to the Project Role you configured in step 2 for each project you have - Project roles are configured by project, so you will be able to use the same permission scheme between your projects. However, you must define which groups will be related to the project role for each project you have. You can do this by following the path below:
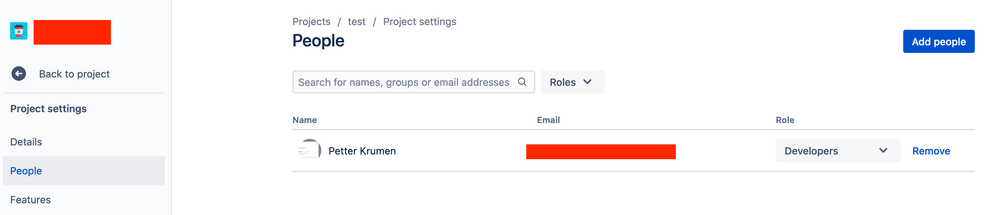
Navigate to the project > Project settings > People > Add People- Remove the “Application access (Any-logged in User)" from the permission scheme by:
Navigating to any project using that permission scheme > Project settings > Permissions > Edit
Why add groups to roles instead of using groups directly in the permission scheme?
Groups are global while Project Roles are configured per project. Explaining better, if you add a group to the browse projects permission in your permission scheme (Under project settings > Permissions), all the users in that group will be able to access ALL the projects using that same permission scheme.
Now, if you add a group to a project role (Under Project settings > People) and add that project role to the browse projects permission in your permission scheme (Under project settings > Permissions), the users in that group will be able to access only the specific project where that group was configured with that project role.
You can check the exact step-by-step to achieve the scenario explained above in the KB below, including a video with the exact menus you should go:
Jira Cloud でチームに対してプロジェクト アクセスを制限する方法 | Atlassian Cloud | アトラシアン製品ドキュメント
For more details about company-managed permissions, you can refer to the links below:
For Team-managed projects:
Notice that you must be a Project administrator to configure permissions for Team-managed projects (Added with the role Administrator under project settings > Access).
Different from company-managed projects, the permissions of team-managed projects are configured individually and can not be shared between multiple projects as they are not configured with a permission scheme. This project template uses a simplified set of permissions (Defined under Project settings > Access) that can be configured with the following options:
オープン。プロジェクトがオープンな場合、Jira サイトのすべてのユーザーがプロジェクトの課題の表示、作成、編集を行うことができます。このアクセス レベルでは、Jira サイトにログインしたすべてのユーザーに、プロジェクトの Member ロールが割り当てられます。
制限。プロジェクトを制限している場合、Jira サイトのすべてのユーザーがプロジェクトで課題の表示およびコメント作成を行うことができます。しかし、課題の編集や新しい課題の作成はできません。このアクセス レベルでは、Jira サイトにログインしたすべてのユーザーに、プロジェクトの Viewer ロールが割り当てられます。
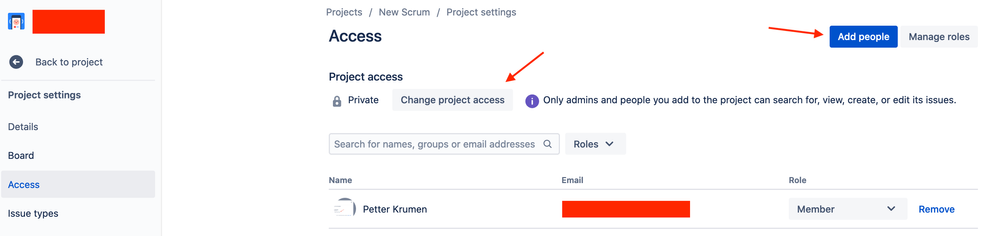
非公開。プロジェクトが非公開の場合、Jira 管理者とプロジェクトに追加されたユーザーのみが、プロジェクト ディレクトリでプロジェクトを表示したり、検索結果でプロジェクトの課題を表示したりできます。
To achieve your scenario for team-managed projects, you must follow the steps below:
Set each of the team-managed projects in your site as "Private” (Under project settings > Access > Change project access)
Add and remove the users from your project (Under project settings > Access > Add People), using the Roles you want (Viewer, Member, Administrator)
To know what kind of permissions each role provides and check more details about team-managed permissions, you can check the documentation below:
Related Community topics: