サイトのセットアップ
You'll need your own Jira Work Management Cloud site for this tutorial. If you haven't got one yet, don't worry, we'll take you through the process below.
If you have a Jira Work Management Cloud site already, but have not set it up yet, skip to the Set up step.
Sign up for a Jira Work Management Cloud site
Signing up for Jira Work Management Cloud will provide you with a fully-functional Jira Work Management Cloud site.
- Go to the Jira Work Management Cloud sign-up page and get your free trial.
- サインアップ手順を完了します。ここで入力する資格情報は、あとでサインインするのに必要な管理者用の資格情報となります。
- Grab a quick coffee (or tea) because it will take about 10 minutes for your Jira Work Management Cloud site to be created.
Set up your new site
Open your site in your browser (https://mysitename.atlassian.net) and log in as the administrator.
これから、サイトのロゴと配色を変更します。すでに変更済みの場合は、次の手順で [次へ] をクリックします。
- [設定](
 ) を選択します。
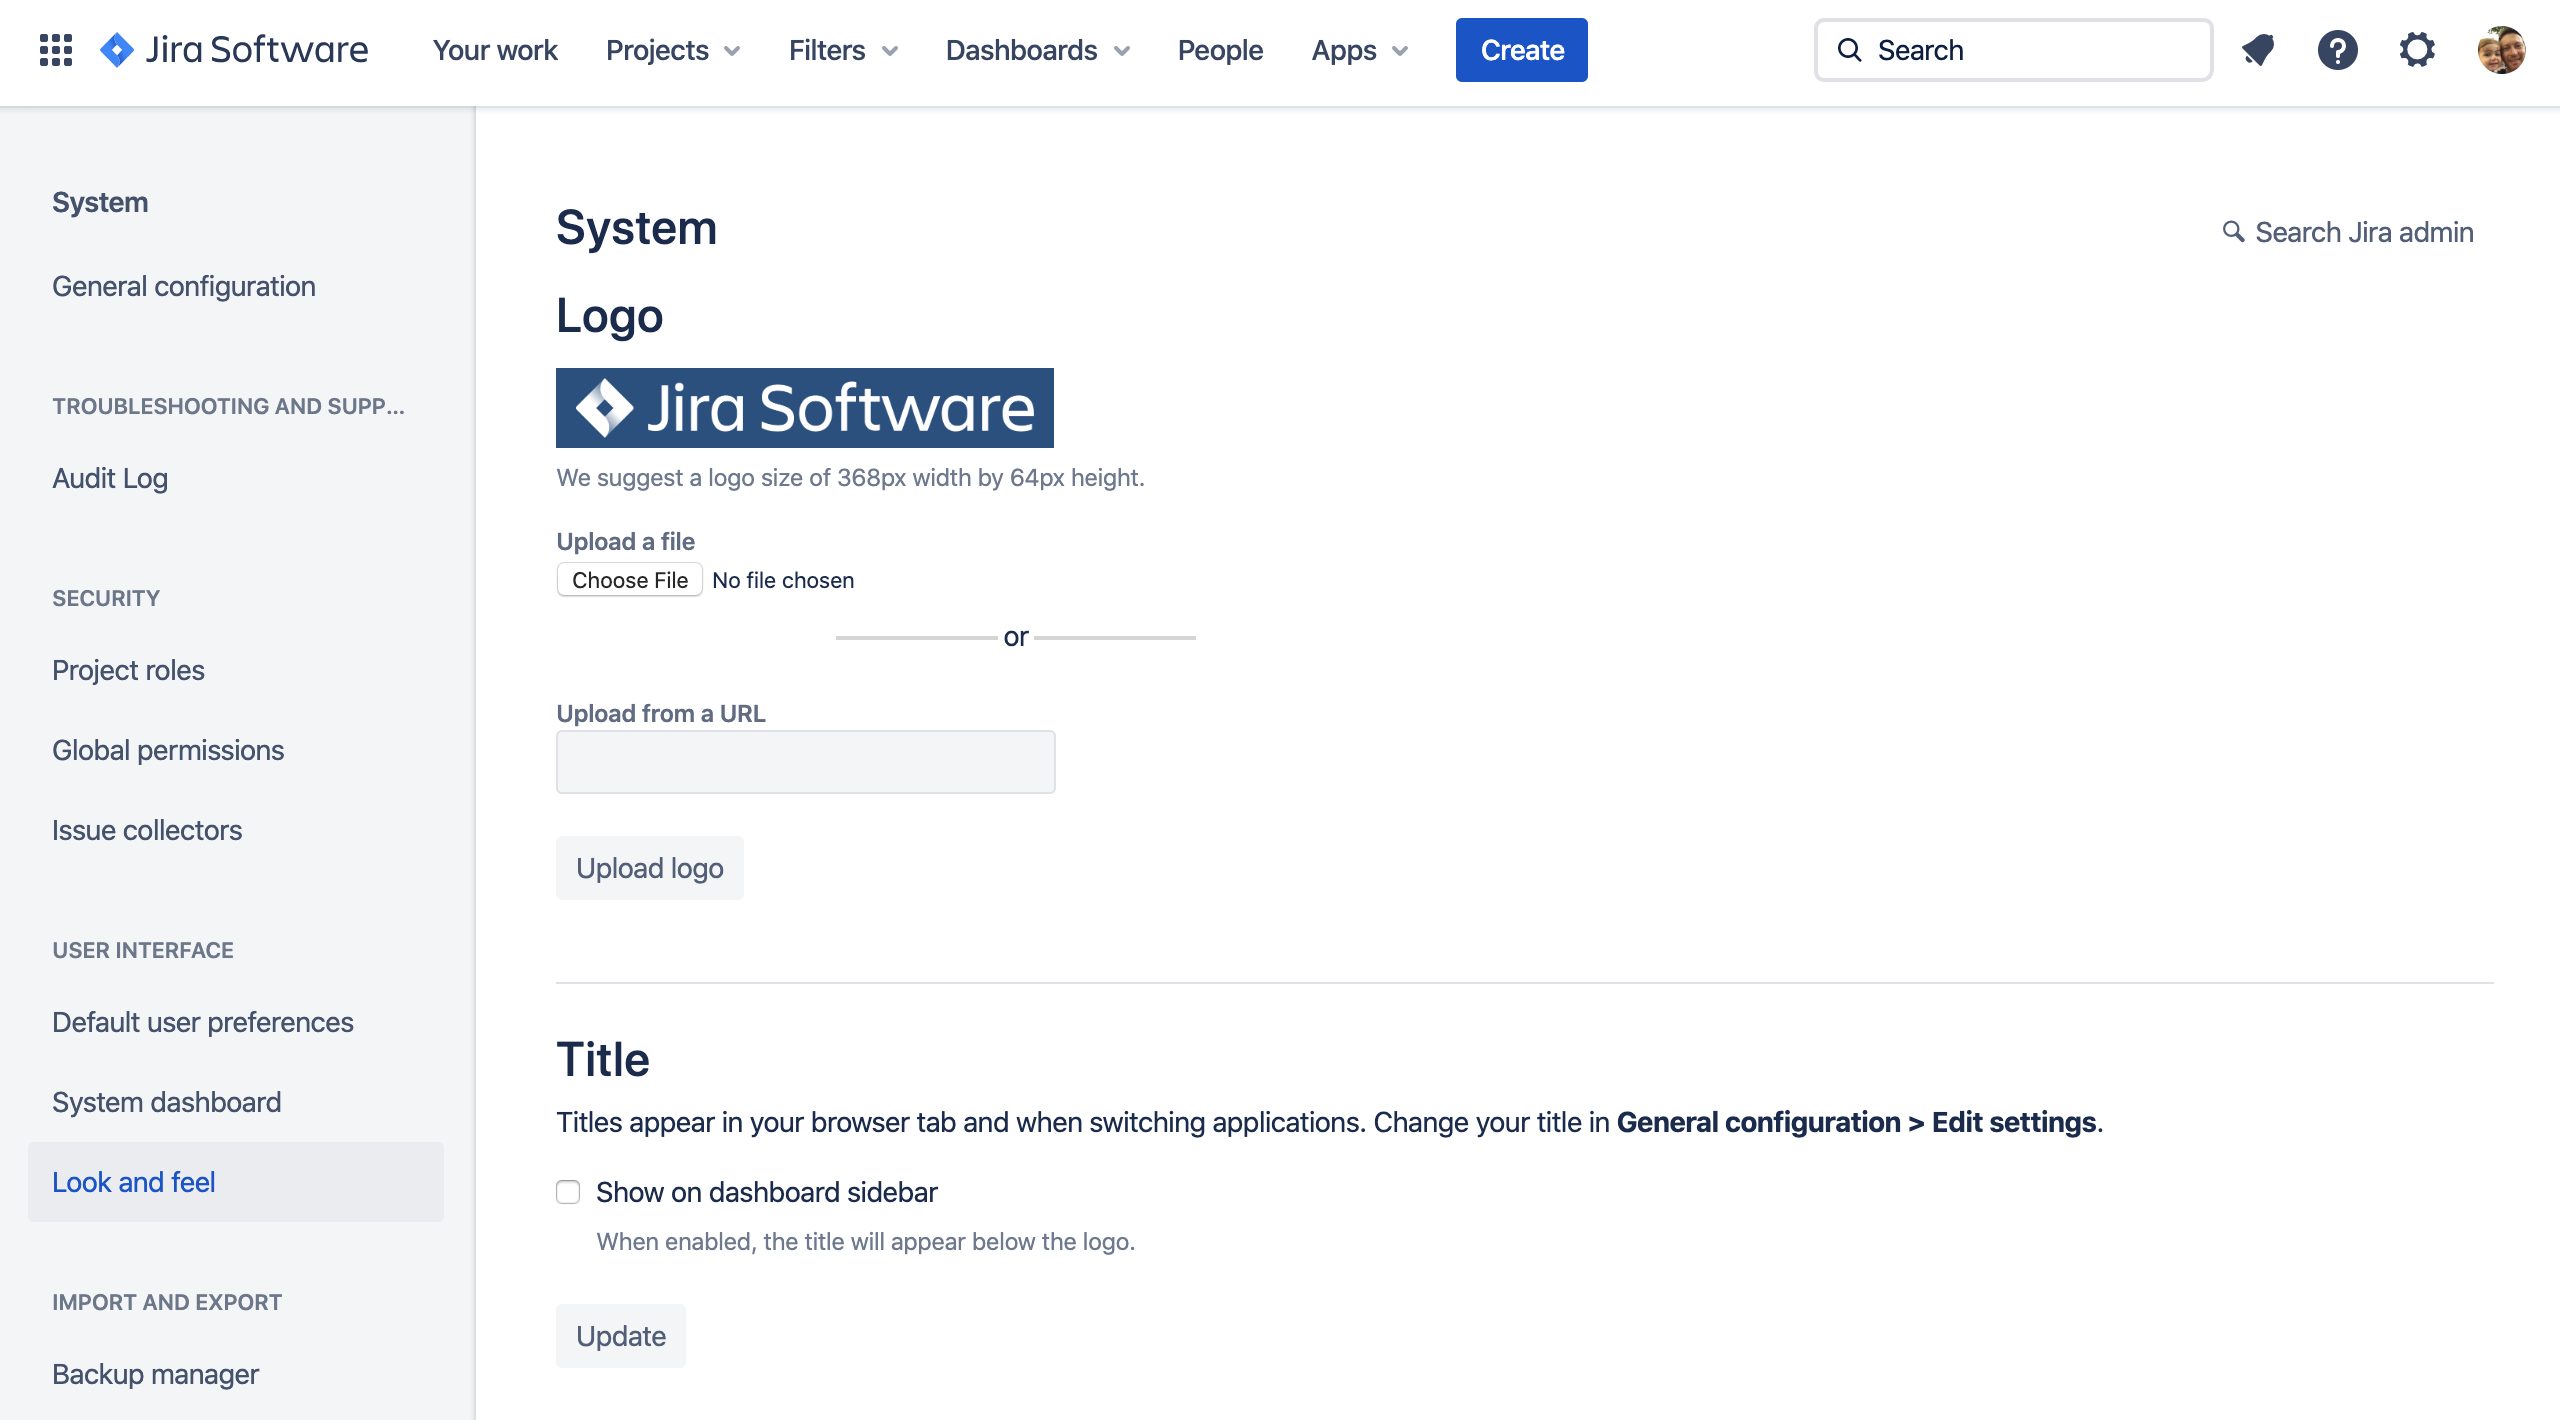
 - [システム] > [ユーザー インターフェイス] セクションの [ルック アンド フィール] を選択します。
- Choose a logo image file to upload or an image URL.
- Select Upload Logo
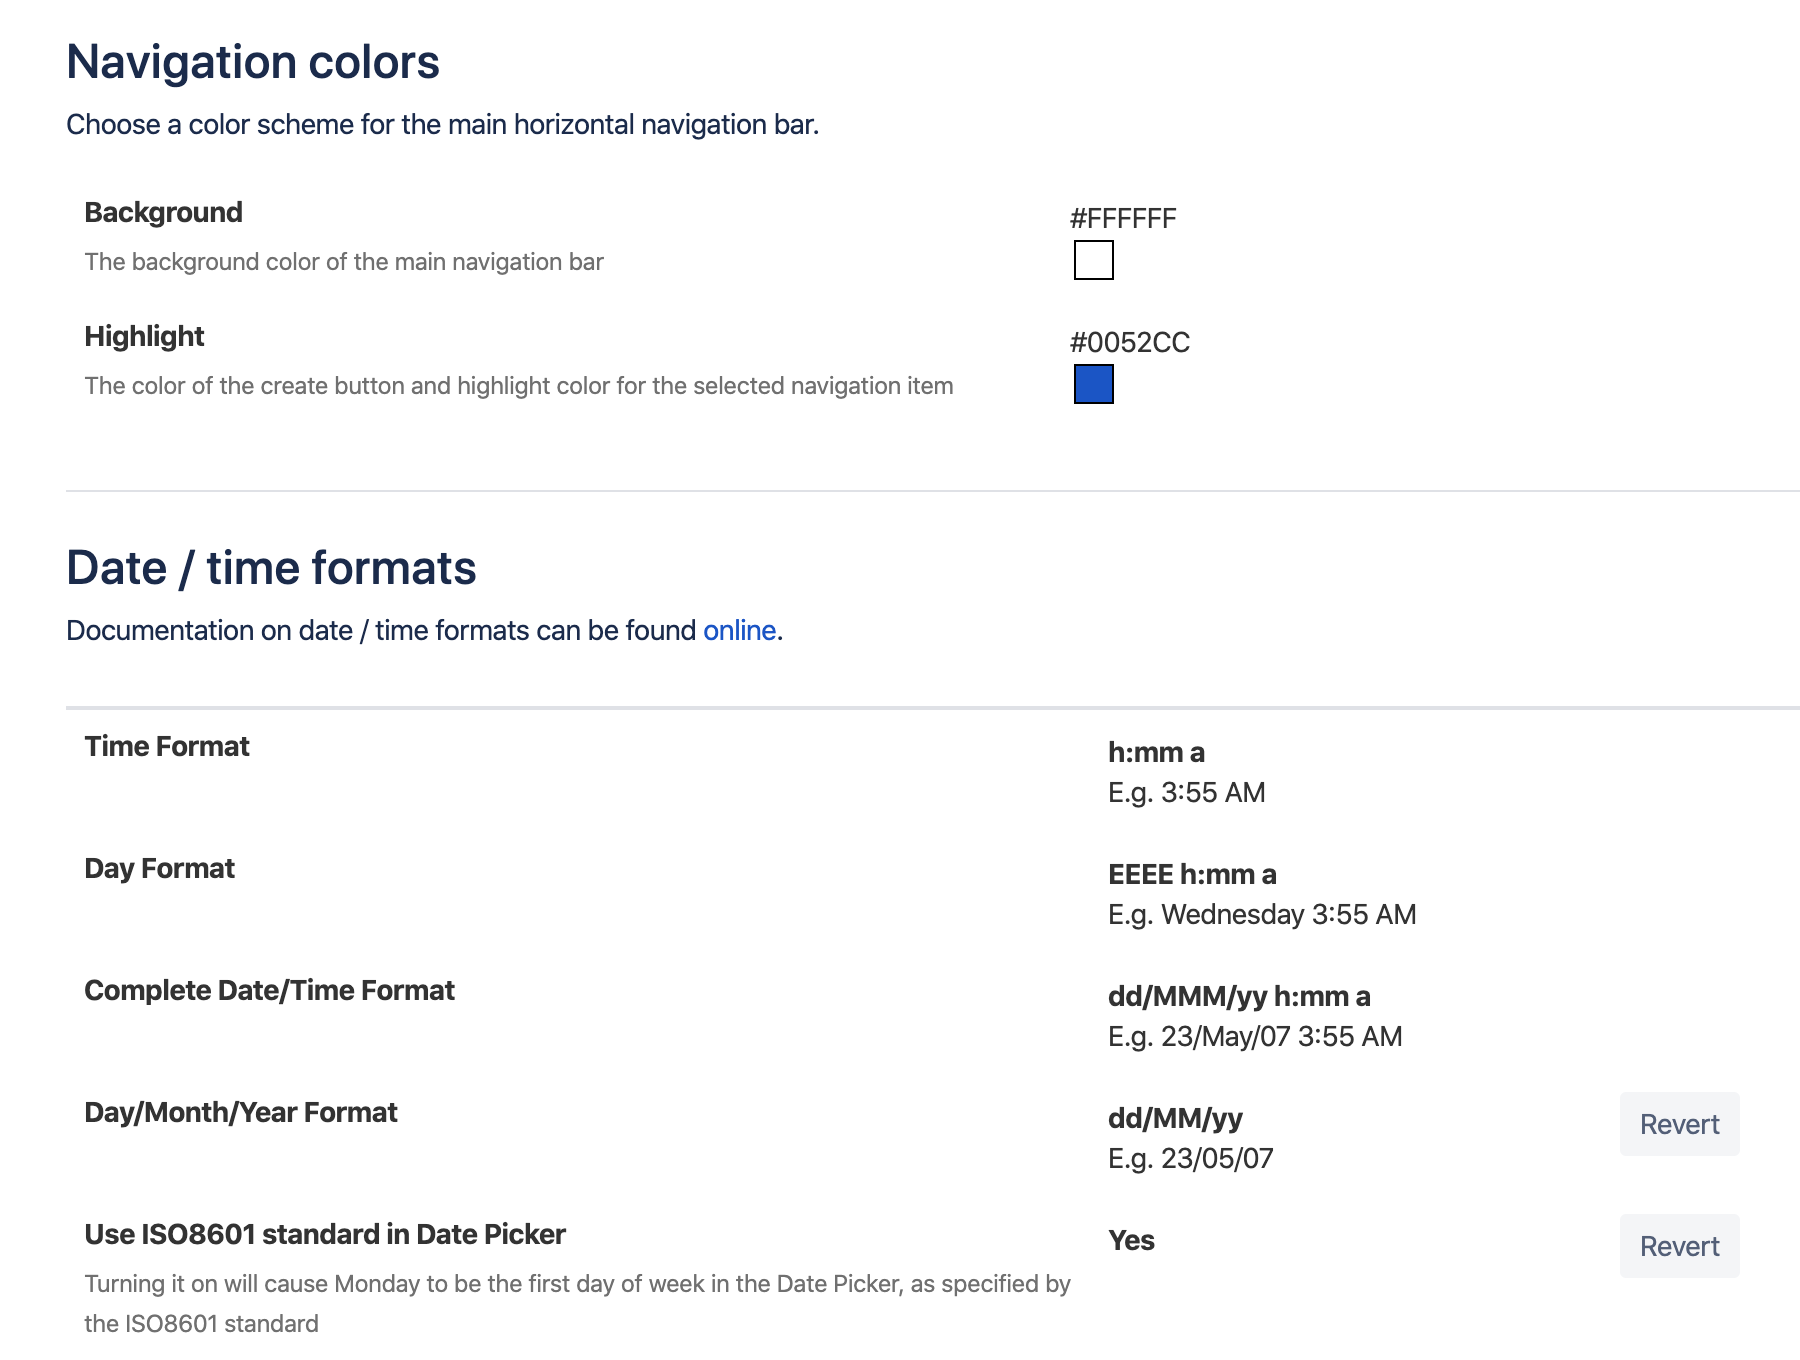
- 特定のフォーマットを選択するには、[日付/時刻のフォーマット] セクションまでスクロールします。
- ここでは、他のルック アンド フィールの設定はそのままにします。
Success! You now have a new Jira Work Management Cloud site set up. Now, let's create a project for your team.
最終更新日 2020 年 6 月 29 日
Powered by Confluence and Scroll Viewport.