Commit and push changes
- Set up Sourcetree
- Create a personal repository for the tutorial
- Clone your repository and manage files locally
- Commit and push changes
In this step you are going to make some changes to the HTML files added to your repository in Step 3. Once you make the changes and commit them you can add them to your repository on Bitbucket Data Center and Server. It's not enough to just make your changes, you have to share them with the world!
Make the changes
This step explains how to make a simple change in a source file that you'll then commit locally and push to your personal repository.
- Open the
Teams in Space.htmlfile in a text editor. Find the
<h3>Main Menu</h3>line. Within that menu, add another list item to add a link to the itinerary on the main menu.
(You can copy this code and add it in your HTML file).<li id="menu-item-65" class="menu-item menu-item-type-post_type menu-item-object-page menu-item-65"><a href="http://localhost:2431/?page_id=60">Moon Itinerary</a></li>ファイルを保存します。
- Check your work by going to the
Teams in Space.htmlfile and opening it in a web browser. It should now look something like this.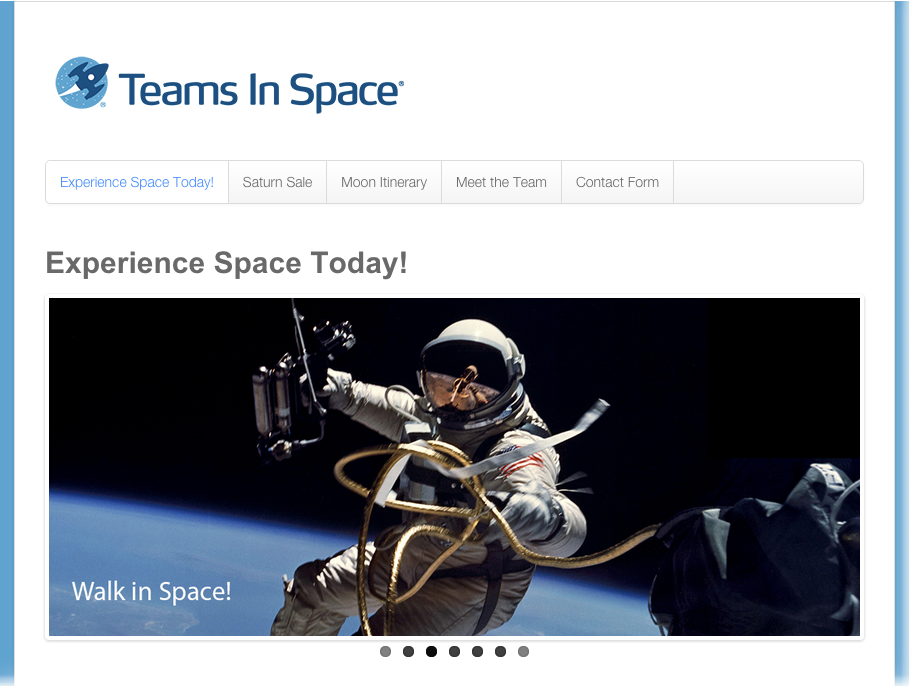
Commit and push the changes
Once you've made the changes and verified they work, you'll now commit the changes and push them to your repository.
- Commit the changes using Sourcetree (or the command line).
- From Sourcetree, click on Working Copy in the upper-left. In the Unstaged files pane on the bottom, you should see the
Teams in Space.htmlfile. - Select the checkbox to left of the file. The file moves to the Staged files pane.
- Click Commit in the upper-left. The Commit dialog opens at the bottom.
- Enter a commit message in the text field (something like "This is my first commit!" would do).
- From Sourcetree, click on Working Copy in the upper-left. In the Unstaged files pane on the bottom, you should see the
- Push the changes to the repository.
- There is now an indicator within the Branches field on the left that there are changes to push, as well as on the Push button on the top toolbar.

- Click the Push button, and make sure the master branch is selected, then click Ok to push the changes.
- You can verify the changes were pushed by going to the repository and clicking on Commits.
- There is now an indicator within the Branches field on the left that there are changes to push, as well as on the Push button on the top toolbar.
Do it from the command line
Commit the files you changed to your personal repository from the command line.
From a terminal window
cd website
git commit -m "Website changes"
git push -u origin master
Refer the below table for more details on the above commands. Learn more about how to get started with Git
| コマンド | 説明 |
|---|---|
cd website | Changes to the directory where you cloned the repository. |
git commit -m "Website changes" | The command git commit records the changes to the repository and the flag -m adds a comment to the commit. |
git push -u origin master | The command git push pushes your files to the master branch and the flag -u specifies the remote repository. origin is the original repository and master is the remote branch. |